


This easy vanilla ice cream recipe is a classic custard base infused with fresh vanilla beans, vanilla extract and a splash of bourbon. It's our simple, go-to recipe made in our handy-dandy ice cream maker.
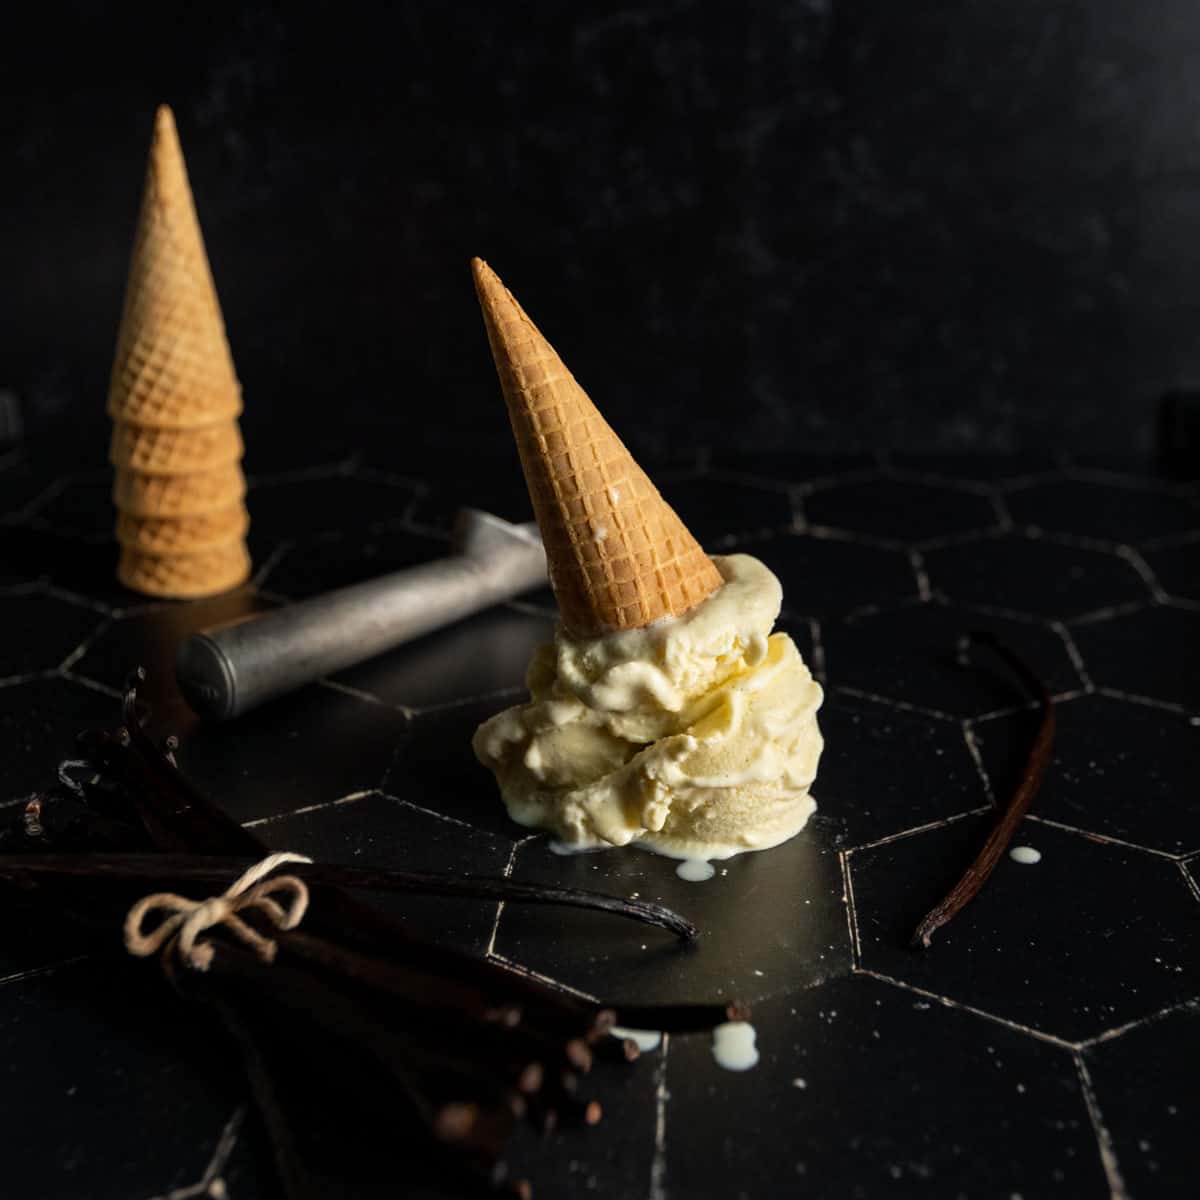
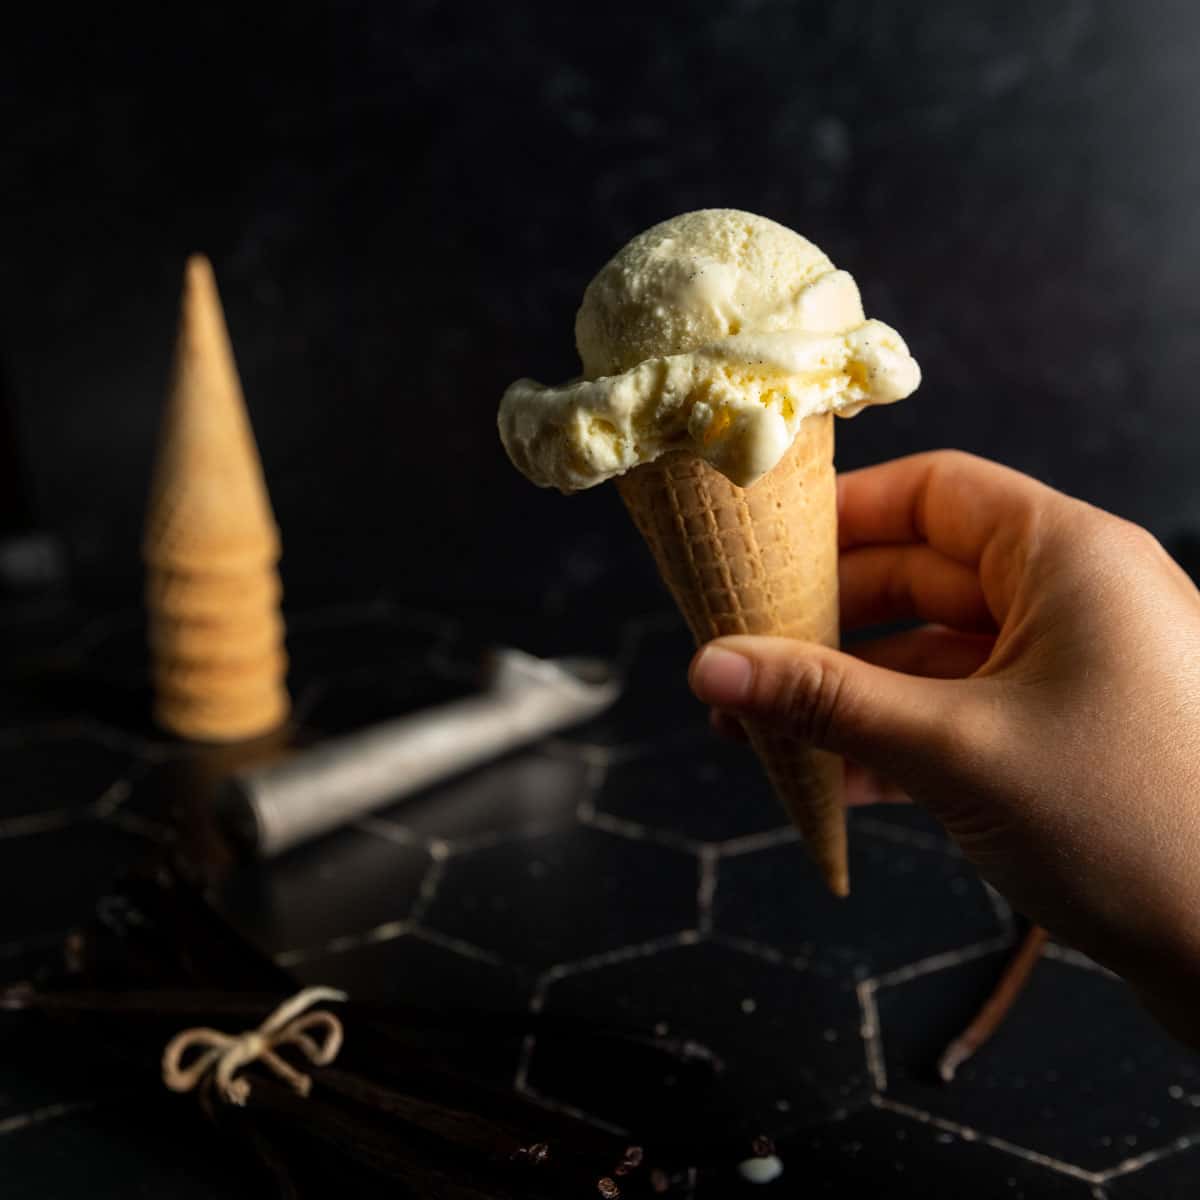
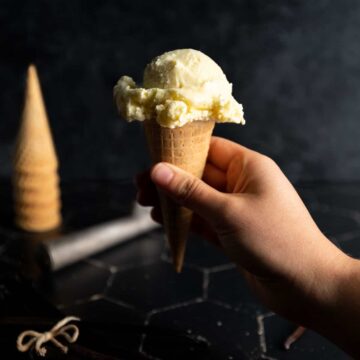
Who doesn't love the old-school flavor of home churned Vanilla Bean Ice Cream!? This all-time favorite flavor is perfect as-is-on-the-cone, for dressing up in a sundae cup or scooped a la mode atop warm pies, cookies and brownies.
For another fabulous vanilla bean recipe, make our Frosted Vanilla Cookies!
Ingredients:
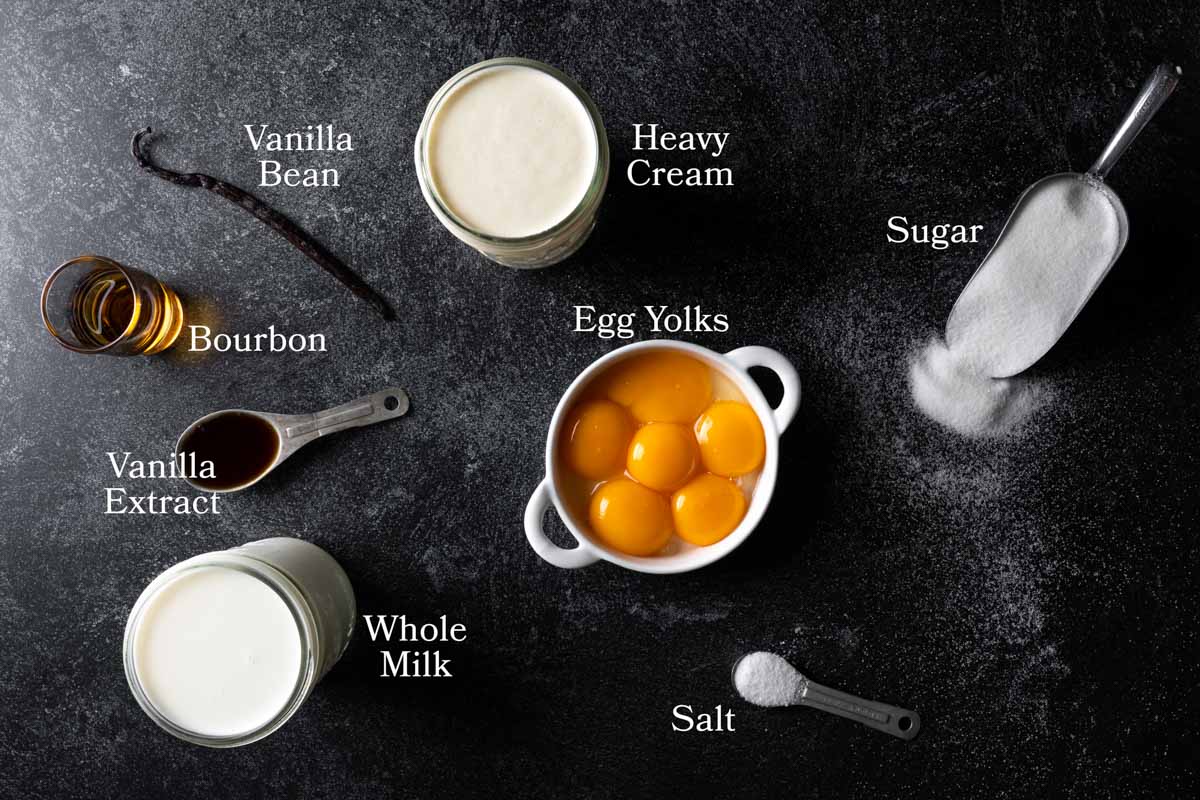
This classic vanilla bean ice cream uses nothing but old-fashioned, wholesome ingredients. Frozen custard made just like life on the dairy farm (but from the comfort of your own kitchen!) Here's what you'll need:
All About That Vanilla Bean:
The key to the best vanilla ice cream is using a fresh, Grade A vanilla bean. I know, I know - they're not cheap BUT, I promise - they are worth every penny! Great vanilla beans can be sourced from several places worldwide. (We buy fresh vanilla online and are big fans of beans sourced from Madagascar or Tahiti). Each vanilla growing location boasts equally fragrant and flavorful vanilla beans each with their own unique character. Grade A vanilla beans are selected as the highest-quality beans. Grade A beans are still moist with their own natural oils lending to stronger, superior vanilla flavor.
Just one Grade A vanilla bean is enough to flavor an entire batch of this delicious ice cream. If you are using Grade B beans - use at least two. Finally, we like to reinforce those warm, floral vanilla flavors with a splash of good-quality vanilla extract and an optional splash of bourbon. Bourbon whiskey is oak-aged and takes on its own notes of vanilla and caramel that further enhance this custard's intense vanilla bean flavor.
How To Use Fresh Vanilla Beans
To use fresh vanilla beans, start by using a sharp paring knife to split the bean in half lengthwise. Then, use the dull side of the knife to scrape to seeds from the bean.
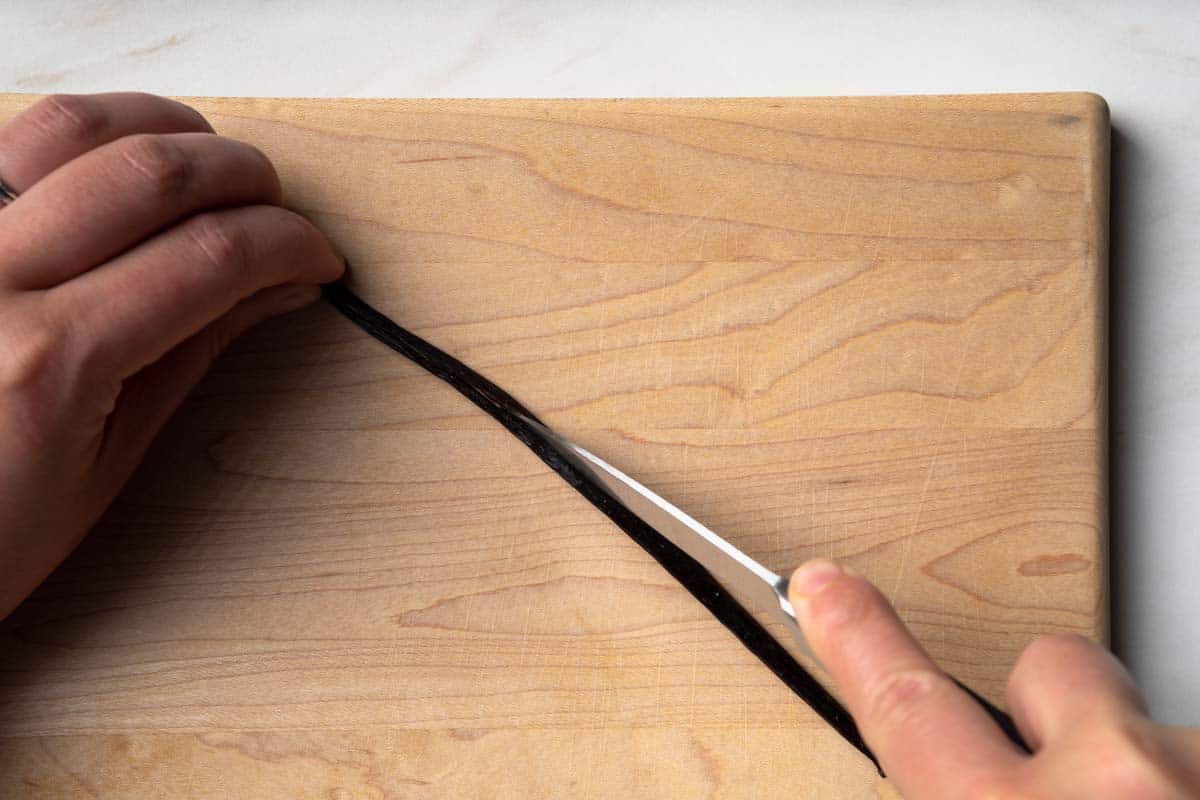

Even without the seeds, the remaining bean still has a ton of BIG vanilla flavor! For the maximum vanilla flavor, we recommend steeping the bean in with the vanilla custard base.
How To Make This Recipe
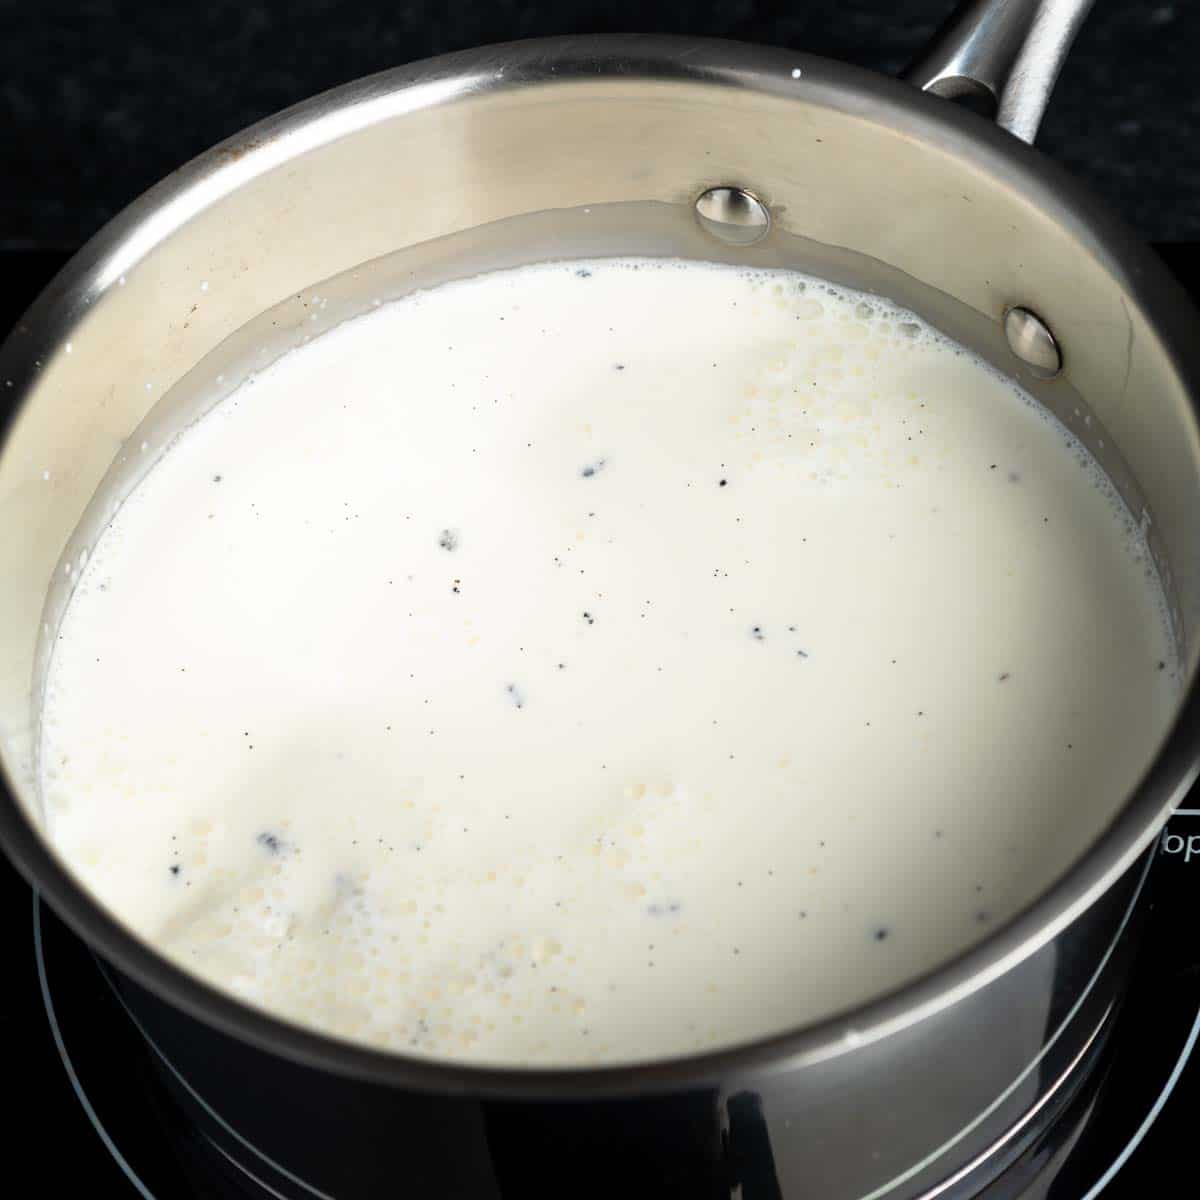
1. Start by placing half of the sugar in a medium sauce pot with the cream, milk and scraped vanilla bean. Whisk to combine and dissolve the sugar while cooking over medium heat. Bring the mixture to 180° Fahrenheit. We recommend using an instant read thermometer - we love our thermometers from ThermoWorks.
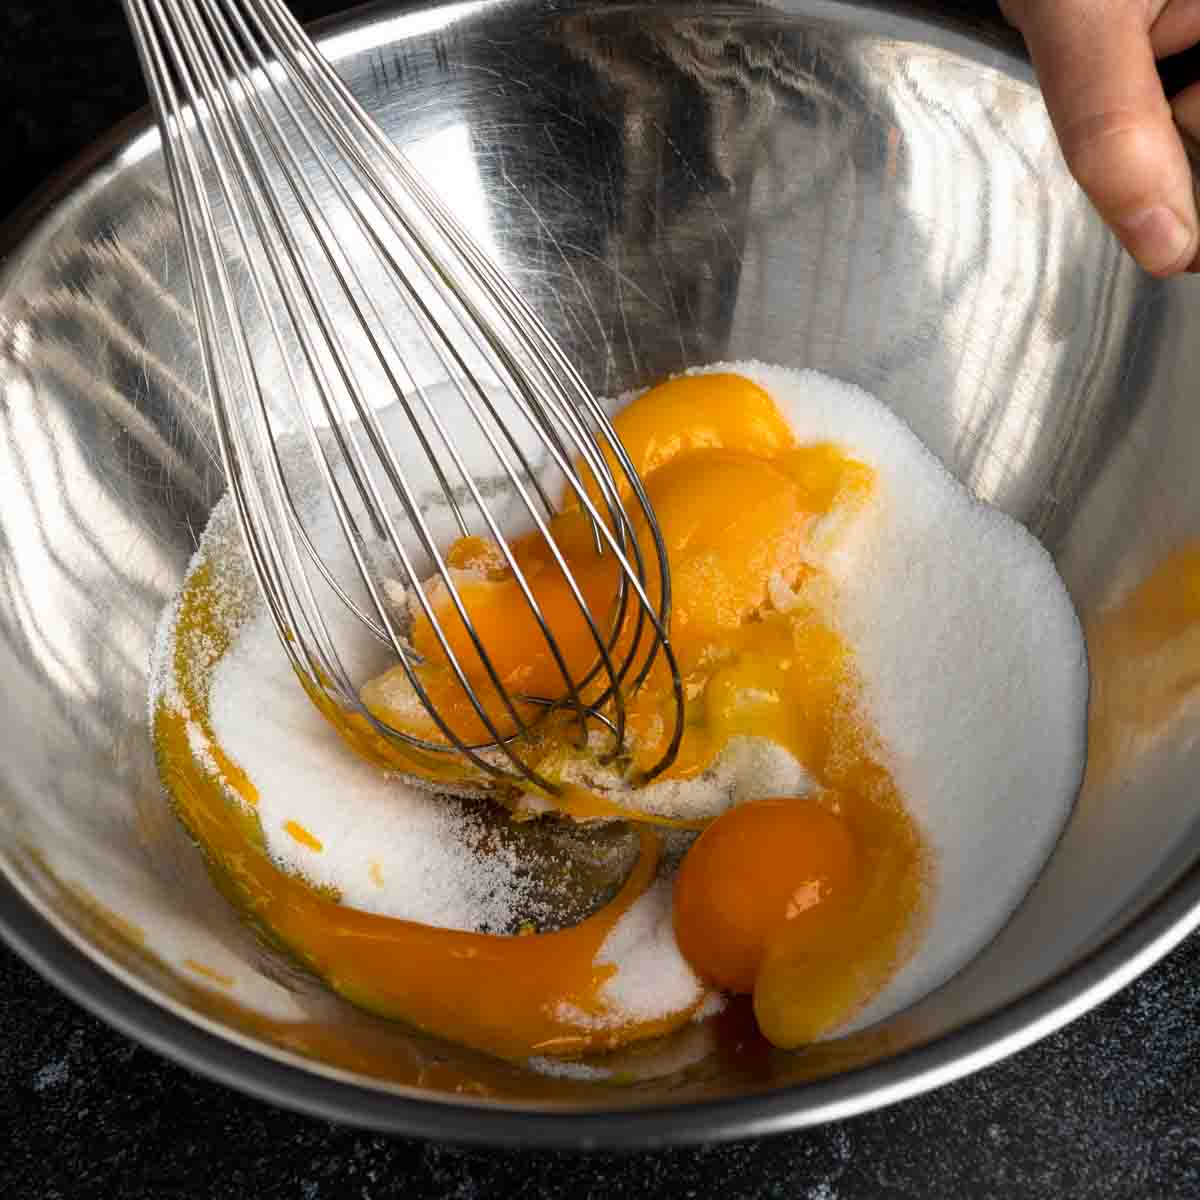
2. Meanwhile, whisk the egg yolks and remaining sugar together until pale and very thick.

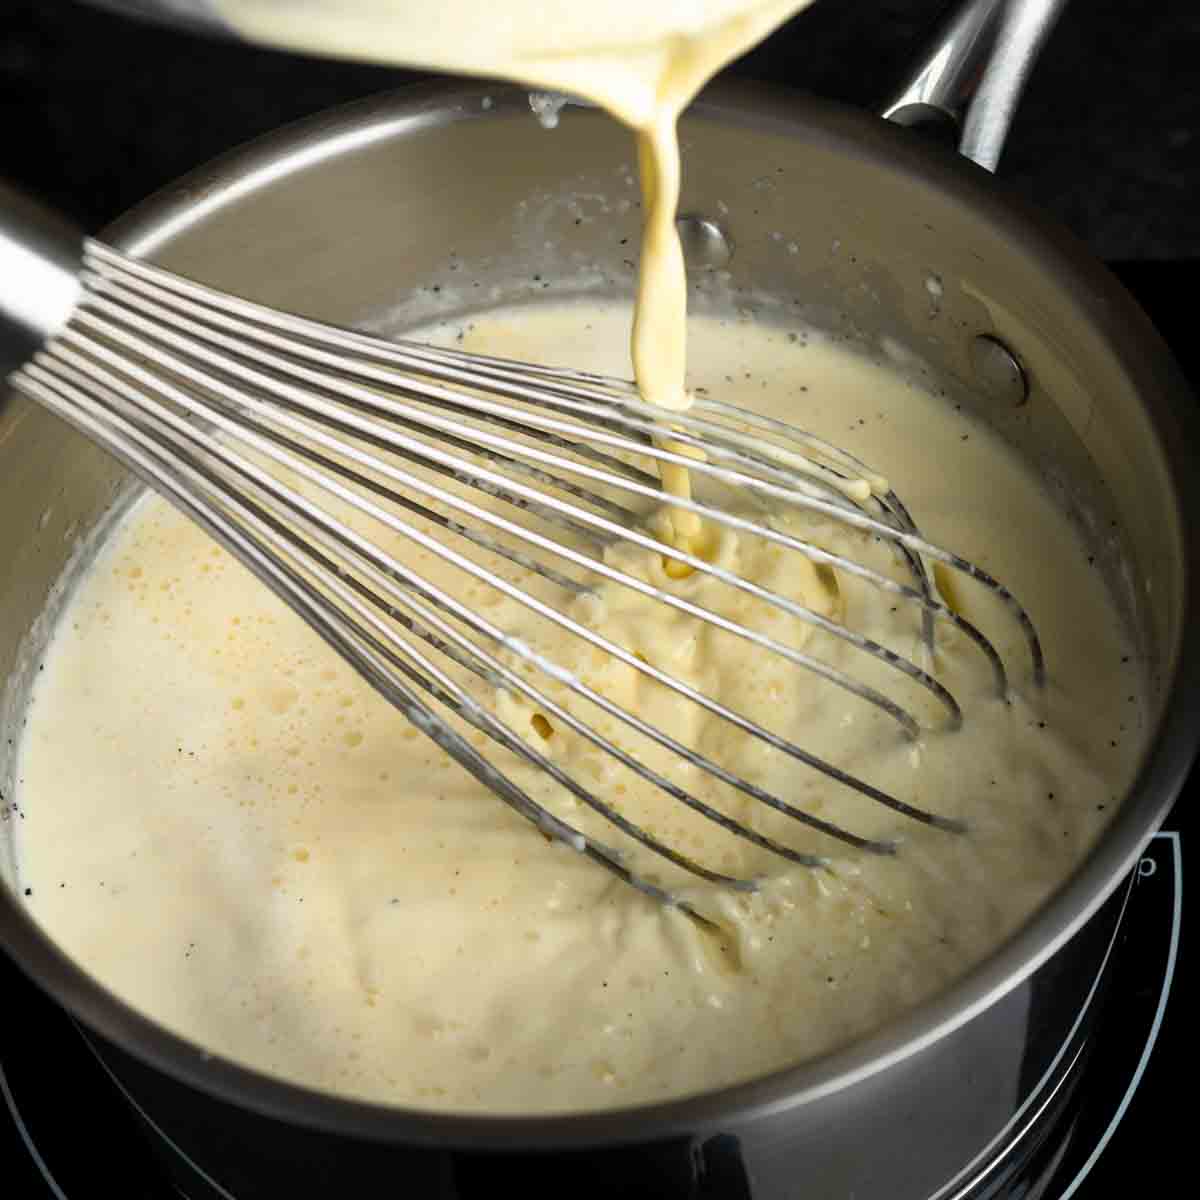
3. Once the cream mixture is hot, it is time to temper the eggs with it. Use a ladle to spoon some of the hot cream mixture over the whipped eggs and sugar. Whisk immediately. While whisking continuously, slowly stream ⅓ of the hot cream mixture into the eggs. Then, stream the hot egg mixture, while still whisking continuously, back into the pot with the remaining cream mixture.

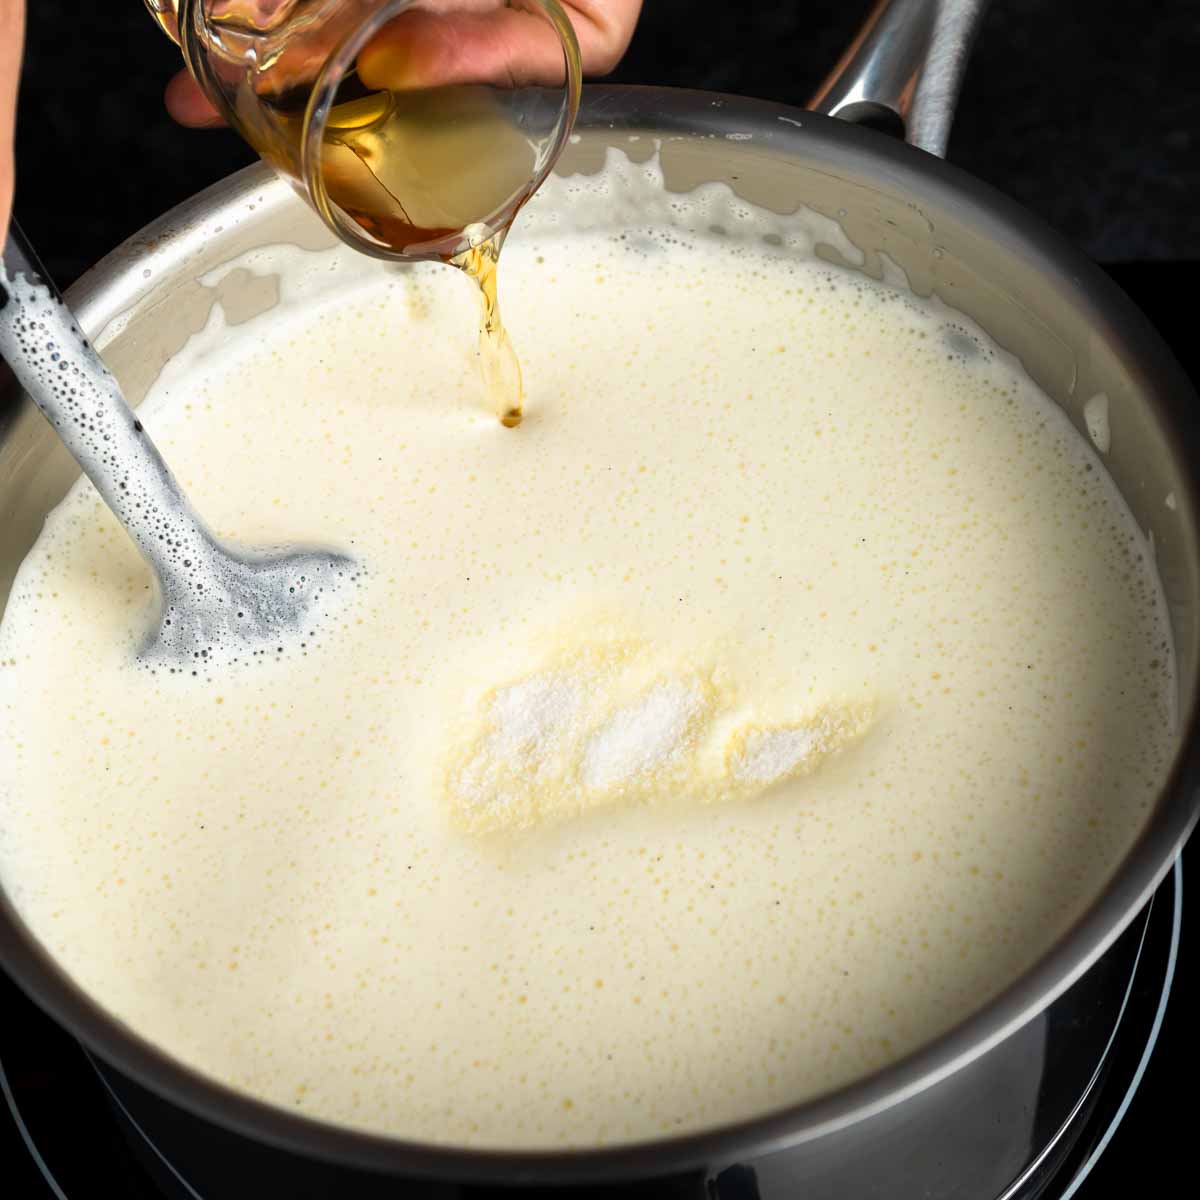
4. Return the pot to the heat and bring the temperature back to 180° Fahrenheit. Do not boil! Stir constantly to avoid scrambling the eggs. Remove from the heat and stir in vanilla extract, salt, and bourbon, if using.
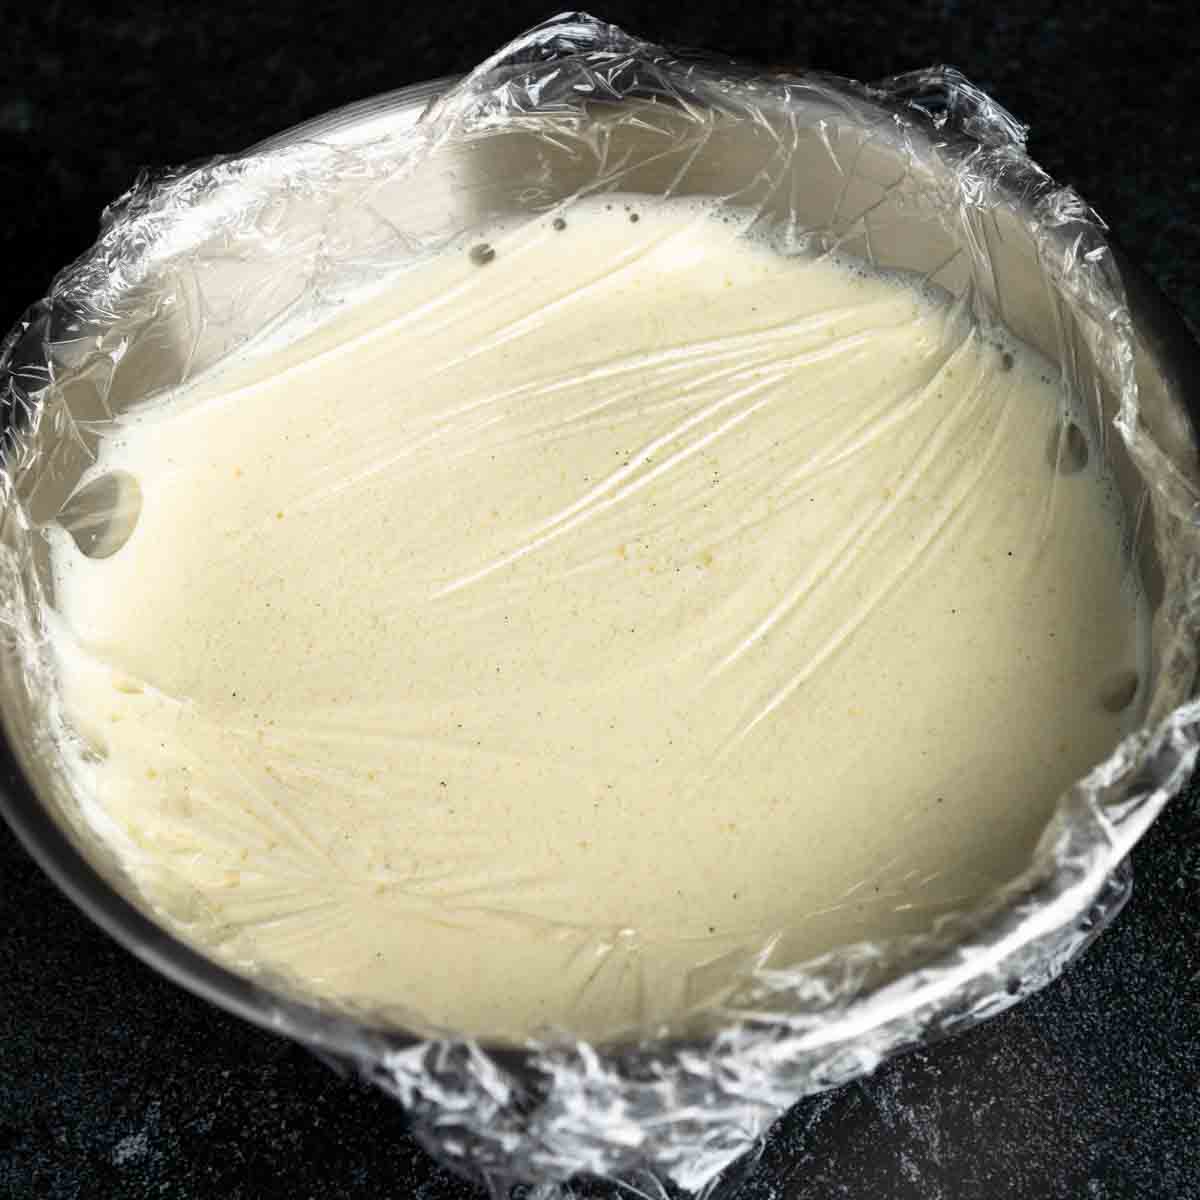
5. Transfer the vanilla custard mixture to a clean bowl and cover with plastic wrap directly on the custards' surface. Chill in the refrigerator at least 4 hours or until completely chilled, preferably overnight.
6. When ready to churn, set up your ice cream maker. Use a fine mesh strainer to strain the custard, removing and lumps and the vanilla bean pod. Be sure to scrape up all of the settled vanilla bean seeds from the bottom of the bowl and back into the custard!
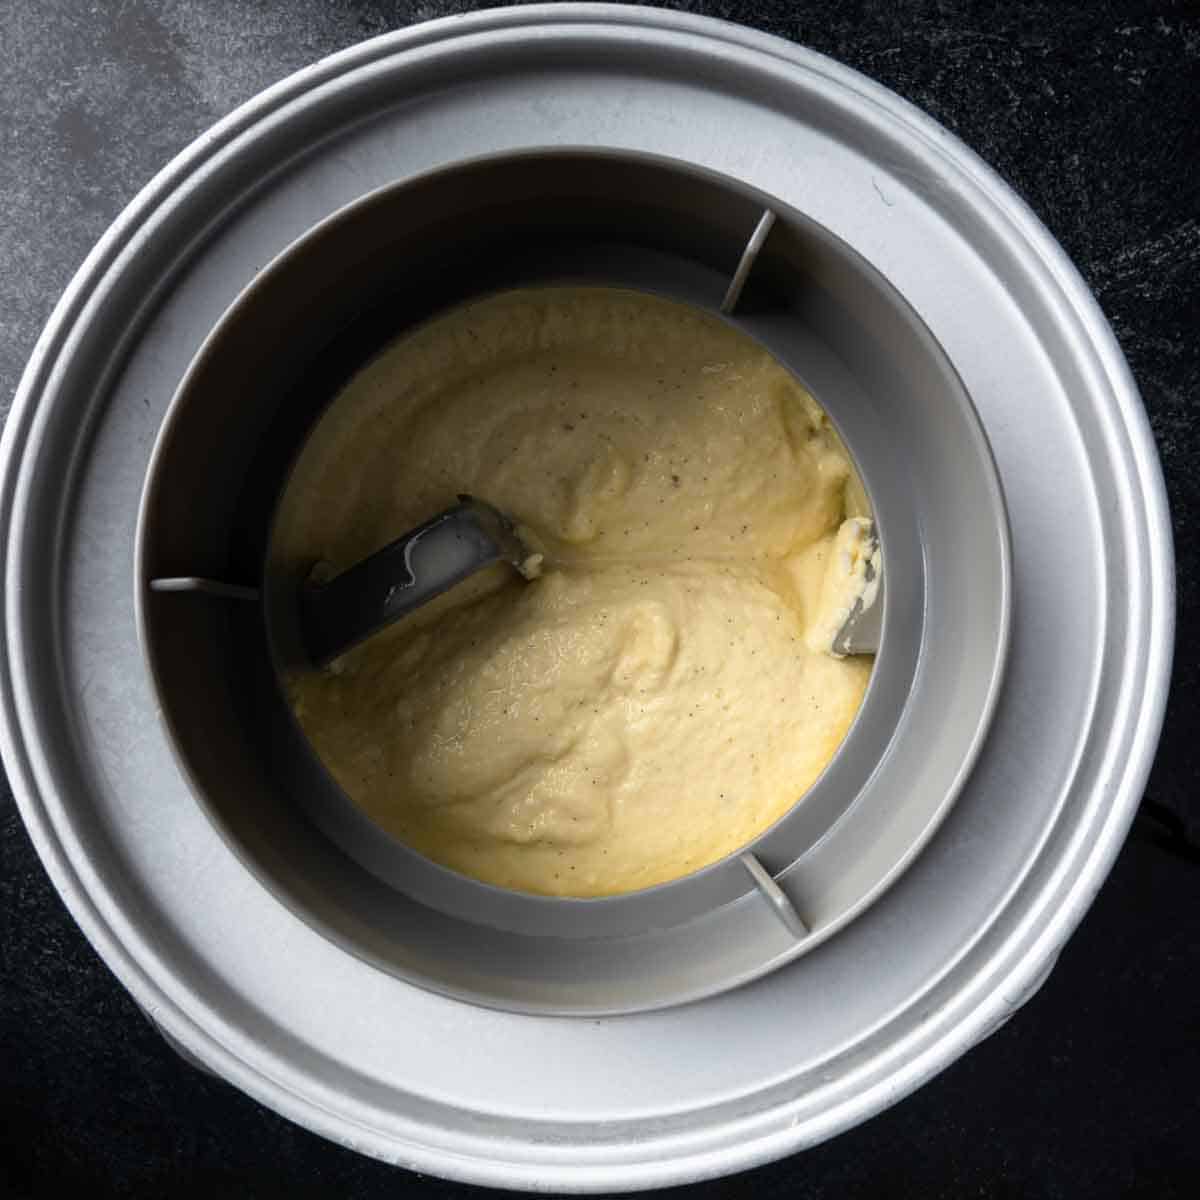
7. Churn ice cream according to your ice cream maker's instructions. Freshly churned vanilla bean ice cream will be very soft. Transfer immediately to a shallow, freezer-safe dish. Cover with plastic wrap and freeze at least 4 hours before serving.
Ice Cream Makers (What We Use & Why You Need One)
This Vanilla Bean Ice Cream recipe is made in a standard home ice cream maker. As long as your maker can fit a quart of custard base, you can use whatever ice cream maker you have. (Even if it's an old-school crank churner!) We use a popular model of a Cuisinart ice cream maker. It's the type of ice cream maker that requires you to freeze the basin before use and it's been working wonderfully for years.
Our ice cream maker has been an honored guest at nearly every holiday and gathering. (I mean, what occasion doesn't call for homemade ice cream!?) They make a darn good gift, too! Scott loves to remind me of my child-like squeal when I unwrapped that Cuisinart bad-boy many Christmas mornings ago...and I highly recommend spreading that kind of uncontainable joy whenever you can.
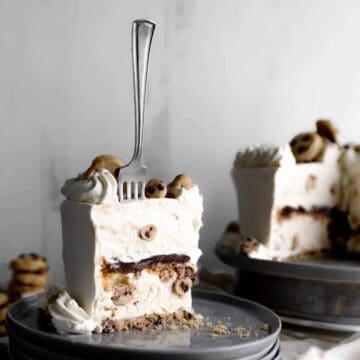
(If you don't have an ice cream maker, check out our No-Churn Cookie Dough Ice Cream Cake recipe instead!)
8 Tips for Scream Worthy Ice Cream At Home
I scream, you scream, we all scream for the best ice cream in town...courtesy of your very own freezer! Check out these trusty practices for making the best, creamiest ice cream around!
Making The Custard
1. Ribbon Stage Sugar & Eggs - Whisk room temperature egg yolks and sugar until they are pale, light and fluffy! The egg and sugar mixture should reach the "ribbon stage" where the thick mixture falls over itself in ribbons. The ribbons will sit on the mixture's surface for several seconds before settling in.
Baker's Journal: The Ribbon Stage - The ribbon stage refers to a certain texture achieved when whipping egg(s) and sugar together. At this stage, the egg(s) and sugar will be very pale, aerated, and fall in thick ribbons from the whisk or paddle attachment. The air incorporated into the egg and sugar mixture helps to leaven the bread and create a tender, fluffy cake.
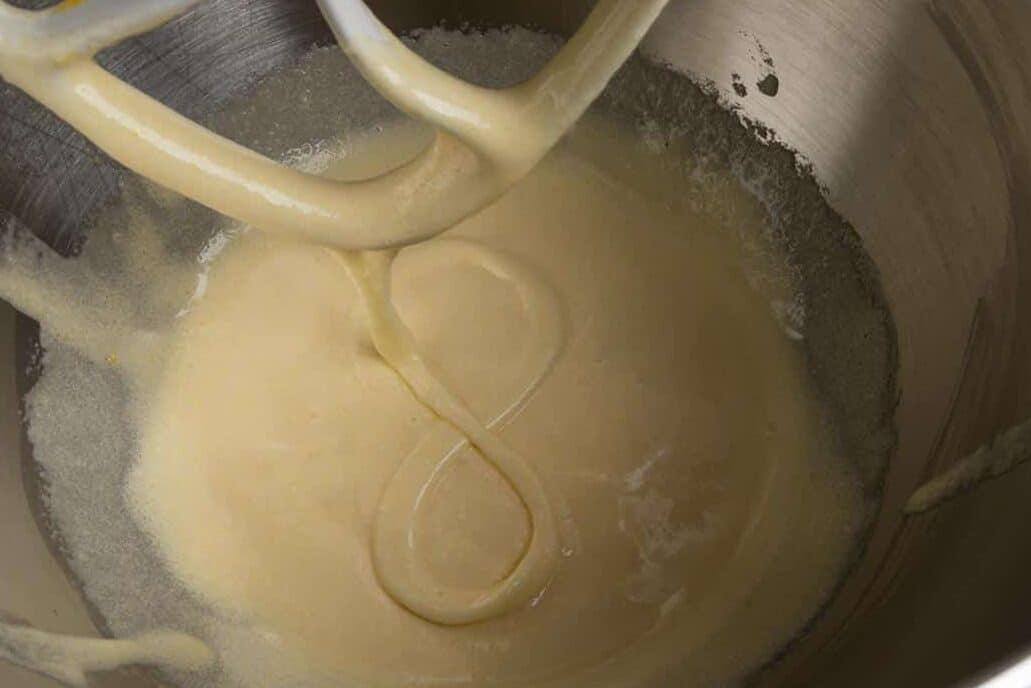
When done correctly, ribbons of batter will sit on the batter's surface for several seconds before blending in. Try drawing a figure 8 in the batter to test if your mixture has reached the ribbon stage.
2. Use Full-Fat Dairy - For the richest, creamiest ice cream, we recommend using whole milk and heavy cream. Save the fat free milk and dairy substitutes for another day!
3. Temper Your Eggs With Care! - Be careful to temper your hot cream mixture into your egg mixture SLOWLY and whisk constantly! Otherwise, you'll be making scrambled eggs!
4. Keep All Ingredients COLD - Make sure the Vanilla Bean Ice Cream Base is completely chilled before churning. We recommend chilling overnight for the best results.
Churning & Freezing
5. Make Sure Your Freezer Bowl is FROZEN SOLID! - Make sure your ice cream maker's freezer bowl is frozen solid before making ice cream at home!
6. Churn Ice Cream to Your Ice Cream Maker Manufacturer’s Instructions - In our Cuisinart ice cream machine, fresh-churned ice cream takes between 20 - 30 minutes.
7. Wrap Your Freezer Bowl In a Plastic Bag - To prevent freezer burn and ice crystals from contaminating our home-churned ice cream, we like to keep our ice cream maker's freezer bowl wrapped in a recycled plastic bag in our freezer. This way, our bowl is free of any extra condensation that can create an icy or grainy texture in homemade ice cream.
8. Freeze Your Ice Cream in a Shallow Container - Shallow containers help ice cream freeze faster! The faster your ice cream freezes, the smoother and creamier it will be. We like to freeze our ice cream in a tin or glass brownie pan in the back of our freezer for the quickest possible freezing. Put plastic wrap directly on the ice cream's surface to prevent ice crystals from forming.
Mix-Ins, Toppings & Serving Suggestions
Now that you have a freezer stocked with Old-Fashioned Vanilla Bean Ice Cream, you probably don't need our help deciding what to do with it. (Pssst, grab a spoon!) However, we've got some ideas! Of course, this classic flavor is the ULTIMATE choice for swirling in fruits and candies, topping with sauces and syrups or serving alongside your homemade baked goods. Here's a few suggestions:
- Spoons, Cones & Cups - Get fancy if you want, but all you really need is a spoon and a smile for this simple vanilla bean delight!
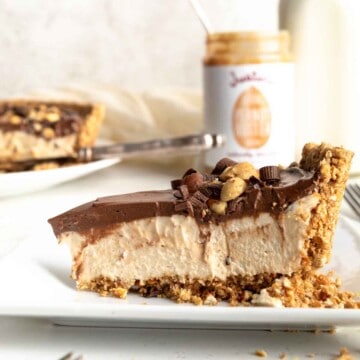
- Candy & Sprinkles - On top or mixed in, vanilla bean ice cream is the perfect blank canvas for chocolates, sprinkles, caramels and more!
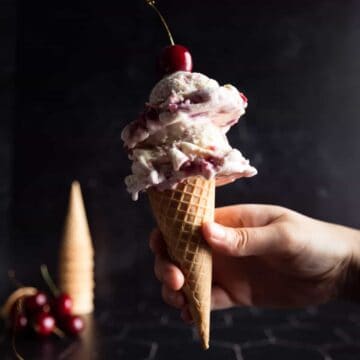
- Fruits - A simple cherry on top, fresh strawberries or swirls of compote... In the Summer, try our Cherry Vanilla Ice Cream that is made using this recipe!
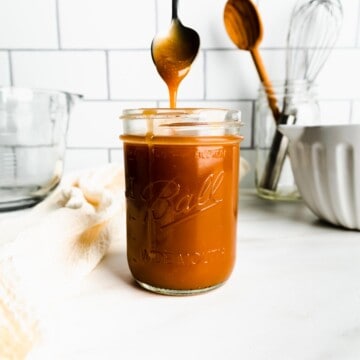
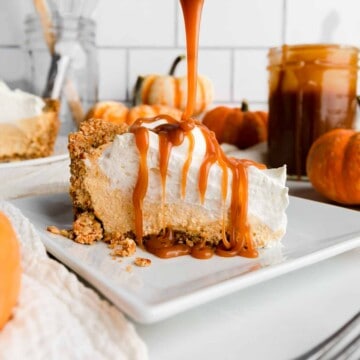
- Fudges, Sauces & Syrups - Gooey Homemade Caramel Sauce, decadent fudge sauces or flavorful syrups! Try this ice cream with a drizzle of our Peach Syrup, Plum Syrup, or even our tart and tangy Rhubarb Syrup!
- Cookies & Brownies - Nothing compliments a baked good like a scoop of vanilla! Use this recipe for brownie sundaes, skillet cookies or even ice cream sandwiches!
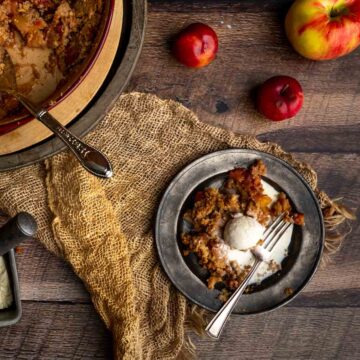
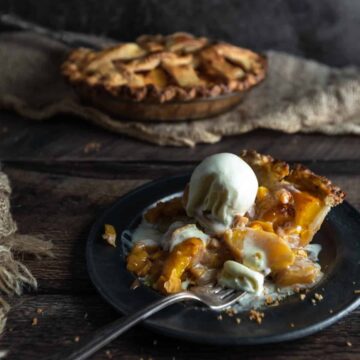
- Cakes & Pies - Bring your homemade vanilla ice cream to your next birthday celebration or serve a scoop on a warm slice of pie! (It's glorious on this Dutch Apple Pie with Brown Butter Crumble!)
Perfect Pairings for Vanilla Bean Ice Cream
Check out these other homemade dessert recipes!

Recipe
Old Fashioned Vanilla Bean Ice Cream
ADJUST SERVINGS
Special Equipment
- Ice Cream Maker
- Fine mesh sieve
Ingredients
- 1 Cup granulated sugar divided in half (½ Cup / 100 grams)
- 2 Cups whole milk
- 2 Cups heavy cream
- 1 vanilla bean split, seeds scraped (See Note: a.)
- 6 egg yolks
- 1 Tablespoon vanilla extract
- 1 teaspoon fine kosher salt*
- 1 Tablespoon bourbon optional
Instructions
- First, divide your sugar into two equal parts (½ Cup or 100 grams, each). Place half of your sugar in a medium mixing bowl and the other half of the sugar in a medium, heavy-bottomed pot.
- To the pot add heavy cream, whole milk and a scraped vanilla bean with seeds. Begin to heat the mixture over medium heat, stirring occasionally, until the dairy begins to scald (or creates a thin film at the surface). Ideally, the sweetened cream mixture will be 180° Fahrenheit (82° celsius).
- Meanwhile, while your cream mixture is heating, add egg yolks to the sugar in the medium mixing bowl. Whisk mixture until the yolks and sugar are thick, palely colored and airated.
- Once the cream mixture has reached 180° Fahrenheit (82° celsius) it is time to temper the eggs. The goal is to heat your egg mixture slowly, to avoid scrambling. Add a small splash of the hot cream mixture into the egg yolk mixture and whisk immediately to combine. Then, slowly stream in about ⅓ of the hot cream mixture while whisking constantly.
- At this stage, your egg mixture should be thouroughly heated. Pour the heated egg mixture back into the pot's remaining cream mixture while whisking constantly. Return your custard base to the stovetop and set over medium heat. Heat the mixture back to 180°Fahrenheit (82° celsius) or until the custard base thickly coats the back of a spoon. Remove from heat.
- Stir in vanilla extract, salt and bourbon, if using. Cover the mixture with plastic wrap directly on the custard's surface, to prevent a skin from forming. Chill the Vanilla Bean Ice Cream Base completely (at least 4 hours or, preferably, overnight) before straining or churning.
- Strain the Vanilla Bean Ice Cream Base through a fine mesh strainer to remove the vanilla bean pod and any lumps. (Be sure to use a rubber spatula to scrape all of the settled vanilla bean seeds back into the mixture.)
- Pour the Vanilla Bean Ice Cream Base into your ice cream maker and churn to the manufacturer's instruction guidelines. Fresh-churned ice cream will be very soft. Pour the vanilla bean ice cream into a shallow chilling vessel, (A square tin or glass dish works well. We use an 8x8 Pyrex dish.) Cover the Vanilla Bean Ice Cream with plastic wrap and set to chill in the freezer for 4 hours or overnight.Scoop and serve Old Fashioned Vanilla Ice Cream with cones, cups, favorite toppings or warmed baked goods, as desired! Enjoy!
Notes
* A Note About Salt
Unless otherwise noted, all recipes on The Sage Apron are developed using Diamond Crystal Kosher salt. It is a great all-purpose salt for cooking and baking. If using table salt, reduce quantities by about half.
Mike says
Really love this recipe, however, the concept of "servings" for ice cream really seems personal. For an ice cream this rich and flavorful, I tend to make it last, it would be fantastic if you could update your recipe to identify how much ice cream you are trying to make by quarts or pints. This way it is easier to match based on mixer and containers that are being used to store it. How large of a container is 8 servings? Well if its store bought, then that is about 2 gallons, if it is home made that is about 1 pint... its very personal.