The rich and nutty aromas of brown butter add an irresistible flavor to lots of sweet and savory recipes! Check out this guide to make your own brown butter (sometimes called beurre noisette) in 10 minutes or less!
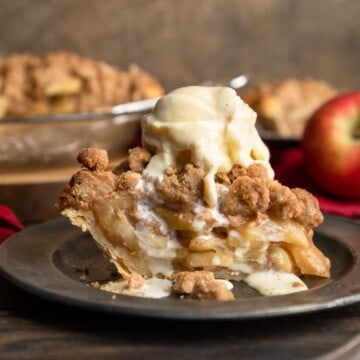
Brown butter is delicious for savory dishes, pasta sauces and in baking recipes like our Dutch Apple Pie with Brown Butter Crumble!
Step By Step Instructions
Making brown butter is quick and super easy!
You can make as much or as little brown butter as you want. Less butter will brown more quickly, and more butter will take longer brown. Just remember, if using brown butter for a recipe, you have to account for some loss due to water evaporation. Read more about that below under How To Measure Brown Butter.
1. Start by melting cold or room temperature butter in a saucepan or pot over medium heat. (We recommend using a light colored pan, so you can see the color of the butter more clearly. We love the quality of pans from 360 Cookware.)
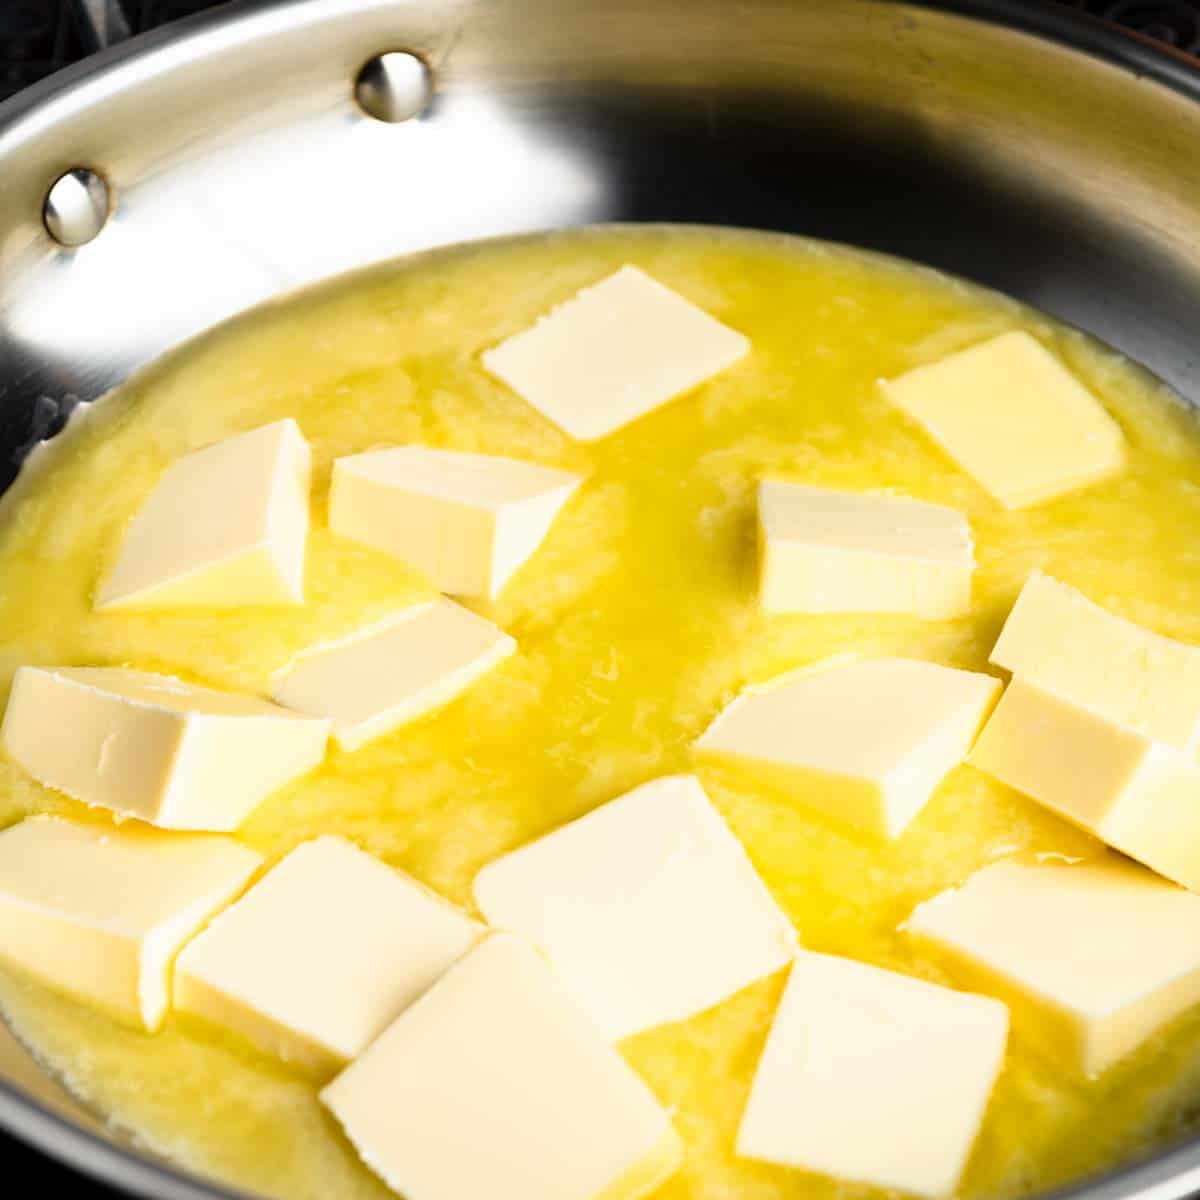
Pro Tip: Herb Brown Butter - To flavor the brown butter, add fresh herbs to the butter after it melts. Brown butter makes a wonderful sauce when infused with the flavors of fresh sage, thyme, or rosemary.
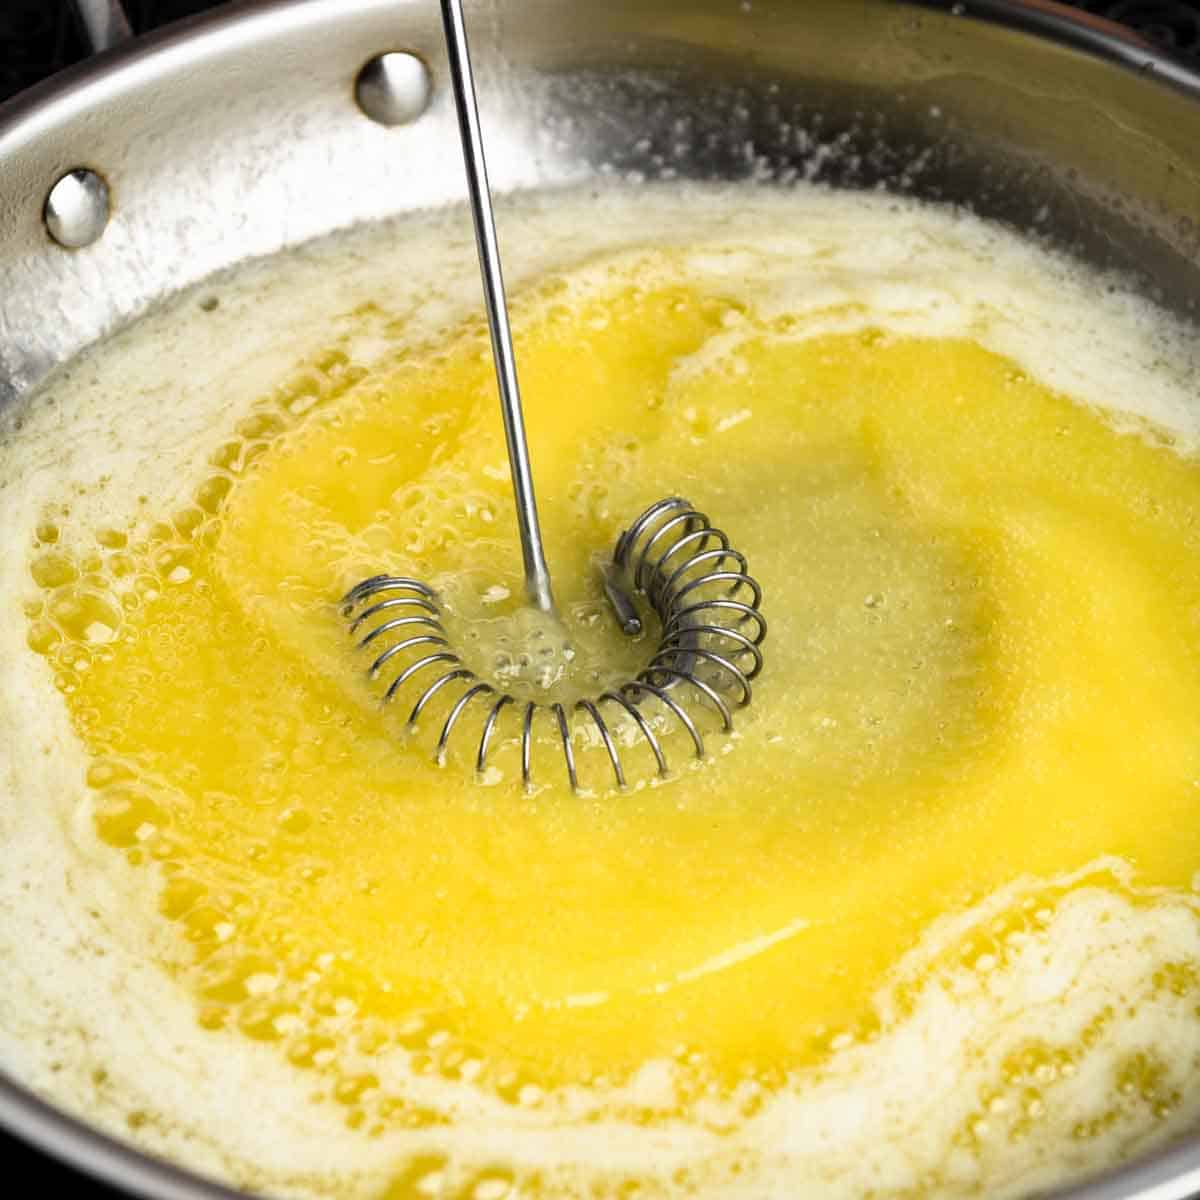
2. Initially the butter will become quite foamy. Continually stir the butter, scraping up any foamy bits that stick to the sides or bottom of the pan. As the butter gets warmer, the milk solids will visibly separate from the butter fat. Those white specks (milk solids) will eventually toasts and give off a warm, nutty aroma.
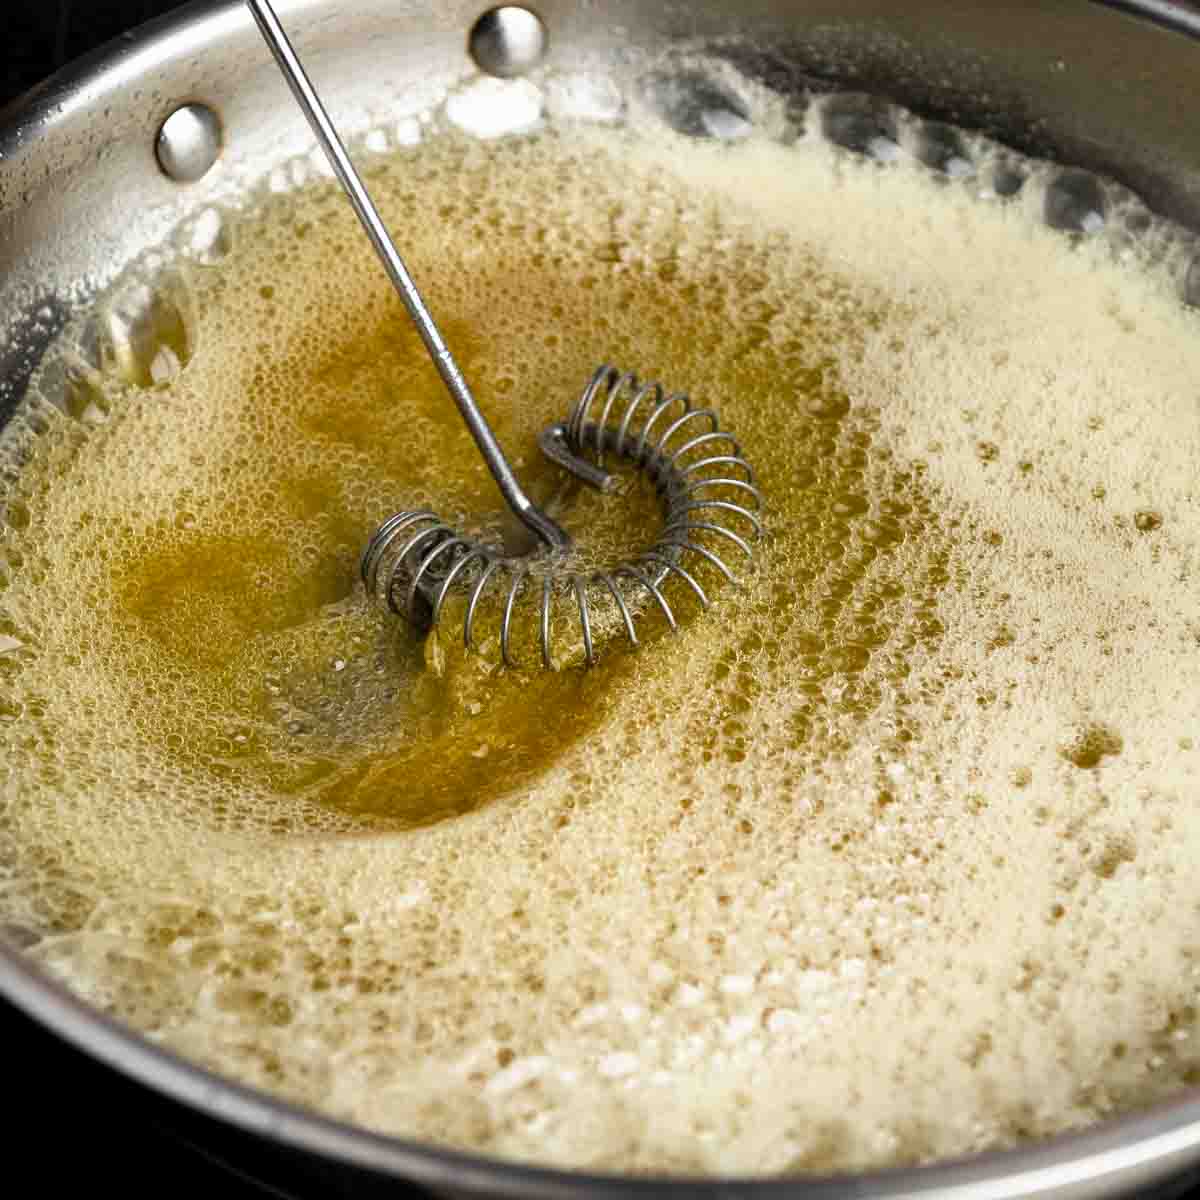
As the butter cooks, it will begin to boil, steam and spit. This is okay! In order for the butter to brown, first the butters’ natural water content will need to cook out. If the butter is boiling too violently, lower the heat slightly to maintain a more gentle simmer.
3. Watch closely! As you stir, you’ll notice more of the foamy butter sinking in the pan. Those white milk solids will slowly begin to transform into a light caramel color and your kitchen will smell incredible! Keep stirring and wait for the butter fat and milk solids to deepen into a rich brown color. Depending on the amount of butter (and the surface area of your pan) the whole process usually takes about 10 minutes, or less.
4. Once the butter is brown quickly remove it from the heat and transfer the butter into a heat safe dish. Be sure to scrape all those delicious brown speckles from the pan - that’s where all the flavor is!
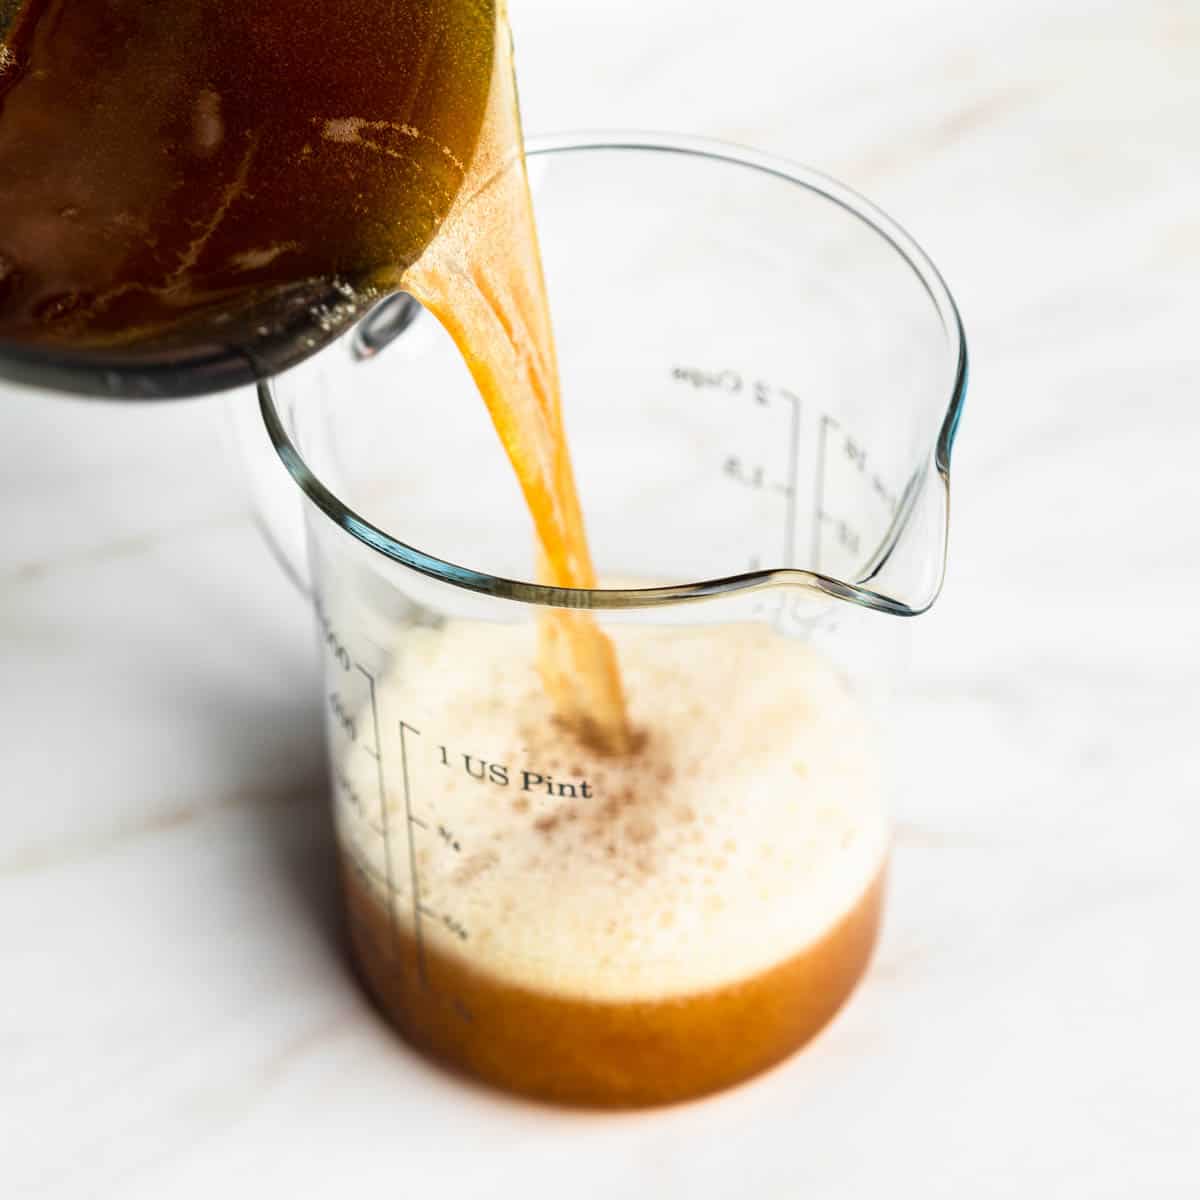
The brown butter will be hot and can be used for a pan sauce, on pasta or drizzled over warm vegetables right away. If you are making baked goods with brown butter (and I highly recommend you do!) you may need to let the butter solidify.
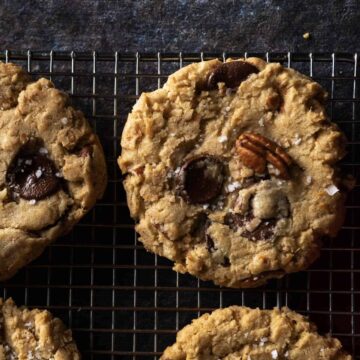
If your recipe calls for creaming the butter (like in our Chewy Dark Chocolate, Coconut & Pecan Cookies) let the brown butter solidify at room temperature (or in the refrigerator) until a solid, but softened consistency.
Brown Butter Verses Burnt Butter
The biggest thing to worry about when making brown butter is to make sure it doesn’t burn. Your butter can turn from toasty golden deliciousness to black and burnt in a matter of seconds.
It happens to the best of us. If your butter burns, you will need to start again with a fresh batch.
Here are 5 Tips to Avoid Burnt Butter:
- Cut butter into even sized pieces. To ensure even cooking, melt butter cut in 1 Tablespoon pieces.
- Use a light colored pan. While you can technically make brown butter in any pot or pan, it is much harder to see the color in darkly colored nonstick or cast iron pans. I recommend using a stainless steel or enamel coated pan for the best results.
- Stir often! Keep stirring the butter to ensure even cooking and avoid burning the edges. I like to use a small rubber spatula to scrape and milk solids from the sides and bottoms of the pan.
- Watch closely! Once you have golden brown delicious butter it will just be a matter of moments before it’s burnt. Keep stirring and pay close attention.
- Transfer butter to a heat safe dish. Even if you take the pan off the stove, the residual heat could cause your butter to continue cooking and potentially burn. Once your butter is brown, transfer the hot butter out of the pan immediately. I like to keep a glass dish ready to go next to the stove while it’s cooking.
How To Measure Brown Butter
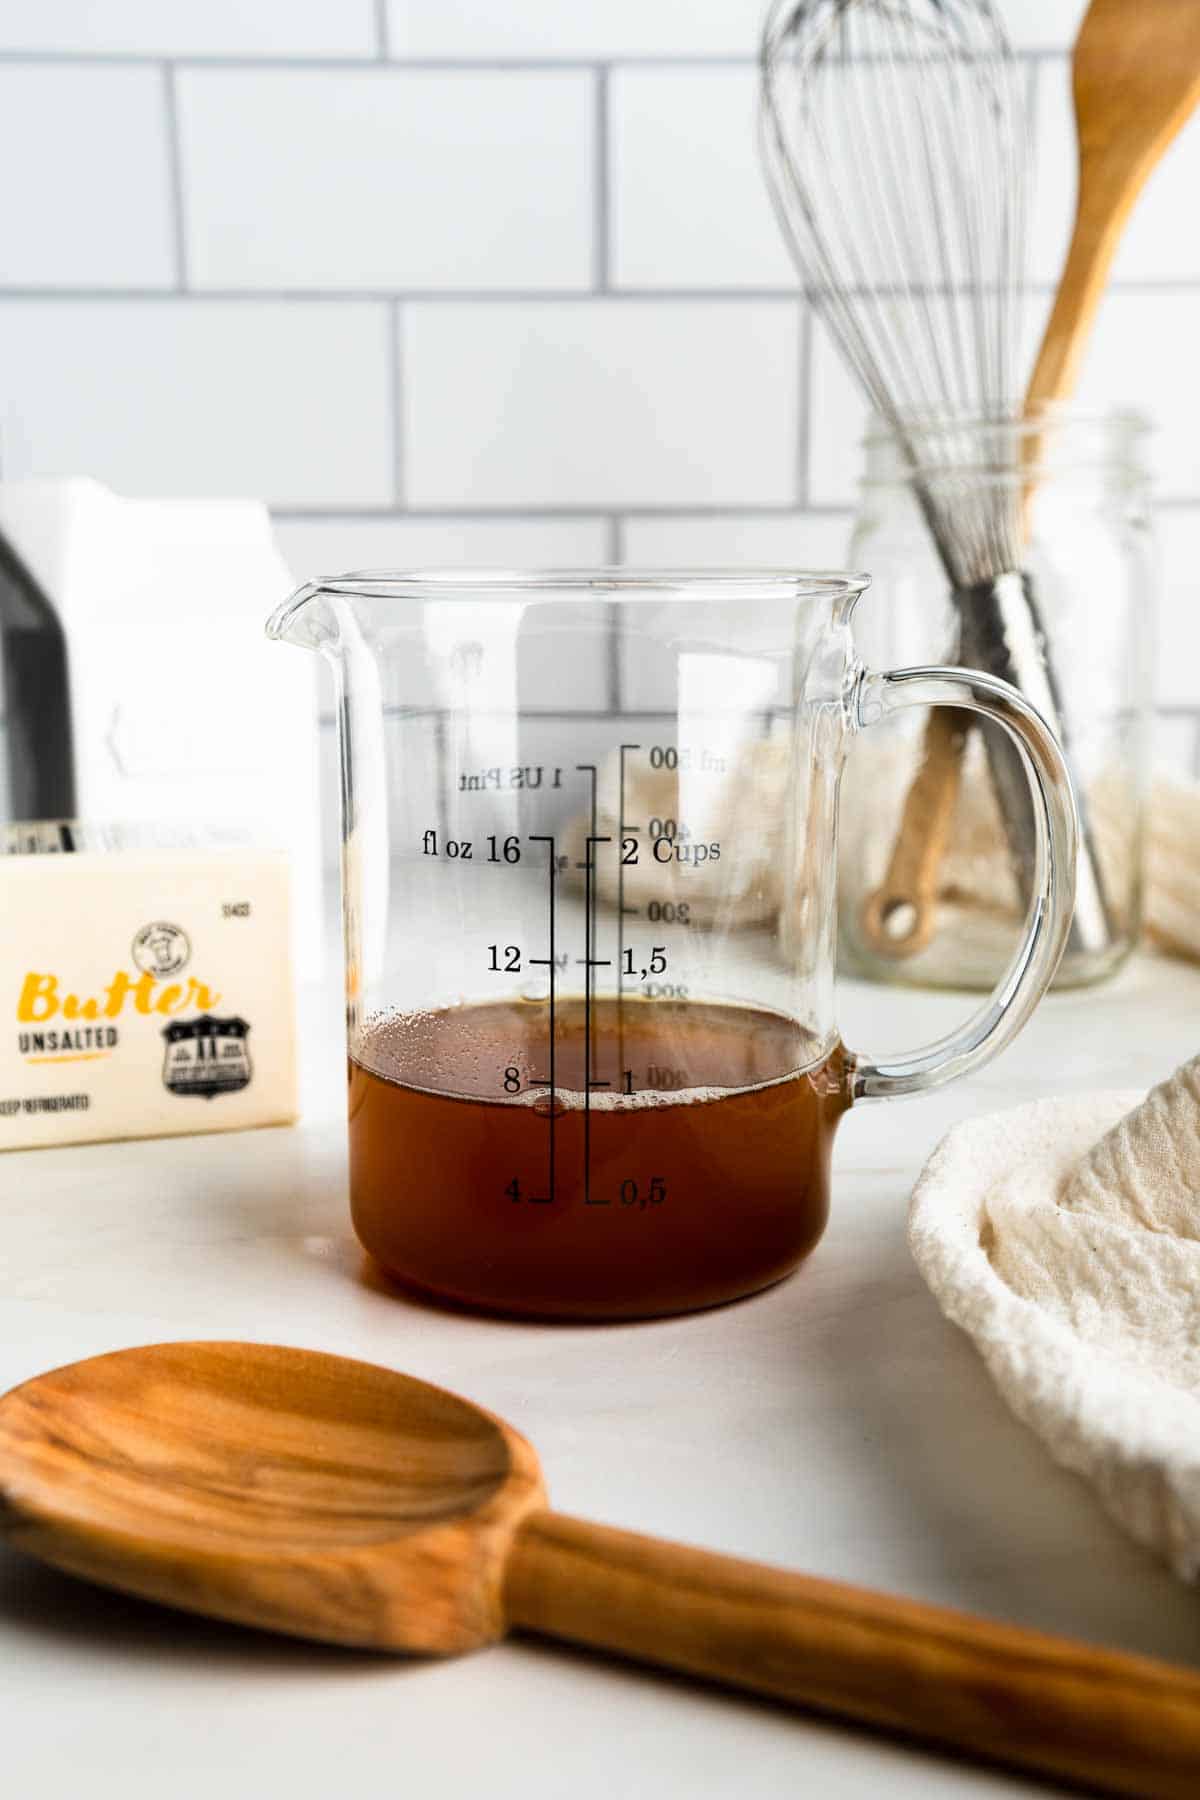
When making brown butter, it’s important to remember that there will be some loss due to water evaporating out of the steamy hot butter. Depending on the brand of butter you use, you can expect a loss of roughly 11% - 18%.
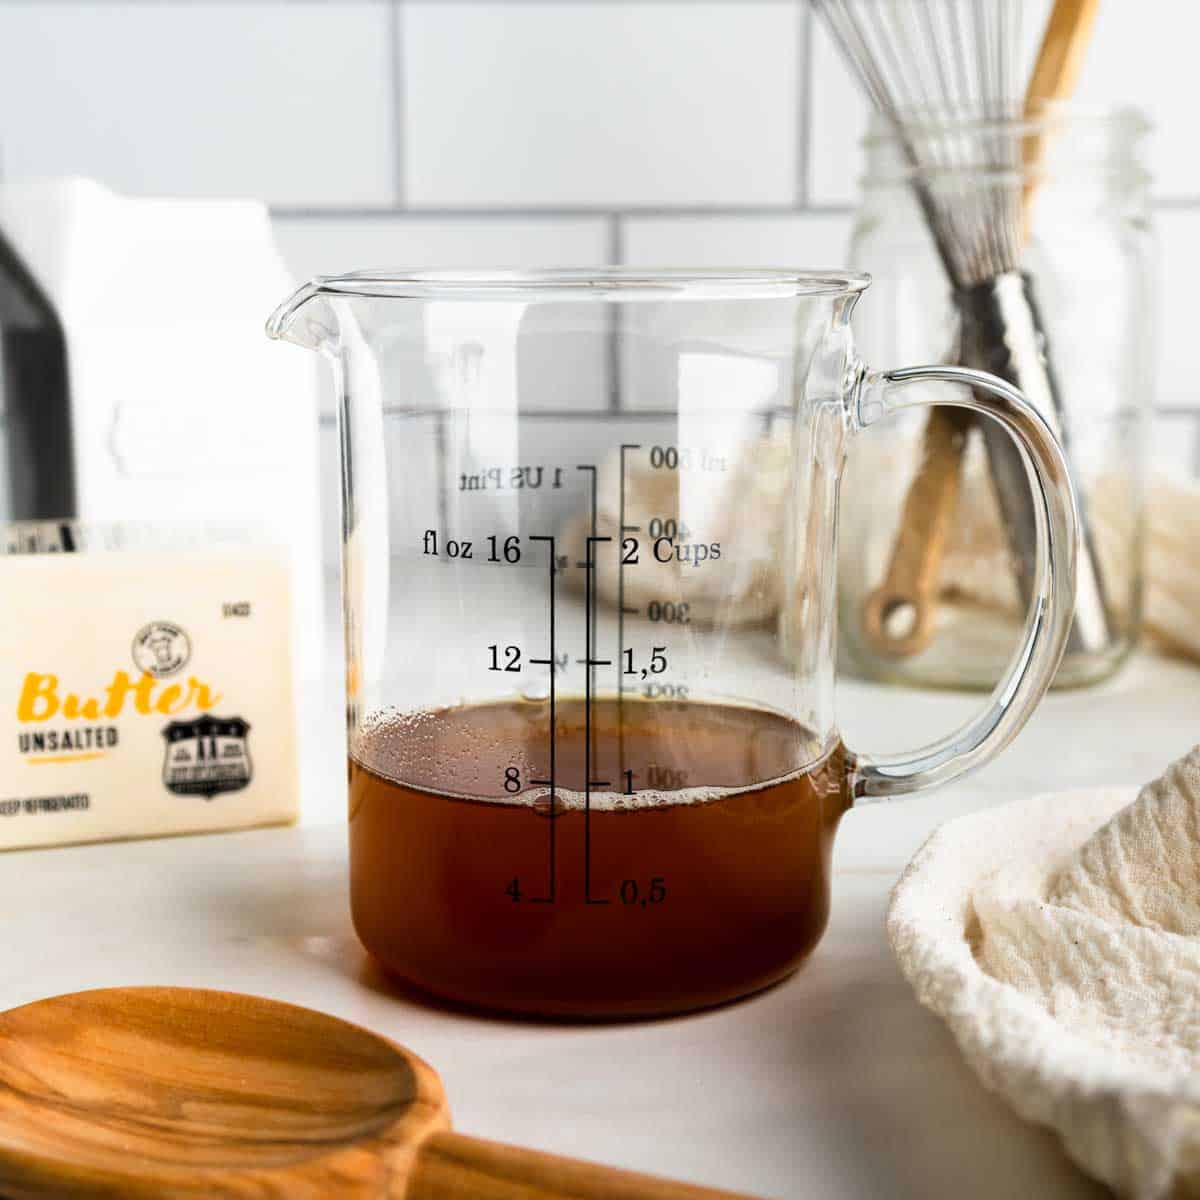
In this photo, you can see just what I mean. I started with two sticks of butter which are equivalent to 1 Cup. After browning, you can see the melted butter sits fairly below the 1 Cup volume marker in the measuring cup. For a simple pan sauce, the volume may not matter that much. For a baking recipe, you will notice a more significant difference.
There are a few ways you can navigate this, here are your options:
- Option 1: Measure butter AFTER browning. This is my go-to method, to ensure accuracy in baking recipes that call for brown butter. I like to brown a little extra butter and use just what I need. Leftover buerre noisette (as the French like to call it) is never a problem in my house!
- Option 2: Add additional butter. Add additional softened butter to the hot brown butter to make up for the loss. This method works best for savory sauces or ”streching” the butter, as needed.
- Option 3: Add milk. This method is great for more delicate bakes - like cakes, muffins and flaky pastries. Essentially, the milk replaces the moisture content that was cooked out during the browning. I usually use this method if I am making a recipe that calls for regular butter, but I want a richer, nuttier flavor profile.
Weight Is Greater Than Volume
The best way to ensure that you are using the proper measurements is to GET A KITCHEN SCALE! Especially for baking recipes, scaling ingredients by weight is a foolproof game changer. All of the recipes on our blog offer US volume measurement and metric weight measurements. However, it is important to note that all of FWF recipes are developed and tested using metric weight measurements.
Butter Volume To Weight Conversion Chart
| US Volume | US Sticks | Imperial Weight | Metric Weight |
| 1 Tablespoon | ⅛ Stick | ½ Ounce | 14 grams |
| ¼ Cup (4 Tbsp) | ½ Stick | 2 Ounces | 57 grams |
| ½ Cup (8 Tbsp) | 1 Stick | 4 Ounces | 113 grams |
| 1 Cup | 2 Sticks | 8 Ounces | 227 grams |
| 1 Pound | 4 Sticks | 16 Ounces | 454 grams |
Saving & Storing
Brown butter can be kept in the refrigerator for 1 - 2 weeks.
You can also keep brown butter frozen for 2 -3 months. I like to freeze mine in an ice cube tray and use it to finish pan sauces or thaw for pasta sauce, as needed.
Frequently Asked Questions
Brown butter is butter that has been cooked until brown in color and nutty in aroma and flavor. When cooking the butter, the water content is evaporated out and the milk solids separate from the butter fat. After a few minutes, the milk solids undergo a mallard reaction, becoming toasted and developing a caramelized flavor.
Beurre noisette is the French terminology for brown butter. Translating directly to ”butter hazelnut”, beurre noisette alludes to brown butters’ hazelnut-like nuttiness and toasty, caramelized aromas and flavors.
Yes! Brown butter can be made from salted or unsalted butter. We usually use unsalted butter since our baking recipes call for salt anyway.
The better the butter, the better the brown butter! Try making this recipe with high-quality butter for the best results.
Yes! Brown butter can be substituted in most any recipe that calls for butter. When substituting brown butter in recipes, be sure to account for evaporation. More details on this in the How To Measure Brown Butter section, above.
When making brown butter you can expect a loss of 11% to 18% depending on the brand of butter you use.
Oh no! It sounds like your butter is burnt! Sadly, there is no way to save burnt butter. Check out our tips for preventing burnt butter and try again!
Our Favorite Brown Butter Recipes
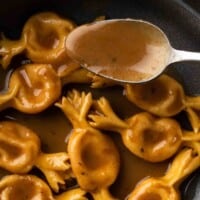
Brown butter adds a deep and nutty flavor to baked goods and savory dishes. One of our favorite ways to enjoy brown butter is to make a simple sage and brown butter sauce for our homemade pasta recipe. It's especially delicious with squash or pumpkin ravioli.
Basically, brown butter makes just about anything better! Try it out in your favorite sweet or savory recipes, or whip it with a little flaky sea salt for a delectable bread spread!
Recipe
How To Make Brown Butter (Beurre Noisette)
ADJUST SERVINGS
Special Equipment
- 1 Light Colored Pan (We use stainless steel pans from 360 Cookware)
Ingredients
- 1 Cup butter (2 Sticks); Cut into Tablespoon pieces
- 1 handful fresh herbs Optional, as desired for savory sauces (We recommend sage, thyme or rosemary)
Instructions
- Before beginning, set up your station. You will need a light colored pan, a stirring utensil (we recommned a rubber spatula), and a heat-safe dish to transfer the hot butter into.
- Melt butter in a light colored pan over medium heat. (If using, add herbs, as desired). Stir often. The butter will seperate into milk solids and butter fat. At first the butter will be foamy, then boil or simmer and finally begin to caramelize as the foam subsides. (If the butter begins to boil rapidly, reduce heat to simmer).
- After 10, or so minutes (depending on the quantity of butter and surface area of your pan) the milk solids (white specks) will begin to caramelize and become brown in color and nutty in aroma. Continue stirring until the butter is brown, nutty and very aromatic. Watch closely to avoid burning and remove from heat immediately.
- Transfer brown butter out of the hot pan and into a heat-safe dish to stop cooking. Be sure to scrape all of the browned milk solids from the pan and into the butter. Serve hot as a sauce, or use in a recipe, as directed.
Notes
* A Note About Salt
Unless otherwise noted, all recipes on The Sage Apron are developed using Diamond Crystal Kosher salt. It is a great all-purpose salt for cooking and baking. If using table salt, reduce quantities by about half.






Comments
No Comments