This no bake chocolate peanut butter pie is so decadently delicious! This sweet and salty dessert features a homemade pretzel pie crust filled with layers of whipped peanut butter and cream cheese pie filling topped with silky chocolate mousse! It's to die for!
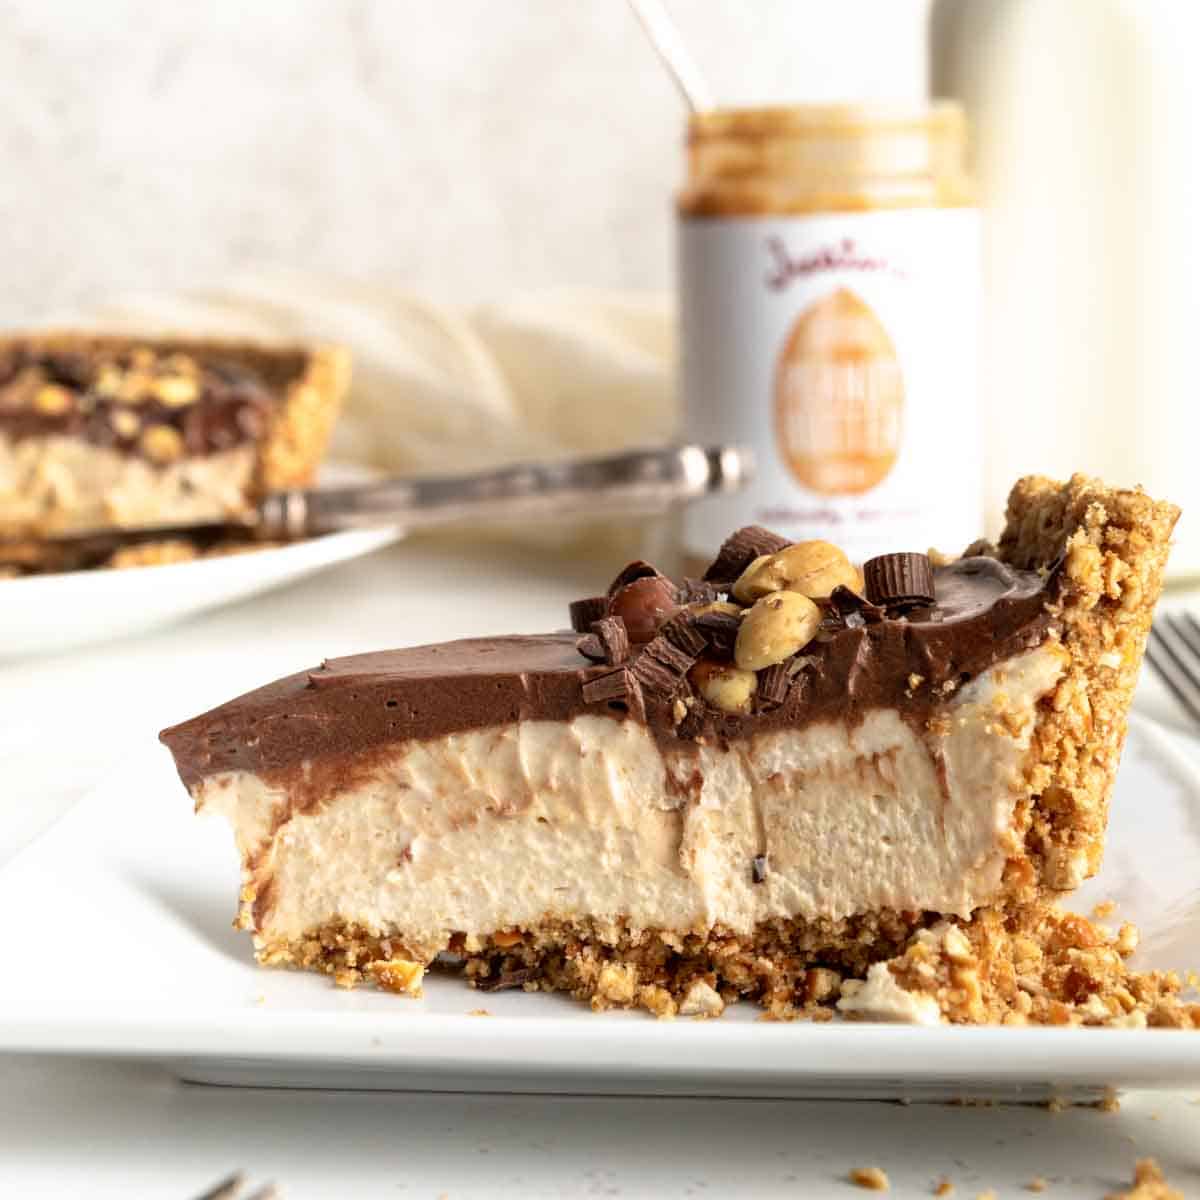
This delicious old fashioned peanut butter pie is perfect to enjoy all year round! We especially love this no bake recipe during hot Summer days when you don't want to put on the oven!
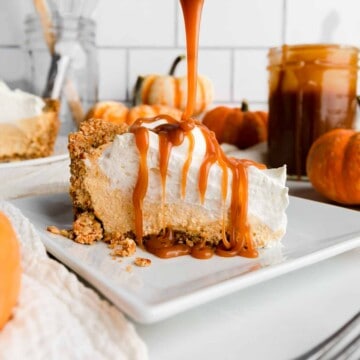
It's an easy recipe that anyone can make and the whole family will love. For another no bake pie recipe, try our No Bake Pumpkin Pie with Salted Caramel
Ingredients
This scratch recipe transforms simple ingredients into a decadent dessert that is loaded with chocolate and peanut butter flavor! Here's what you'll need for this no bake chocolate peanut butter pie:
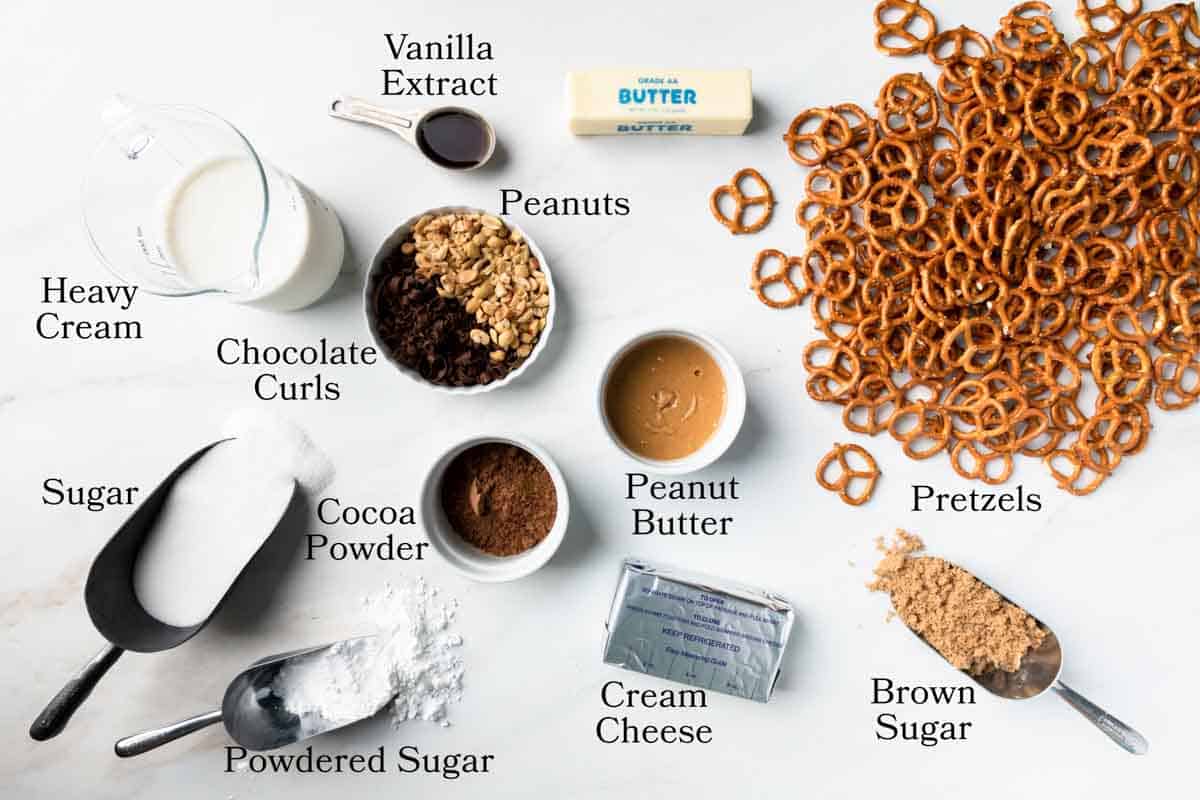
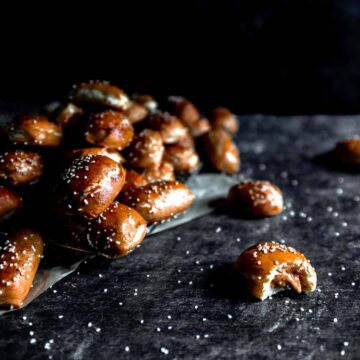
- Peanut Butter - For the best fluffy texture and peanut butter flavor - use creamy peanut butter. If using a natural peanut butter, be sure to stir well to evenly distribute the oils. Otherwise, a sweetened peanut butter (like Skippy or Jif) works well for this recipe. If you love baking with peanut butter, be sure to try our Peanut Butter Filled Pretzel Nuggets, too!
- Pretzels - You can use any pretzel you like, even gluten-free! Make your own pretzel crumbs from pretzel twists, snaps, sticks or rods.
This recipe is made with our homemade pretzel pie crust. It's a super easy, three ingredient recipe that compliments the sweet flavors with a salty, satisfying crunch! I highly recommend it! However, to save time, you can also make this recipe with a pre-made graham cracker crust or a chocolate cookie crust.
How To Make This Recipe
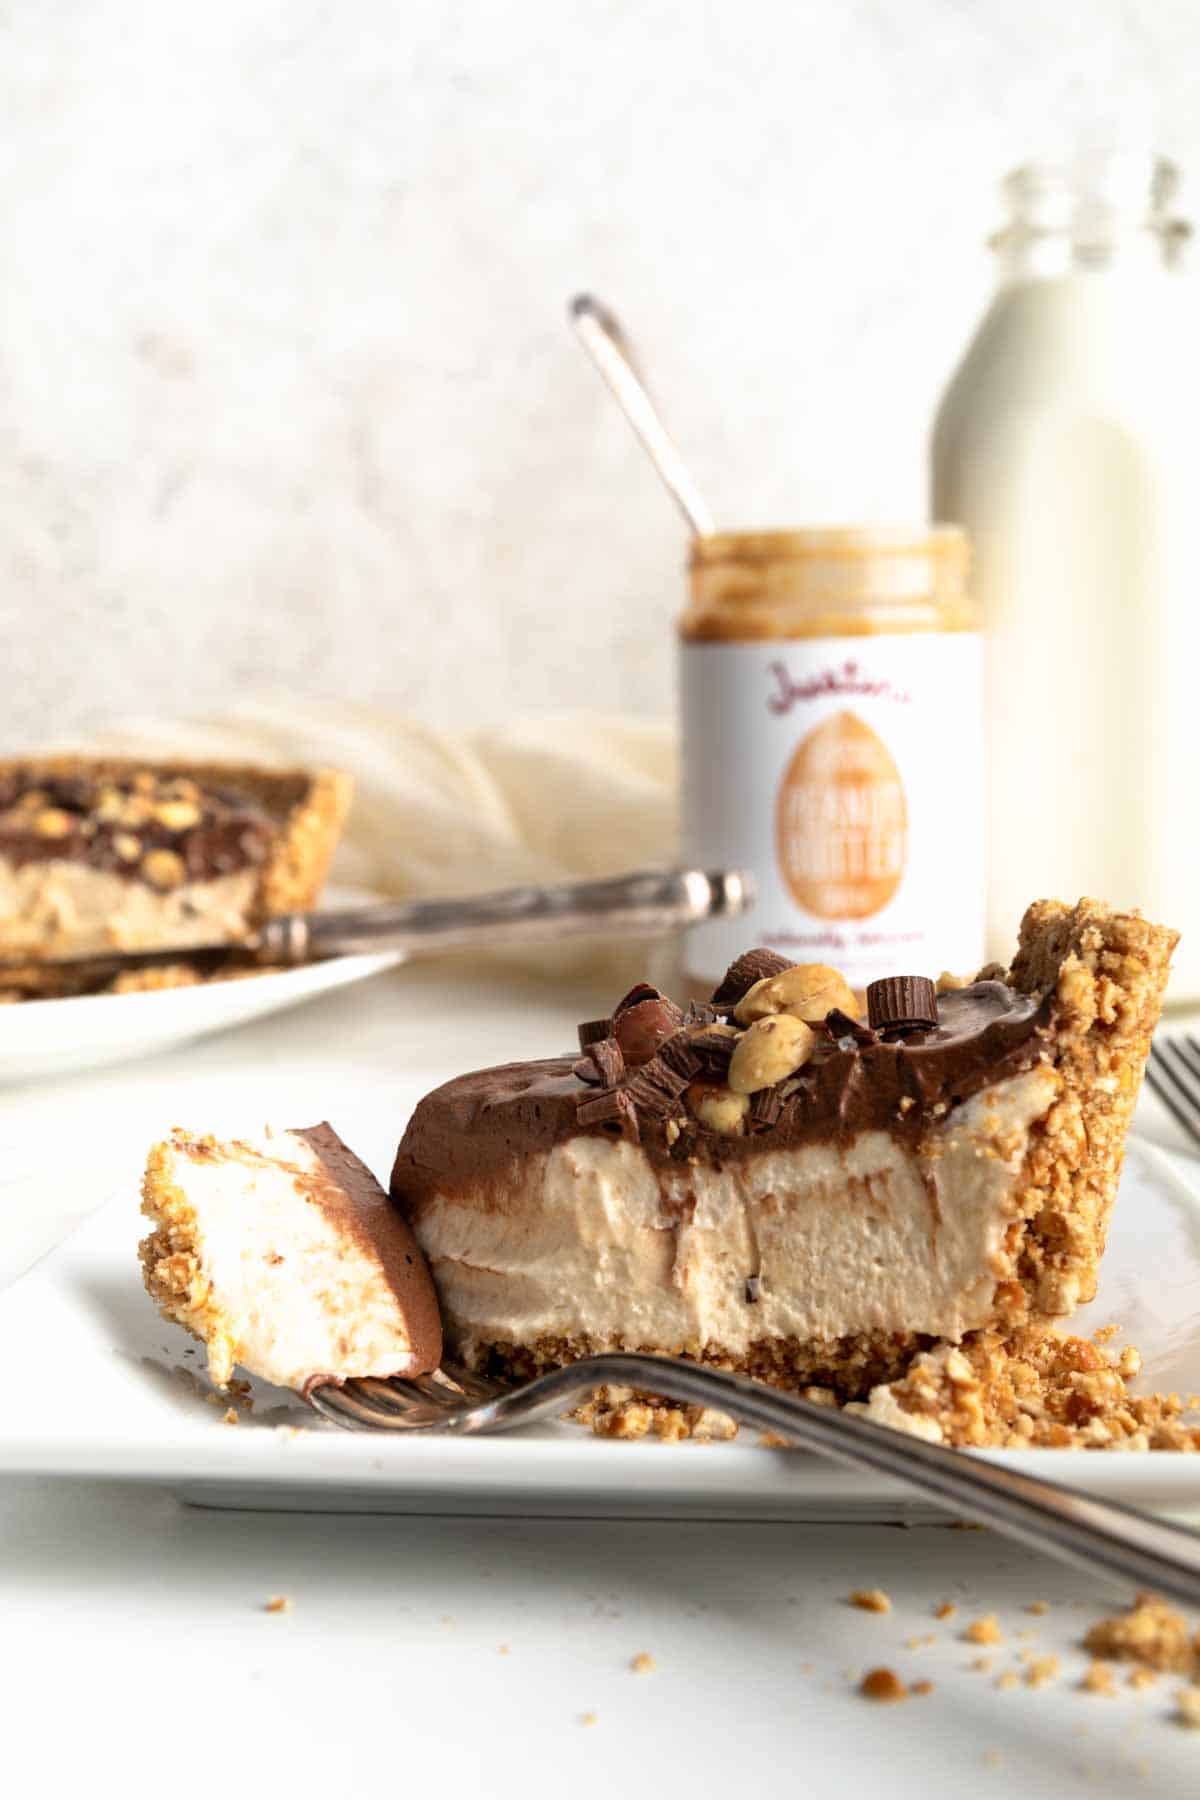
This no bake chocolate peanut butter pie is composed of a salty pretzel pie crust, a creamy peanut butter filling and a decadent chocolate mousse. It's an easy dessert to make, but does require a few mixing bowls! Trust, it's worth it!
For the best results, we recommend making this pie with a deep-dish, removable-bottom tart shell and an electric hand mixer.
Pretzel Pie Crust
This homemade pretzel pie crust adds the perfect salty balance to the combination of chocolate and peanut butter!
1. Start by crushing pretzels (or gluten-free pretzels) into fine crumbs. I used a food processor for speed, but you can also crush them in a sealed bag with a rolling pin. I like to leave a few larger pieces for a crunchy, crumbly texture but a finer crumb will hold together stronger.
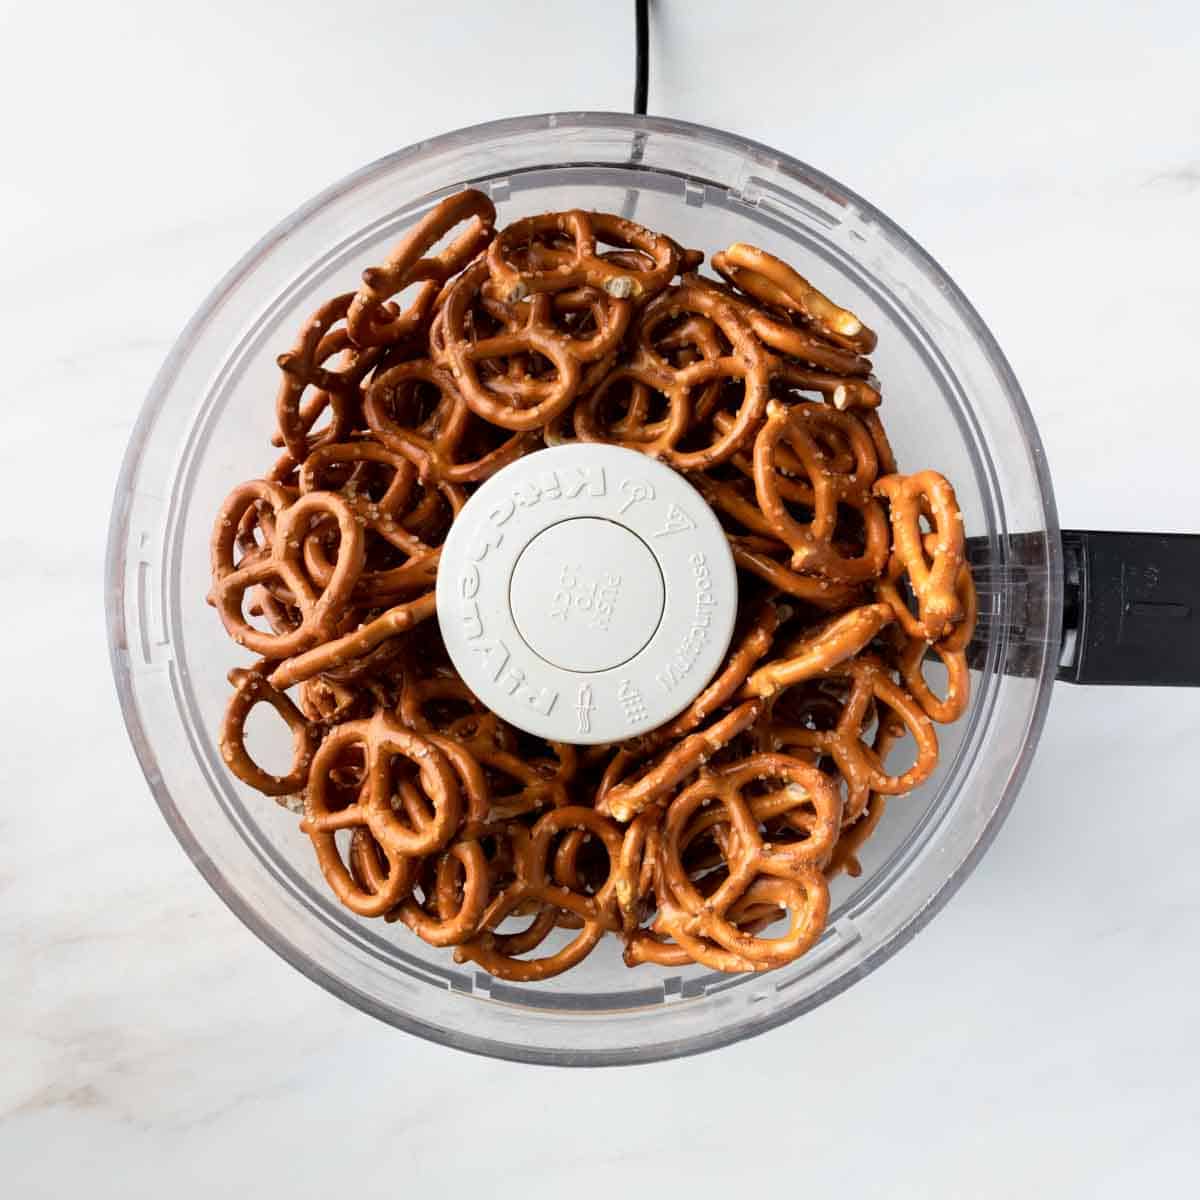
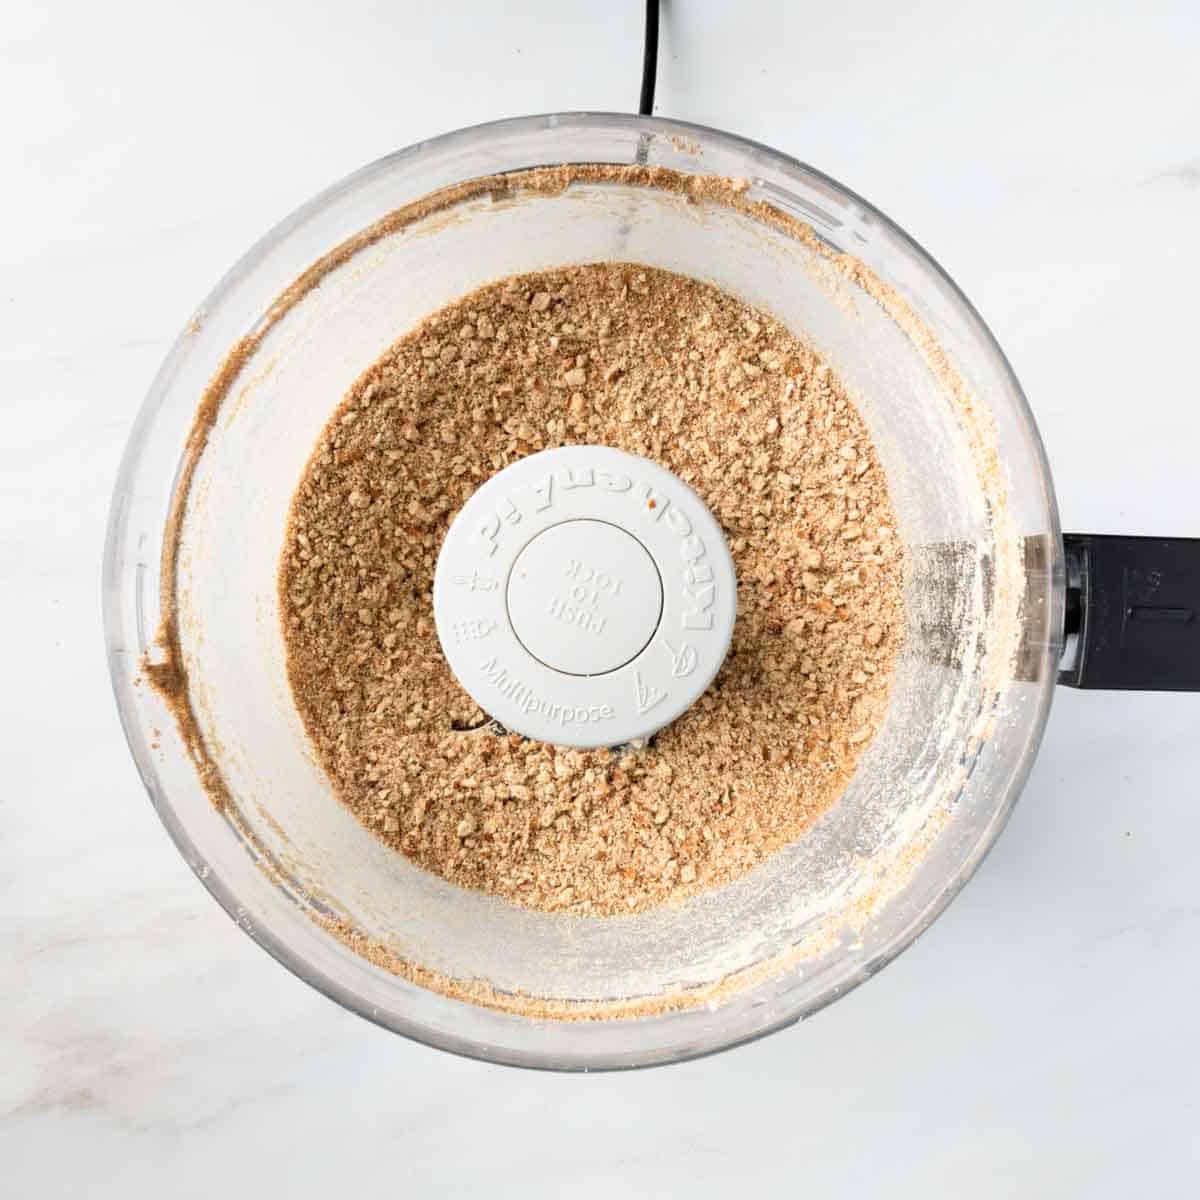
2. In a medium mixing bowl, combine the pretzel crumbs, brown sugar and 1 stick of melted butter. Stir to combine.
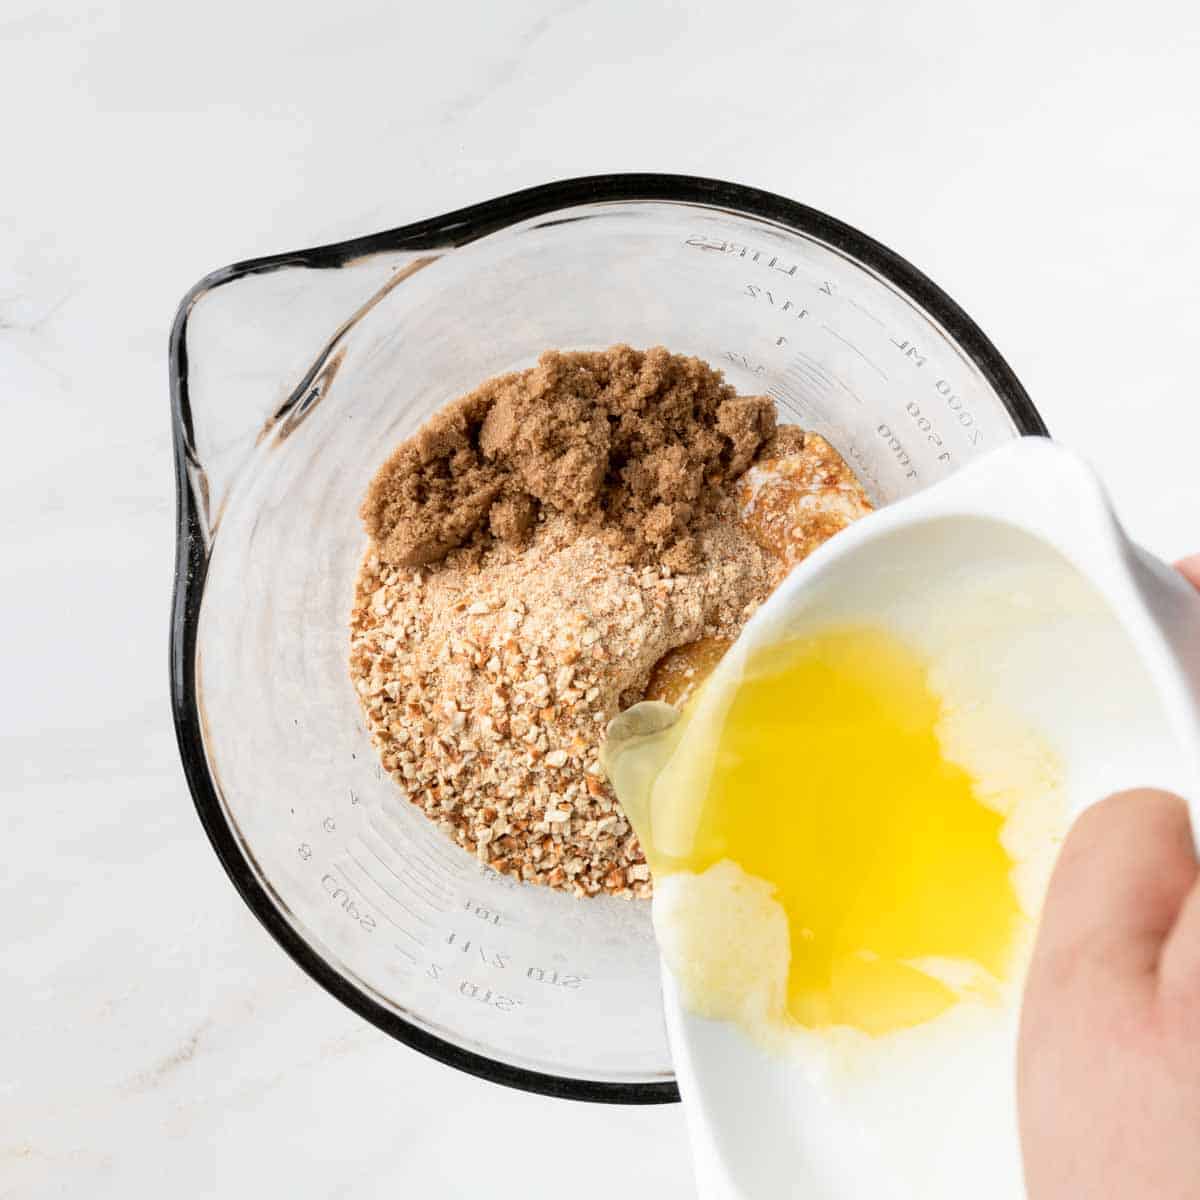
Pro Tip: The consistency of the crumbs should resemble wet sand and hold firmly together when squeezed. Depending on the brand of pretzels and the humidity, you may need to add a little extra melted butter. Where I live, in a dry climate, this pie crust usually requires 10 Tablespoons of butter.
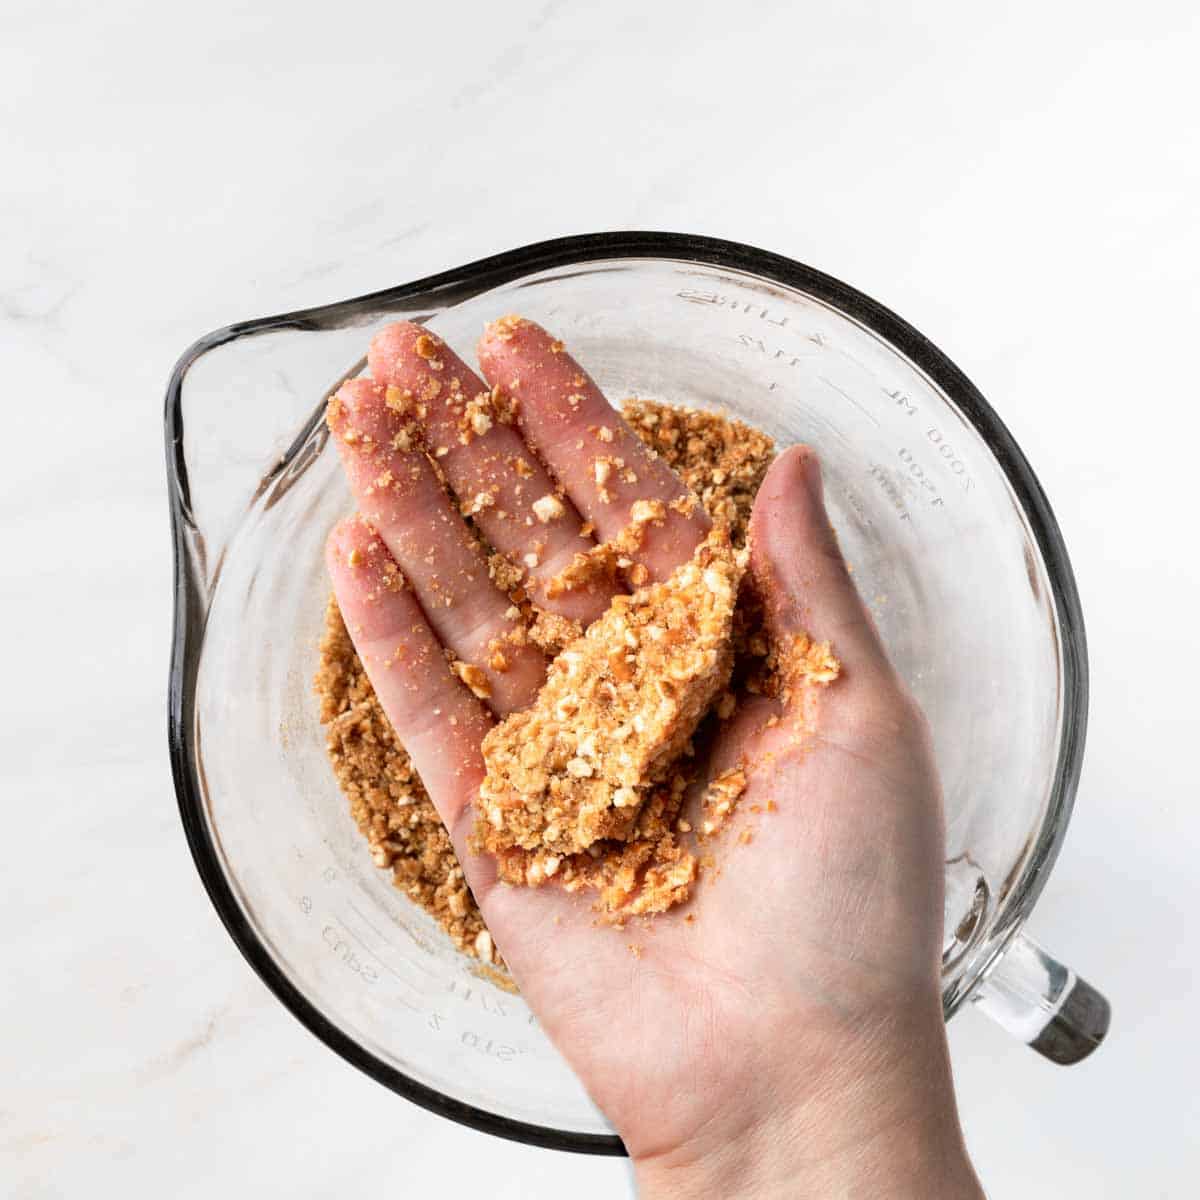
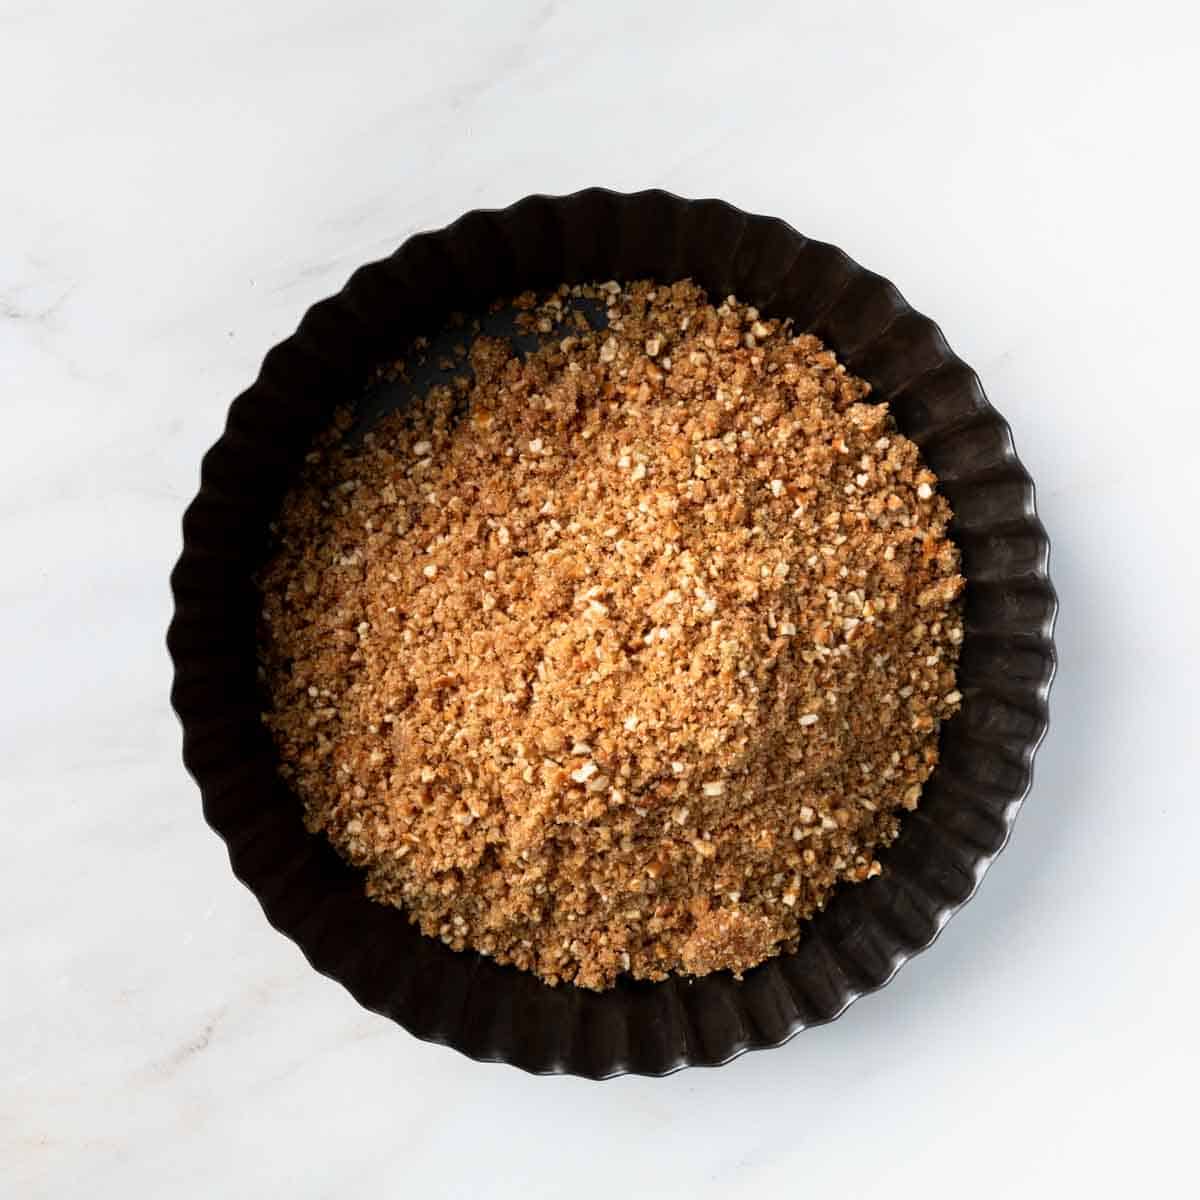
3. Pour the moistened pretzel crumbs into your pie shell. You can use any pie plate you like, but this recipe fits best in a large or deep-dish pie or tart pan. I recommend using a tart shell with a removable bottom for easy slicing and serving.
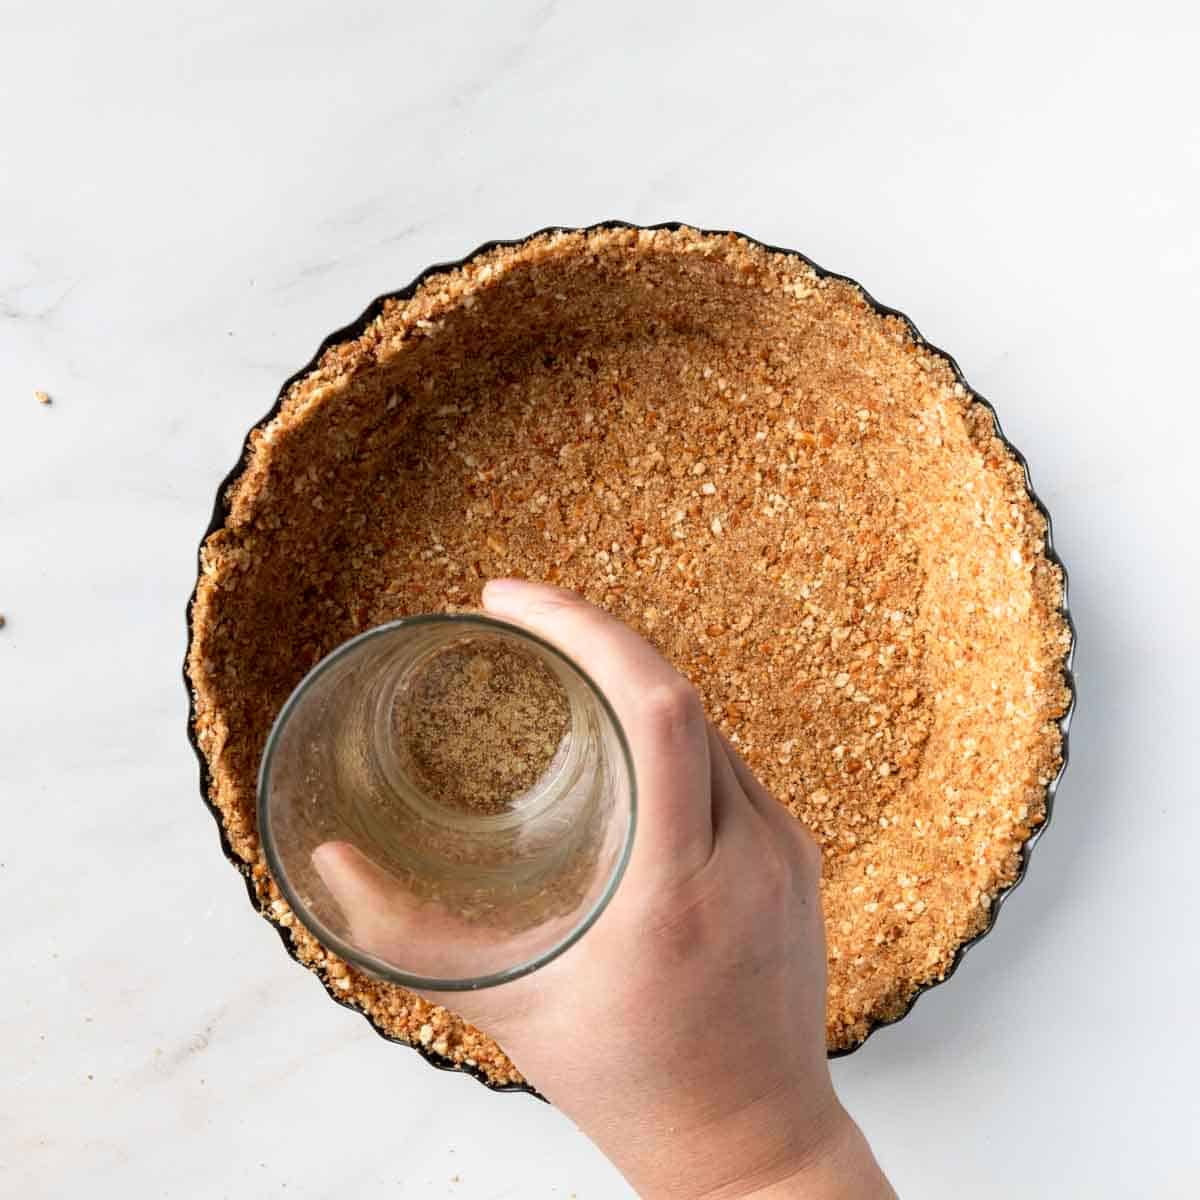
4. Use the sides and bottoms of a drinking glass (or measuring cup) to press the crumbs firmly into the pie plate. The key is to start by pressing the crumbs into the edges of the pie plate first, and then using the remaining crumbs to create an even layered bottom.
At this stage the pie crust can be frozen or refrigerated. If you have the freezer space, I recommend popping it in the freezer for a few minutes while you prepare the peanut butter layer.
For more pretzel pie crust filling ideas, check out the full recipe post.
Baker's Journal: Baked Pretzel Pie Crust
My favorite part of this recipe is that it is a no-bake pie that I can make in the Summer heat without ever using my oven. The pretzel pie crust is scrumptious when chilled straight from the fridge. However, for an extra crunchy base, this crust can be baked briefly. I recommend baking the pretzel pie crust if this recipe will be made a day or two ahead of time. If serving the day of, it really isn't necessary.
To bake, preheat the oven to 375 degrees Fahrenheit. Toast the pie crust for 7 - 10 minutes or until golden and toasty. Cool completely before adding any fillings.
No Bake Peanut Butter Cheesecake
Th peanut butter layer of this pie is sweet, salty, and tangy with a smooth and fluffy texture. It's essentially a no-bake peanut butter cheesecake with a light, mousse-like mouthfeel. The key to creating the light and fluffy texture comes from whipping the cream cheese and peanut butter mixture until light and aerated. Then, gently fold in the whipped cream without deflating. Here's how:
1. In a medium mixing bowl, combine peanut butter, cream cheese, granulated sugar and vanilla extract. With an electric hand mixer, mix on medium-high speed for 3 - 4 minutes or until completely smooth, fluffy and pale in color.
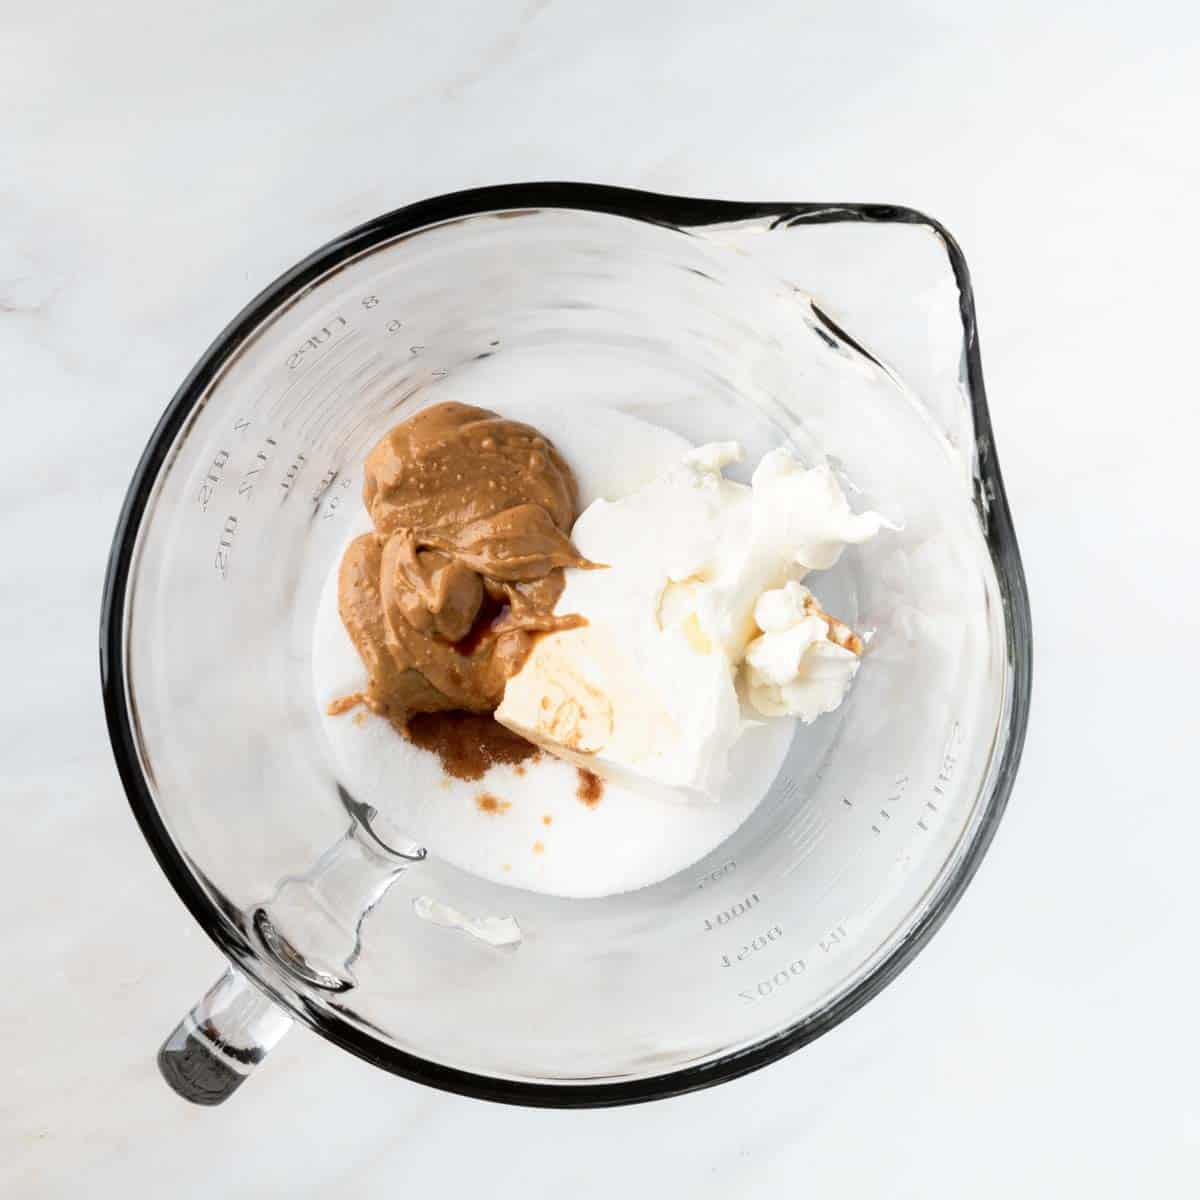
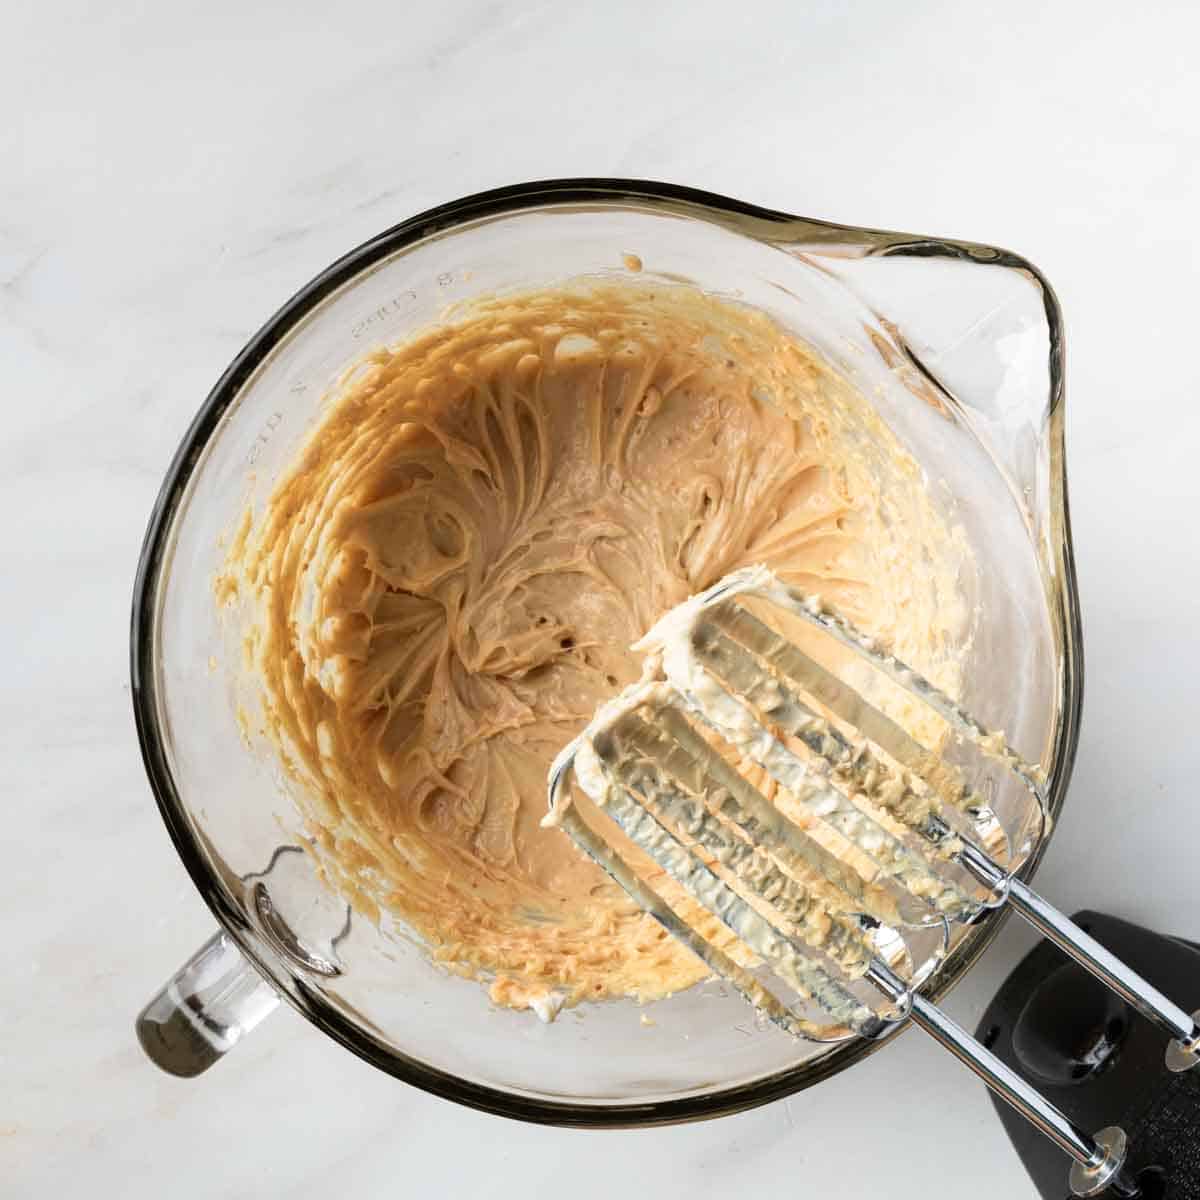
2. Then, in a separate large mixing bowl, whip ¾ Cup of heavy whipping cream until stiff peaks form. Cream whips best when it is very cold. For this reason, I like to use a refrigerated metal mixing bowl. I also like to start the mixer speed on low, and gradually increase the speed to medium high during the duration of the whipping time. It helps to keep the cream stabilized after whipping.
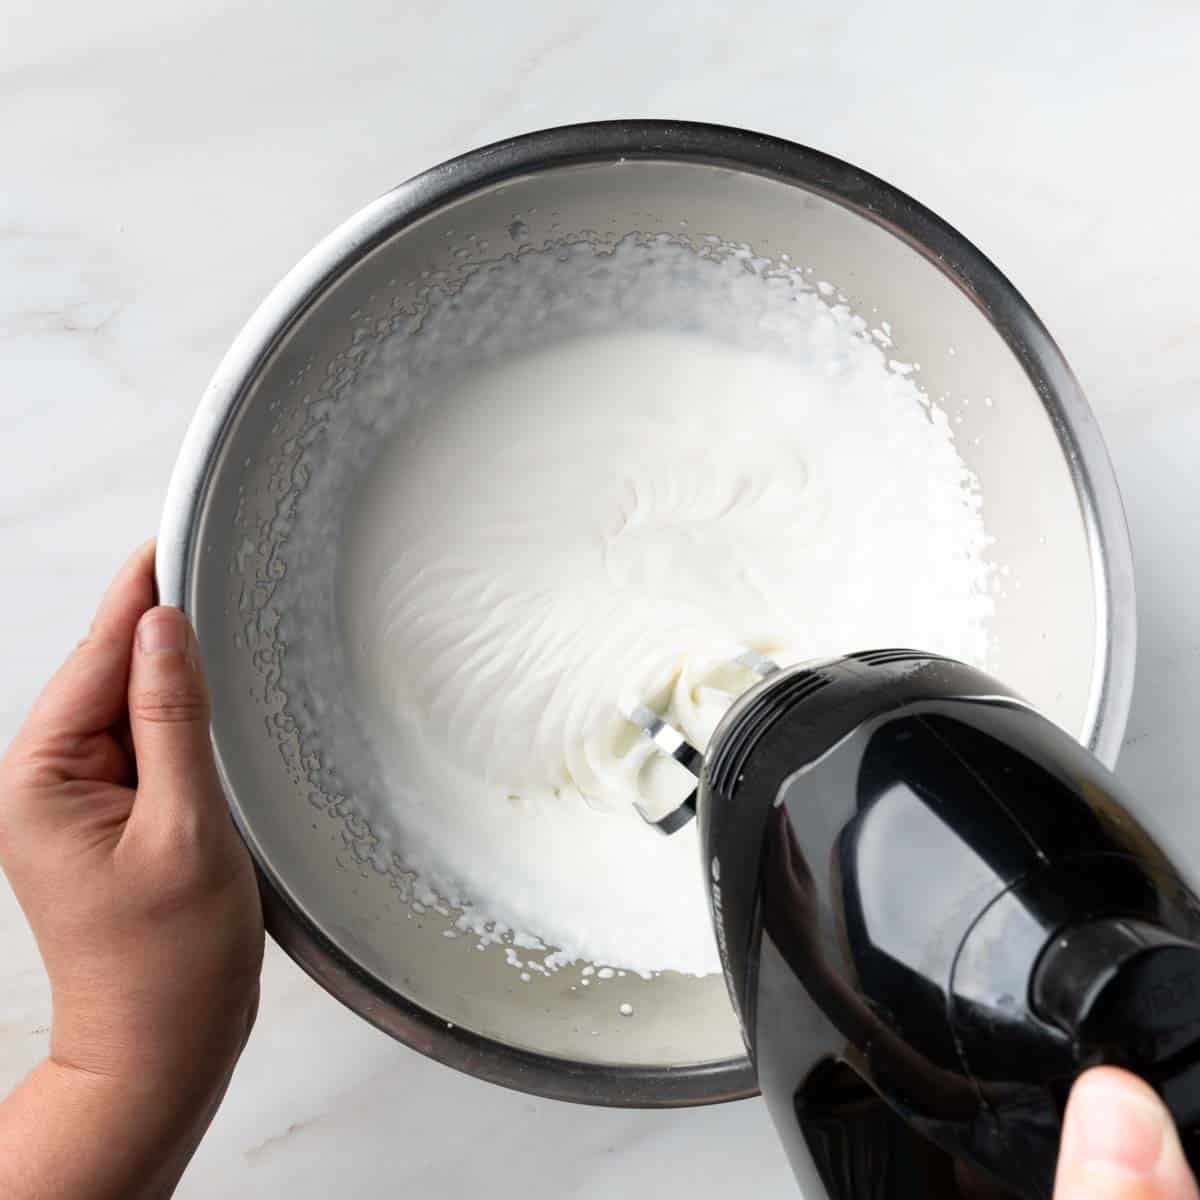
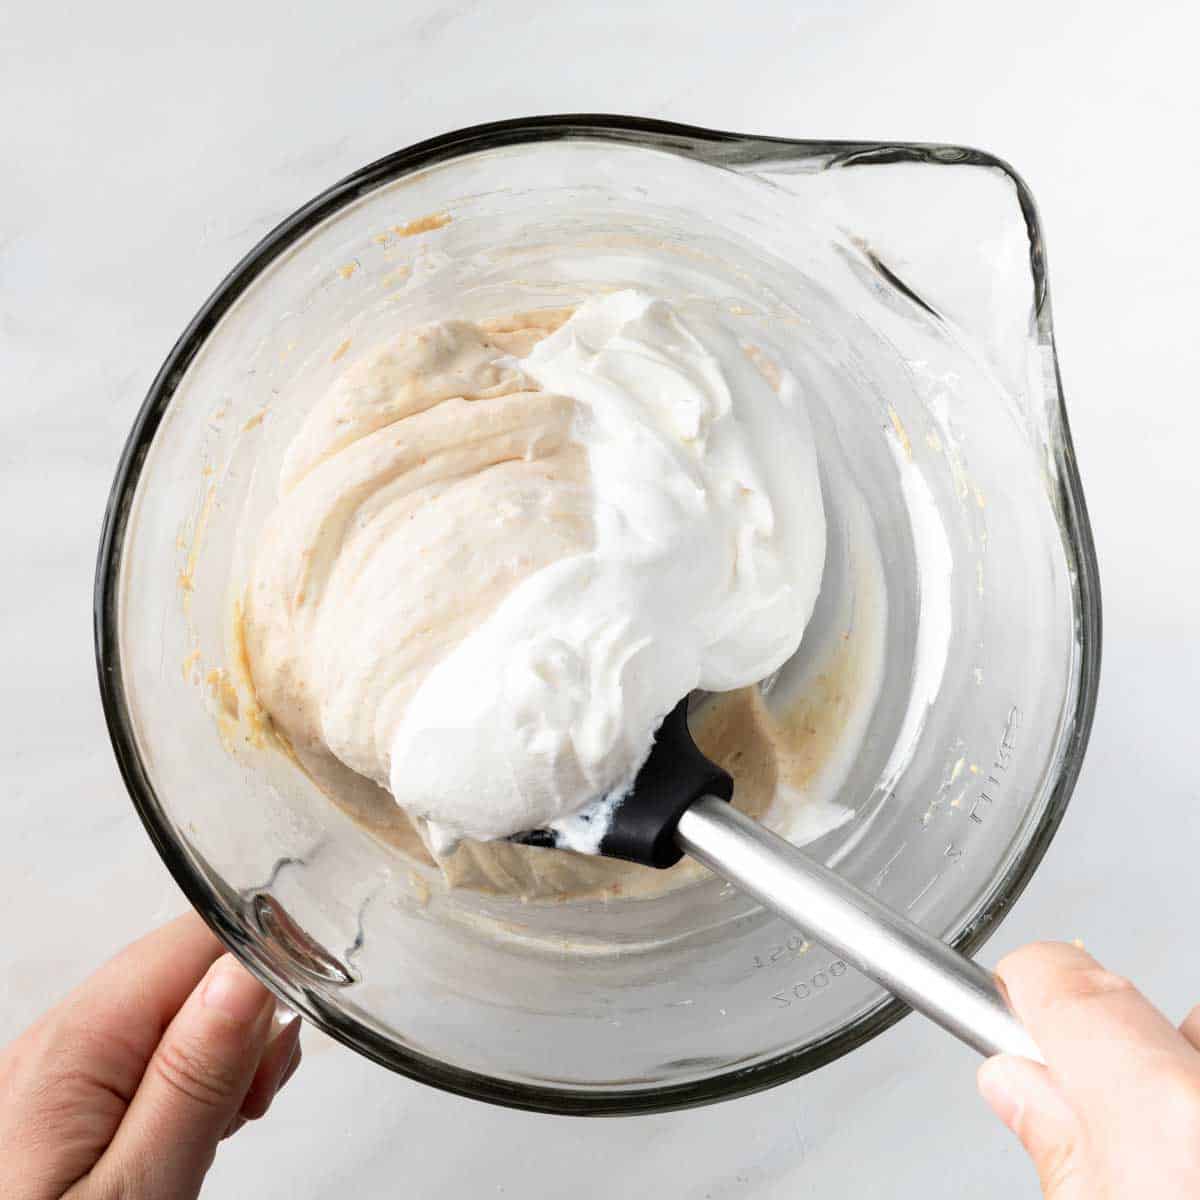
3. Once your whipped cream is stiff and holding its' shape, it's time to add it to the peanut butter mixture. Add in about ⅓ of the whipped cream and use a rubber spatula to fold in, gently. Repeat, twice more, with the remaining thirds of whipped cream until fully incorporated.
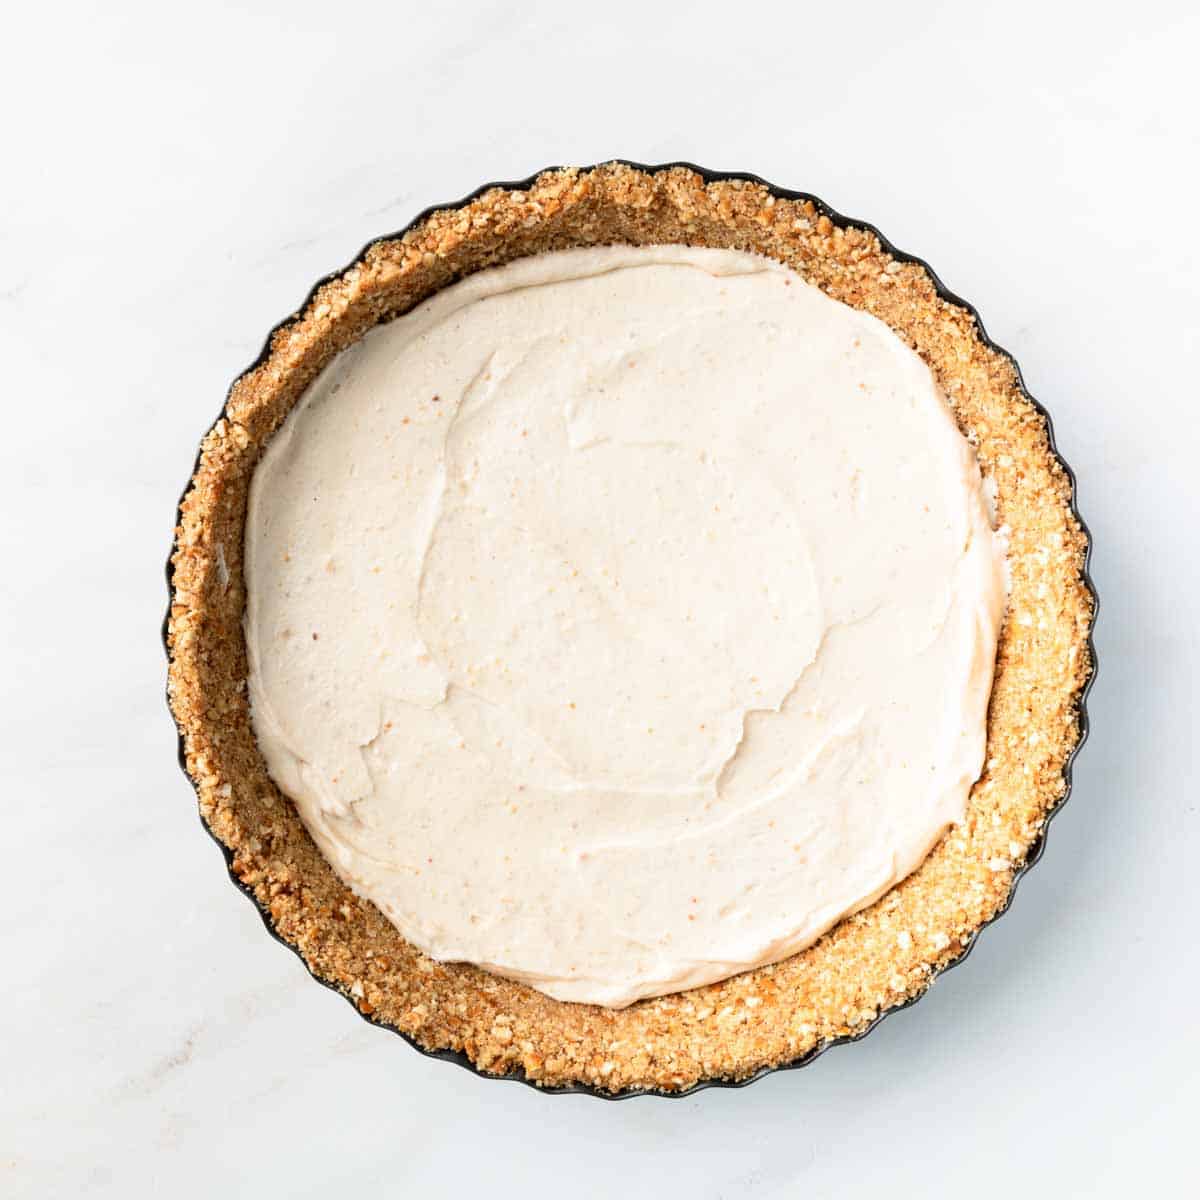
4. Pour the filling into the chilled pie shell and level with an offset spatula. Refrigerate while preparing the chocolate mousse layer.
Chocolate Mousse
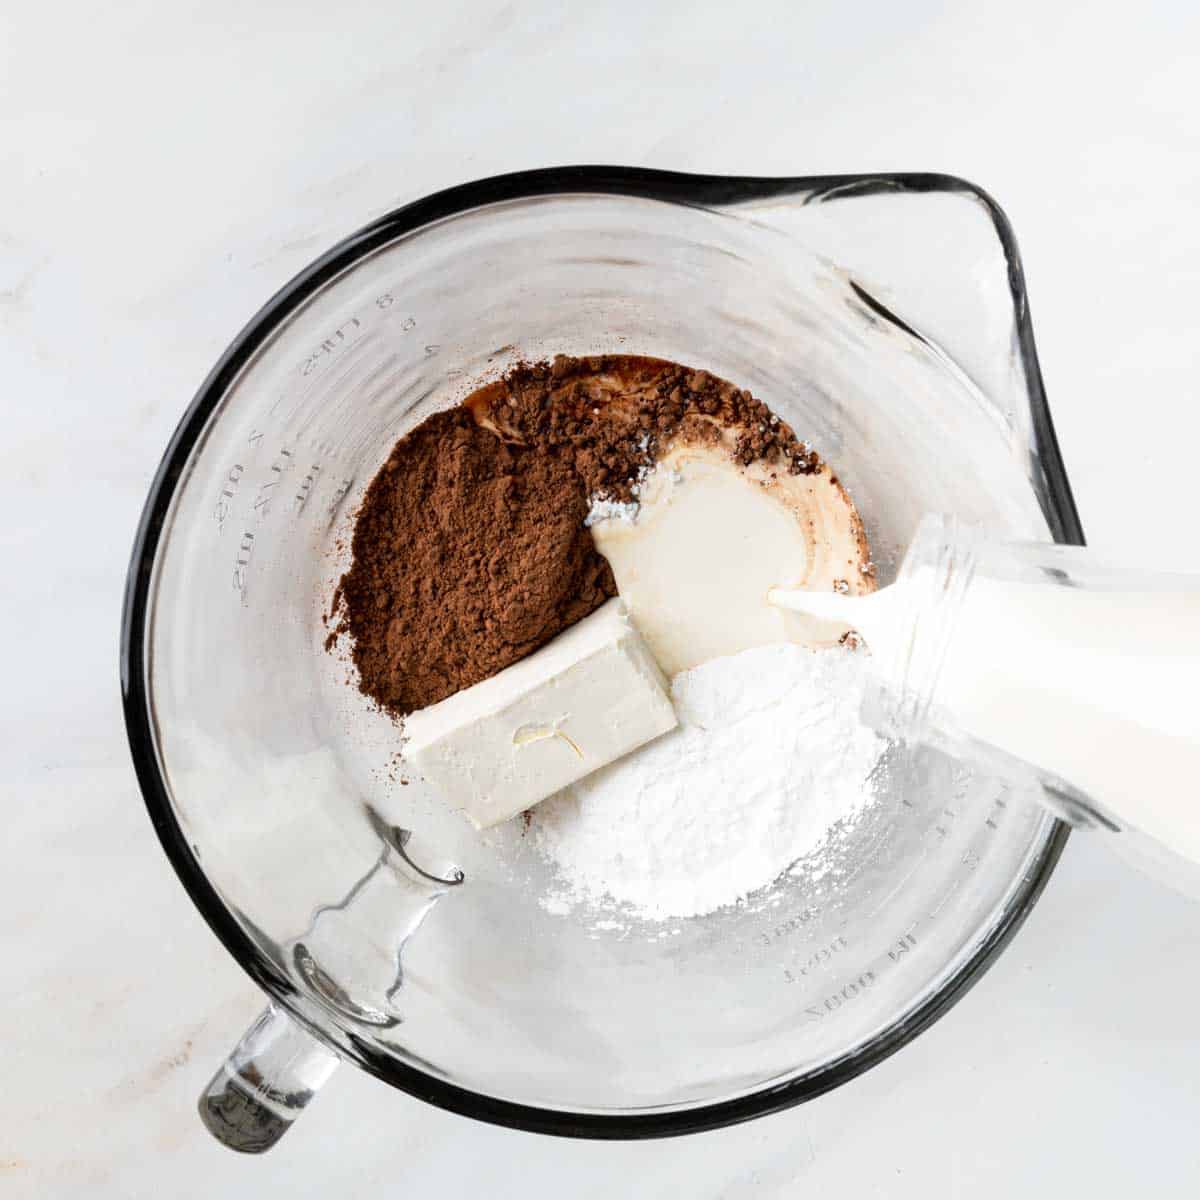
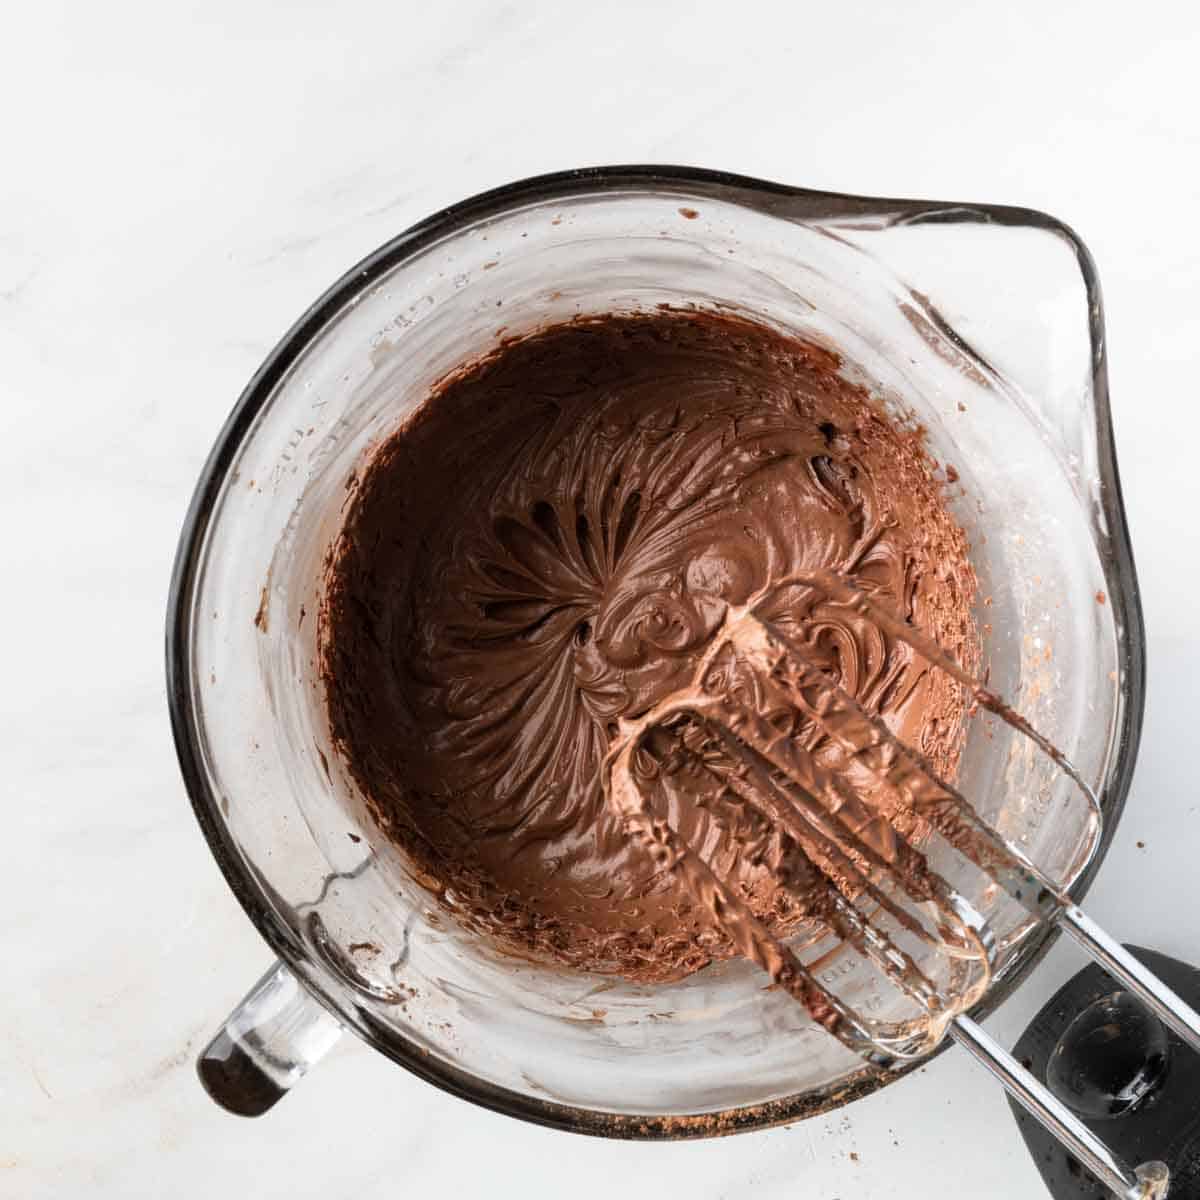
The chocolate layer of this recipe is a whipped chocolate cream made from cocoa powder, powdered sugar, cream cheese, vanilla and heavy cream. Make sure to keep all of the ingredients cold when whipping.
1. Combine all ingredients in a medium bowl. Whip using an electric mixer on medium high speed for 5 minutes until perfectly smooth and creamy.
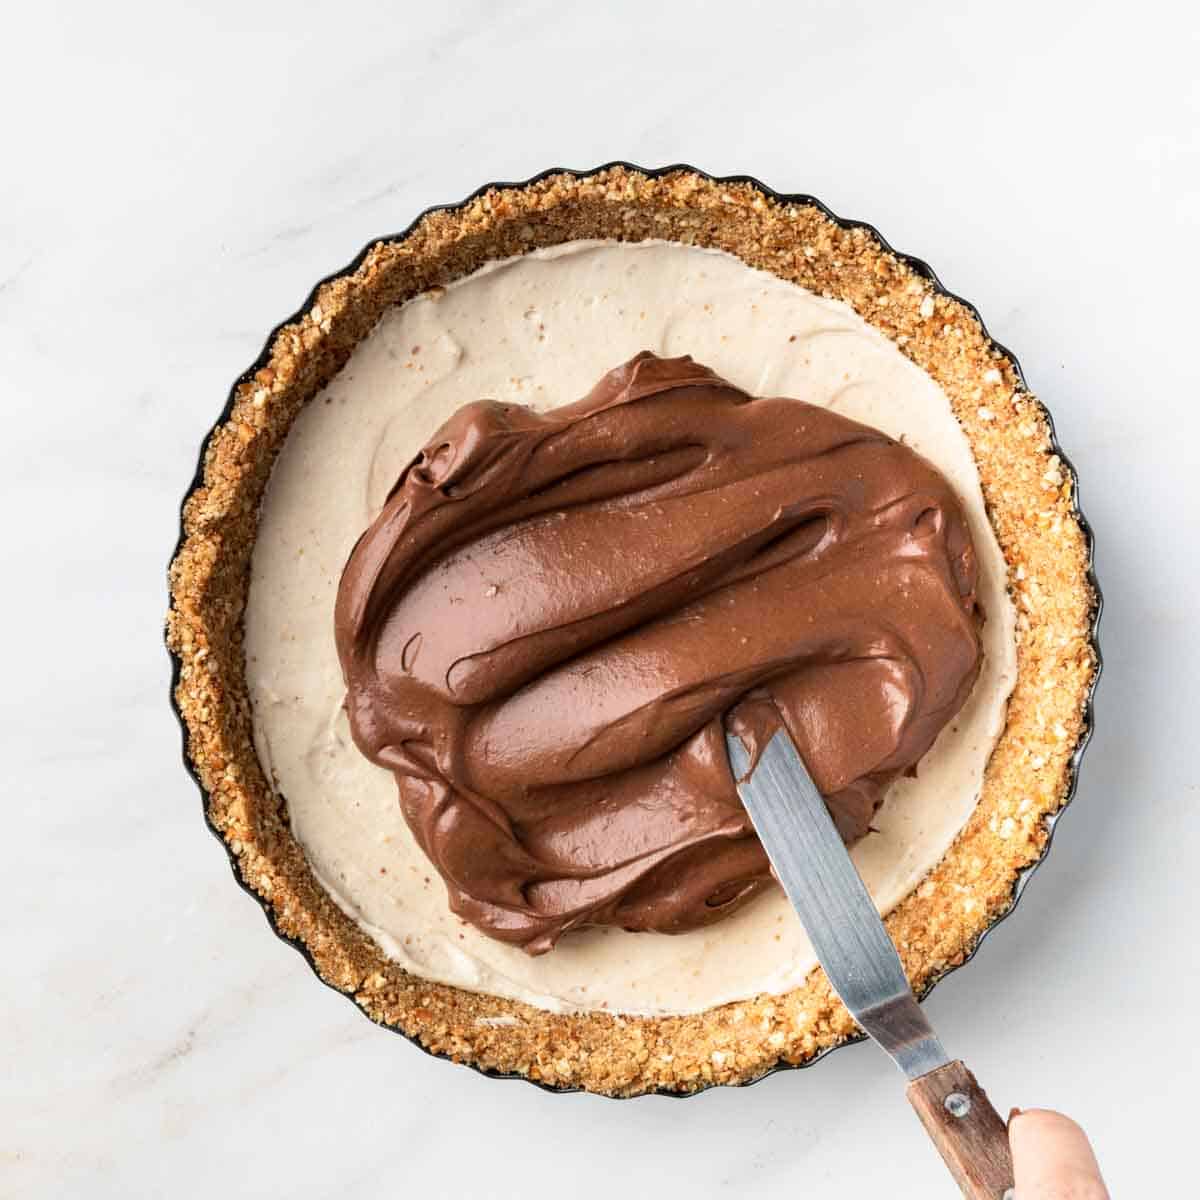
2. Pour the chocolate layer into the pie and use an offset spatula to spread it to the edges. Garnish with some finishing touches! After decorating chill pie in the refrigerator for at least one hour, or overnight.
Finishing Touches
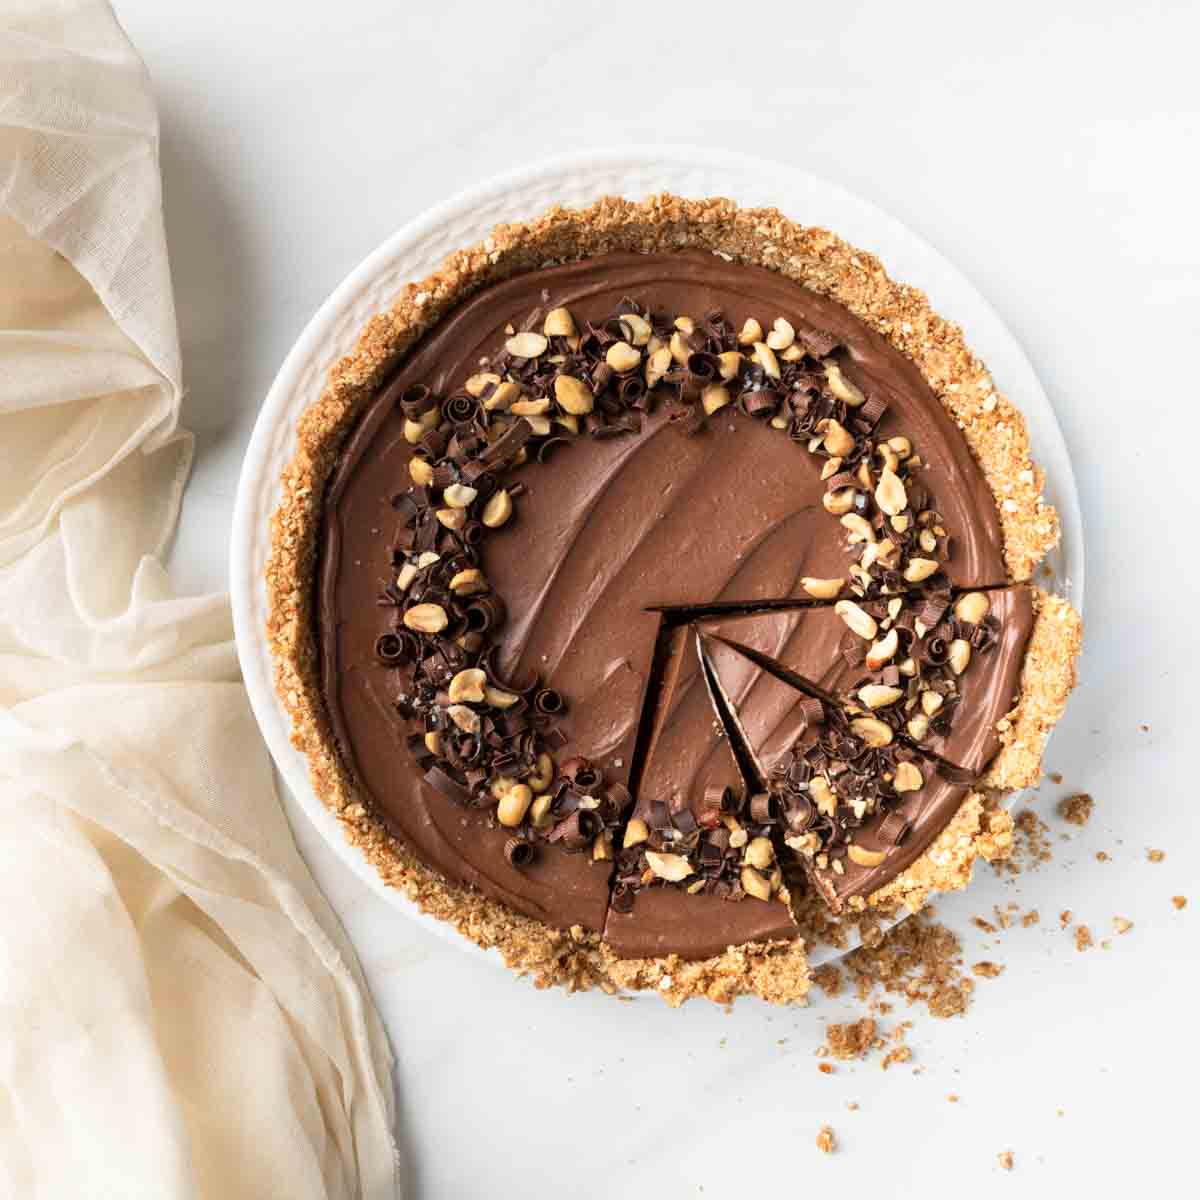
Truth be told, this no bake chocolate peanut butter pie recipe is beautiful naked, but a few garnishes make it extra gorgeous! To garnish this pie, I used dark chocolate curls, chopped roasted peanuts and a sprinkle of fleur de sel. It's the perfect way to tie all those sweet and salty flavors together.
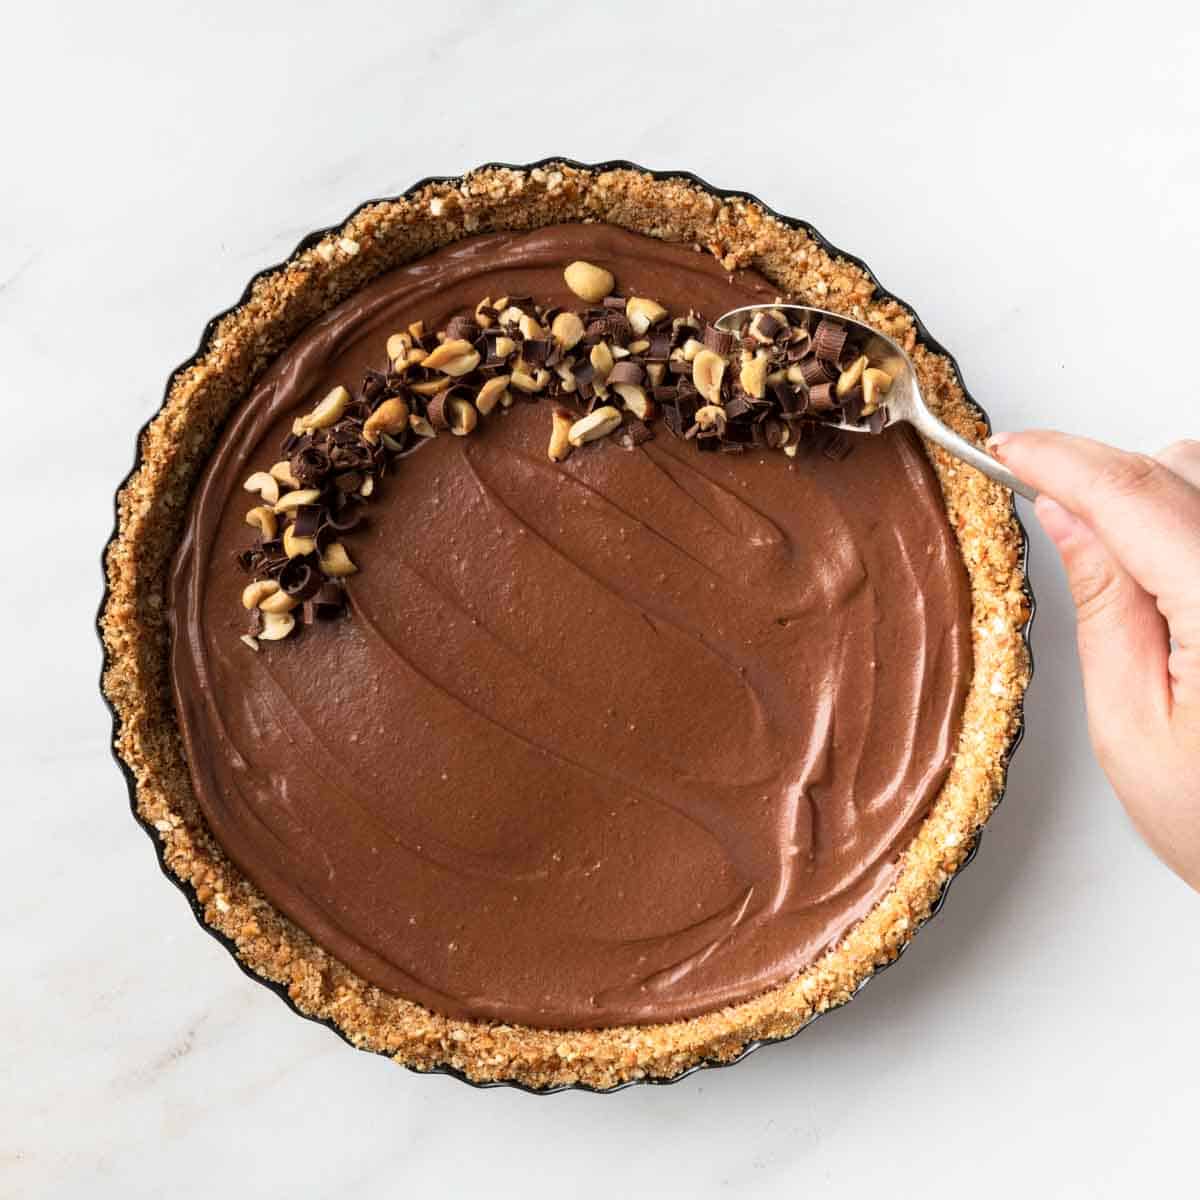
You could also top this peanut butter chocolate pie with a bit of sweetened whipped cream, mini chocolate chips, peanut butter chips a melted chocolate drizzle or chopped peanut butter cups!
Pro Tip: How To Make Chocolate Curls - Chocolate curls are easy to make from your favorite chocolate bar and a vegetable peeler.
The key to being able to make chocolate curls is the temperature of your chocolate bar. The chocolate needs to be ever so slightly warmer than room temperature, but not at all soft or melty. Around 75 - 77° Fahrenheit is perfect. If your chocolate is too cold and creating chocolate shavings, rather than curling, try to put the chocolate bar in the microwave at 50% power for 5 seconds only.
While peeling away from you, dig the peeler into the chocolate bar to help promote curling. You may need to play around with the pressure and length until you find your perfect curl. Also, it helps if you a Y-shaped (Swiss) peeler rather than a swivel (Jonas) peeler that may get in the way of the forming curls.
Serving Tips
If using a removable bottom tart shell, as recommended for this recipe, you may need to let the pie temper for a few minutes, to remove the fluted pie pan edge. The butter in the pretzel pie crust will stick to the pan when cold.
To easily remove the pie shell, you can very gently warm the outer edge of the pie pan with the warmth of your hands or a low flame on a gas stovetop or kitchen torch. Don't over-do it, very little heat is needed - just enough to soften the butter slightly. When warm enough, the fluted edge will release cleanly from the crust. I keep the bottom of the pie plate as is, and put it directly on my serving platter.
To get pretty, clean slices of chocolate peanut butter pie, use a sharp hot knife. I like to run my chef's knife under hot water in the sink and then wipe completely dry. Wipe the knife clean between slices and reheat, as necessary.
Storing for Later
If you're anything like my friends and family, chances are you'll eat the whole thing without any chance for leftovers! If you do need to save some pie, or are storing this delicious pie to be served later, keep it refrigerated in a pie box (or tented with toothpicks and plastic wrap). This pie is best in the first 48 hours of preparation but can be safely refrigerated for 4 - 5 days.
Recipe
Chocolate Peanut Butter Pie with Pretzel Crust
ADJUST SERVINGS
Special Equipment
- 1 Food Processor with Blade Attachment (or Sealable Bag with a Rolling Pin)
- 1 Deep Dish Tart Shell with a Removable Bottom (9.5" X 2")
- 1 Electric Mixer or Stand Mixer
- 1 Offset Spatula
Ingredients
Pretzel Pie Crust
- 7 ounces salted pretzels (1 ¾ Cups pretzel crumbs); regular or gluten-free
- ¼ Cup light brown sugar lightly packed
- 8 - 10 Tablespoons butter melted; as needed
- 1 teaspoon fine kosher salt* optional if using unsalted butter
No Bake Peanut Butter Cheesecake
- 6 ounces cream cheese room temperature (¾ foil package)
- ¾ Cup granulated sugar
- 6 Tablespoons peanut butter smooth
- 1 Tablespoon vanilla extract
- ¾ Cup heavy cream cold
Chocolate Mousse
- 2 ounces cream cheese (¼ foil package)
- ¼ Cup powdered sugar
- 1 teaspoon vanilla extract
- ½ Cup cocoa powder
- ½ Cup heavy cream cold
Finishing Touches (Optional)
- 2 Tablespoons roasted peanuts salted, chopped
- ¼ Cup dark chocolate curls mini chocolate chips or chopped peanut butter cups
- 1 teaspoon Flaky finishing salt like Malden or flour de set
Instructions
Pretzel Pie Crust
- In a food processor (or sealed bag with rolling pin) crush the pretzels until a fine crumb forms. Transfer to a mixing bowl. Stir in brown sugar,8 Tablespoons melted butter and salt (if using).
- The consistency of the pretzel mixture should resemble wet sand and hold firmly together when squeezed. If too dry, drizzle in additional melted butter, as needed. Transfer the crumb mixture to a removable-bottom tart shell.
- With a smooth-edged drinking glass (or measuring cup) press the crumbs into the tart shell. Start by forming the edges of the pie crust and then level the bottom. Freeze or refrigerate the pie crust while preparing the no bake peanut butter cheesecake.
No Bake Peanut Butter Cheesecake
- In a medium mixing bowl with an electric mixer (or the bowl of a stand mixer fitted with the paddle attachment), cream the 6 ounces of cream cheese, sugar, peanut butter and butter together. Process for medium-high speed for 3 - 5 minutes until, fluffy and pale in color.
- In a separate mixing bowl, whip the cold heavy cream until stiff peaks form.
- Add about ⅓ of the whipped cream into the peanut butter mixture. Use a rubber spatula to fold in gently. Repeat twice more with the remaining thirds of whipped cream.
- Pour the peanut butter mixture into the chilled pretzel pie crust. Use an offset spatula to level the layer. Return pie to the refrigerator while you prepare the chocolate mousse.
Chocolate Mousse
- In a medium mixing bowl with an electric mixer (or the bowl of a stand mixer fitted with the paddle attachment), combine the 2 ounces of cream cheese, powdered sugar, cocoa powder, vanilla extract and heavy cream. Whip on medium-high speed for 3 - 5 minutes until fluffy.
- Pour the chocolate mousse over the peanut butter mixture in the pie shell. Use an offset spatula to level the layer. Garnish with finishing touches!
Finishing Touches (Optional)
- Decorate the top of the pie with your finishing touches, as desired. We used chocolate curls, chopped peanuts and flour de sel.
- Refrigerate the pie for two hours, or overnight. To remove the fluted edge of the tart pan, warm gently (with your hands, or a low flame on your stove or kitchen torch) and release. Slice, serve and enjoy chilled!
* A Note About Salt
Unless otherwise noted, all recipes on The Sage Apron are developed using Diamond Crystal Kosher salt. It is a great all-purpose salt for cooking and baking. If using table salt, reduce quantities by about half.







Comments
No Comments