This homemade Cherry Vanilla Ice Cream recipe is a delicious frozen treat for a hot Summer Day!
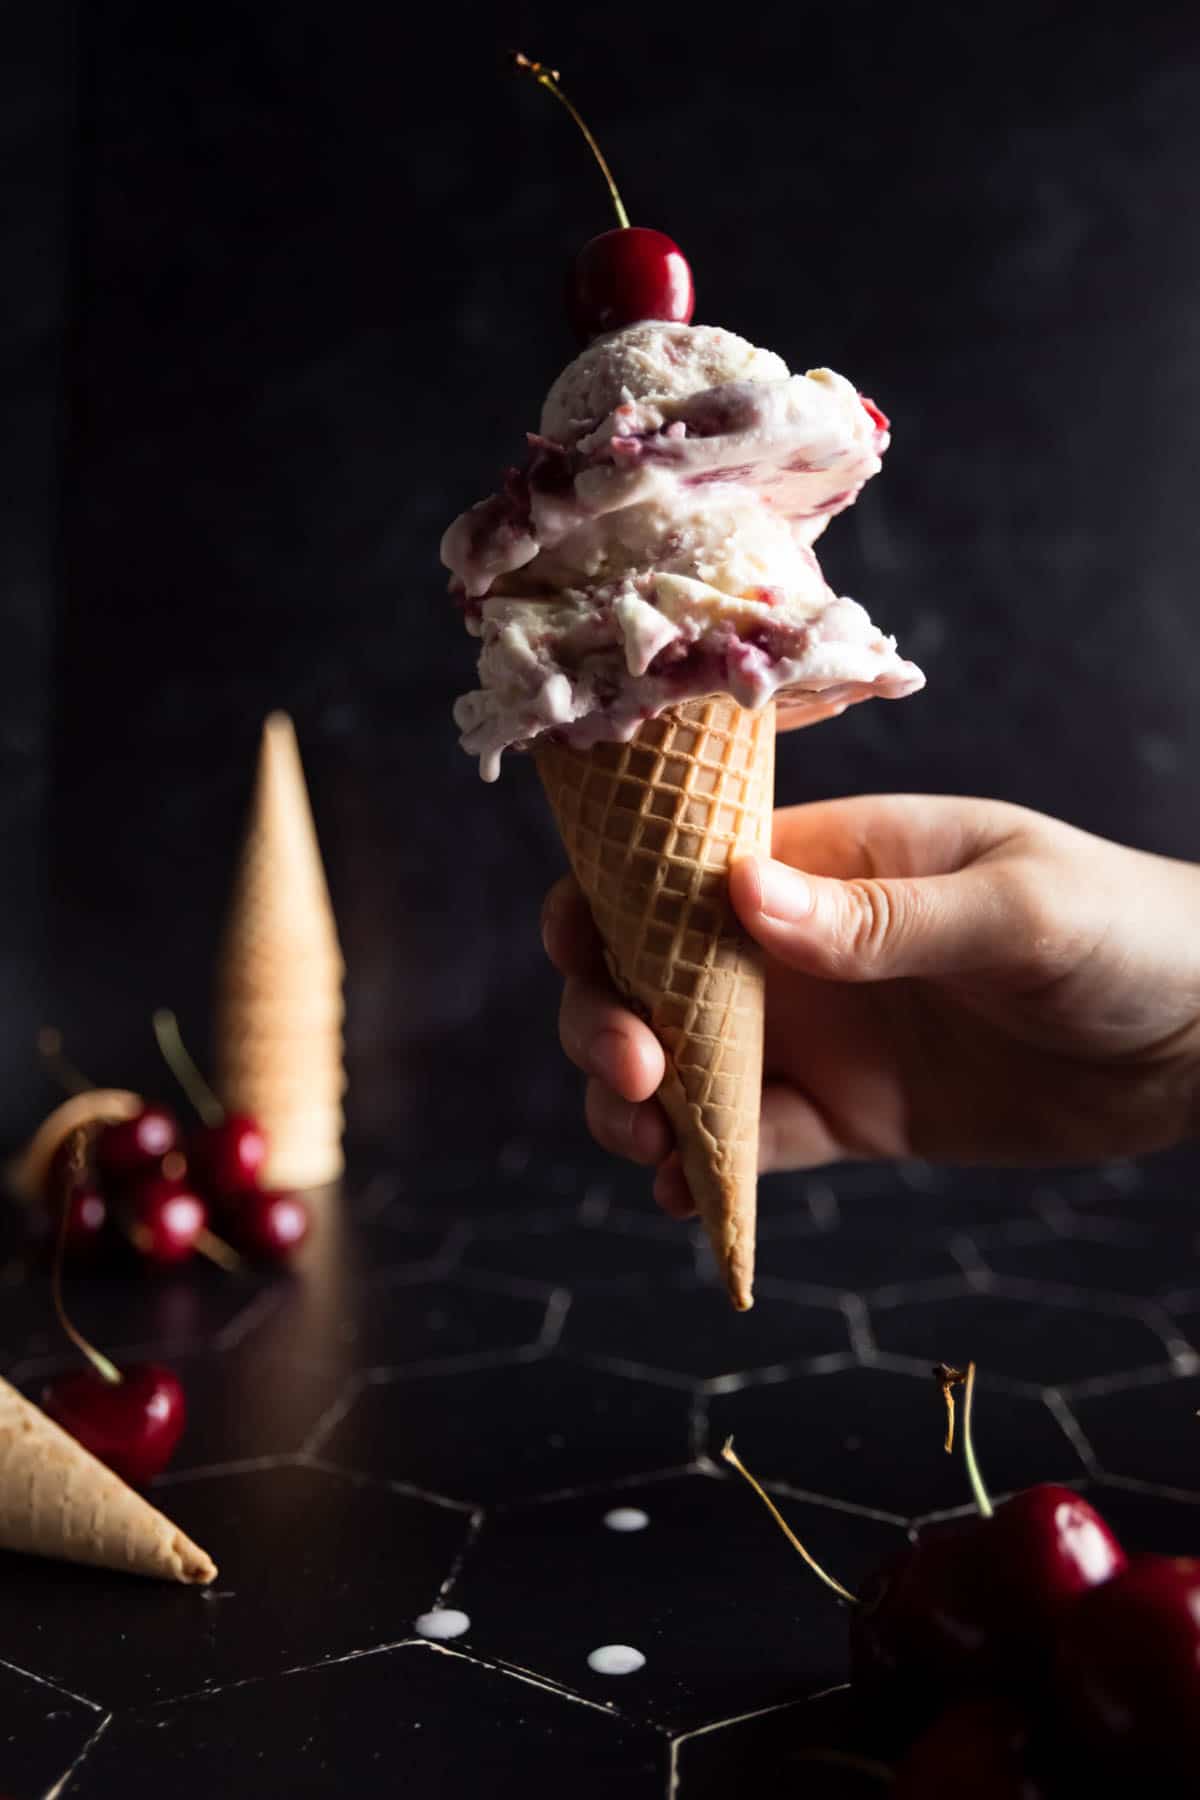
This recipe features creamy vanilla bean custard that is swirled with a fresh cherry compote and spun in a home ice cream maker. It's one of our all time favorite ice cream recipes and one of Summer's best cold treats! It's an easy cherry recipe with phenomenal flavors that the whole family can love!
Ingredients for This Recipe
This easy Cherry Vanilla Ice Cream recipe is a delicious way to enjoy this season's sun-ripened cherries! With just a few common ingredients you can make this delicious ice cream recipe to treat all the cherry lovers in your life!
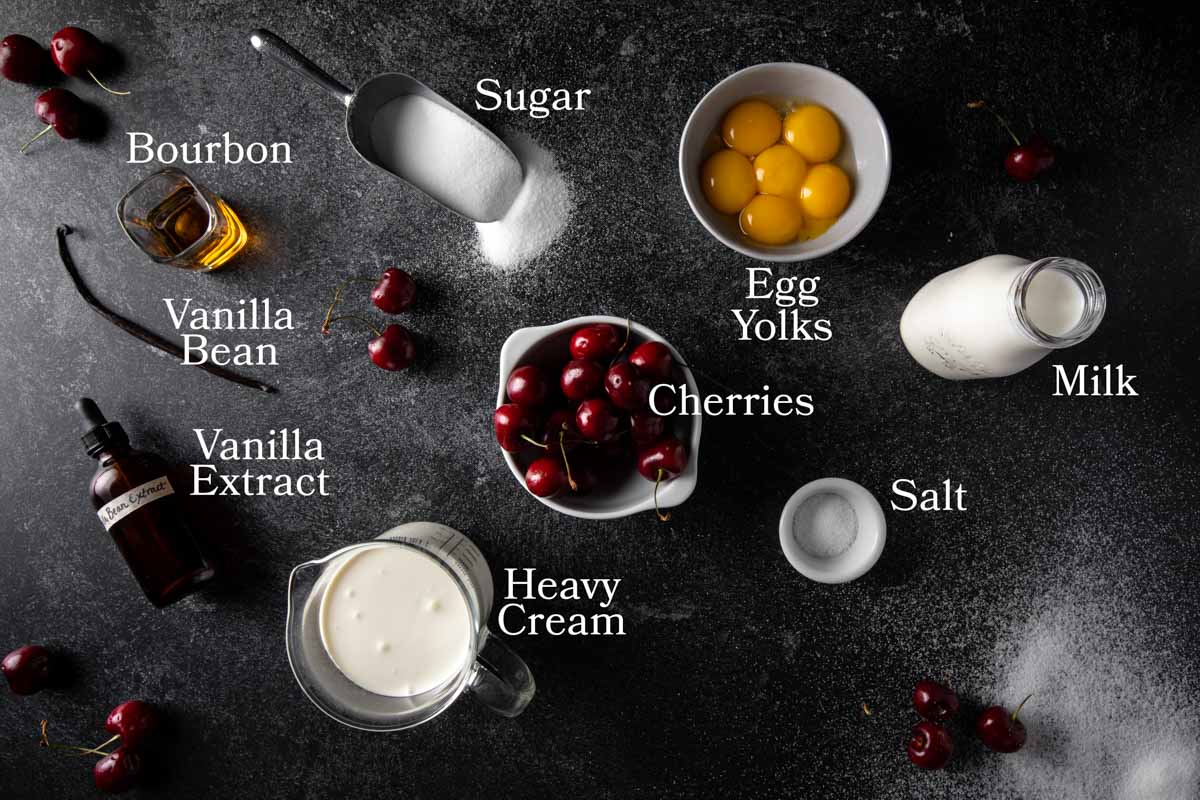
- Fresh Cherries - Most types of fresh cherries work well for this Cherry Vanilla Ice Cream Recipe. See below for more details!
- Vanilla Bean - This recipe is worth the splurge! If you can, use a fresh Grade A vanilla bean for the ultimate vanilla flavor! Otherwise, double the vanilla extract for this recipe.
- Bourbon - The whiskey is optional for this recipe but helps to accentuate the vanilla flavor and pairs nicely with the cherries. You can sub a nice oaked rum, Cognac or cherry brandy, if you have it.
What Type of Cherries Are Used for this Ice Cream?
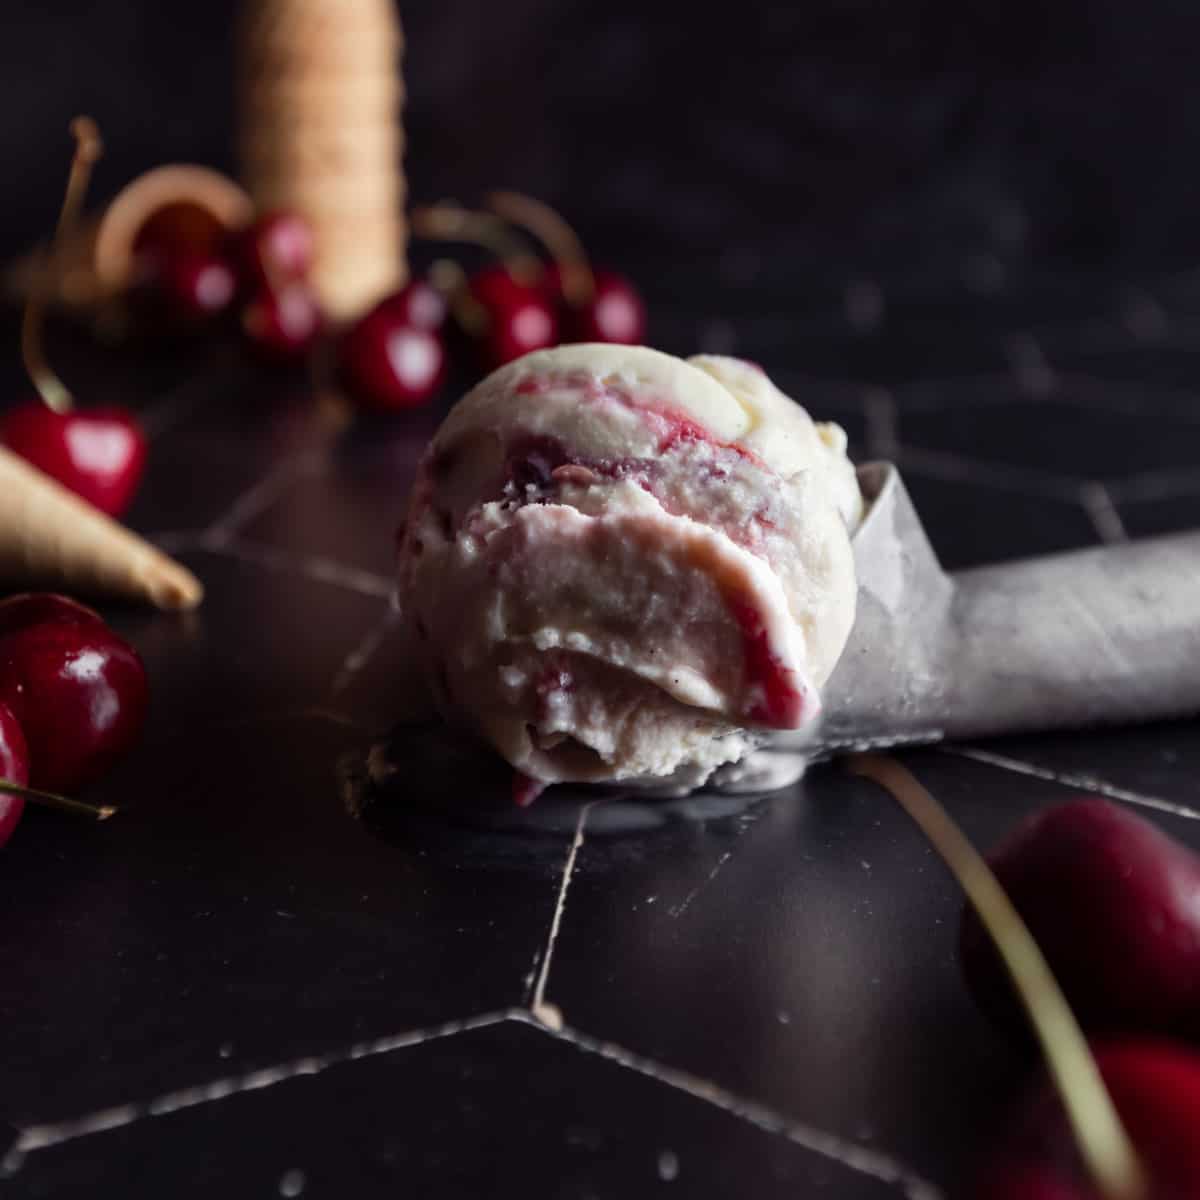
This ice cream recipe works well with most varieties of fresh cherries! As pictured, this batch of Cherry Vanilla Ice Cream was made with bright red bing cherries (these are the ones most commonly sold in grocery stores throughout the US).
However, this recipe also makes a phenomenal black cherry ice cream. Fresh black cherries tend to be a bit sweeter and these dark sweet cherries add a gorgeous contrasting swirl to the vanilla base. Rainer cherries, which have a nice yellow coloring, can also be used for this recipe.
Basically, any cherries that are fresh or fresh-frozen will yield good results. We do not recommend using maraschino or Luxardo-style cherries (that are preserved in a thick syrup) for this ice cream. Instead, we much prefer the natural flavor of fresh, seasonal fruit.
How To Make Quick Cherry Compote
This Cherry Vanilla Ice Cream recipe calls for a Quick Cherry Compote that is swirled throughout the custard base for tangy cherry flavor in every bite!
Quickly cooking the chopped cherries help to keep them soft and flavorful once frozen. This simple process makes a big difference and offers the best results in a cherry ice cream recipe. Best of all, it only takes a couple minutes. Here's how it's done:
- Firstly, start with fresh cherries that have been washed, stems removed and pitted. If you're like us and don't have a cherry pitter, you can use this easy cherry pitting hack! Simply place a large funnel over a sturdy cup or mason jar. Then, place the stemless cherry in the base of the funnel. Use a chopstick or metal straw to push the pit through the cherry and into the jar. Viola! Easy, pitless cherries!
- Then, chop the cherries into small chunks. The exact size is your personal preference but make sure the pieces are bite-sized to easily swirl into the ice cream base.
- Next, combine the cherries, sugar, vanilla extract and salt in a small saucepan. Cook the mixture over medium heat, stirring occasionally. When the sugar has fully dissolved and the cherry juice begins to boil, cook for two additional minutes.
- Finally, for the best results, allow the cherry mixture to chill completely before swirling it into the frozen Vanilla Bean Ice Cream Base.
How To Use Fresh Vanilla Beans
Fresh vanilla beans provide the best intensel vanilla flavor to this ice cream base. If you don't have fresh vanilla we recommend using vanilla bean paste or a high-quality vanilla extract.
To use fresh vanilla beans, start by using a sharp paring knife to split the bean in half lengthwise. Then, use the dull side of the knife to scrape to seeds from the bean.
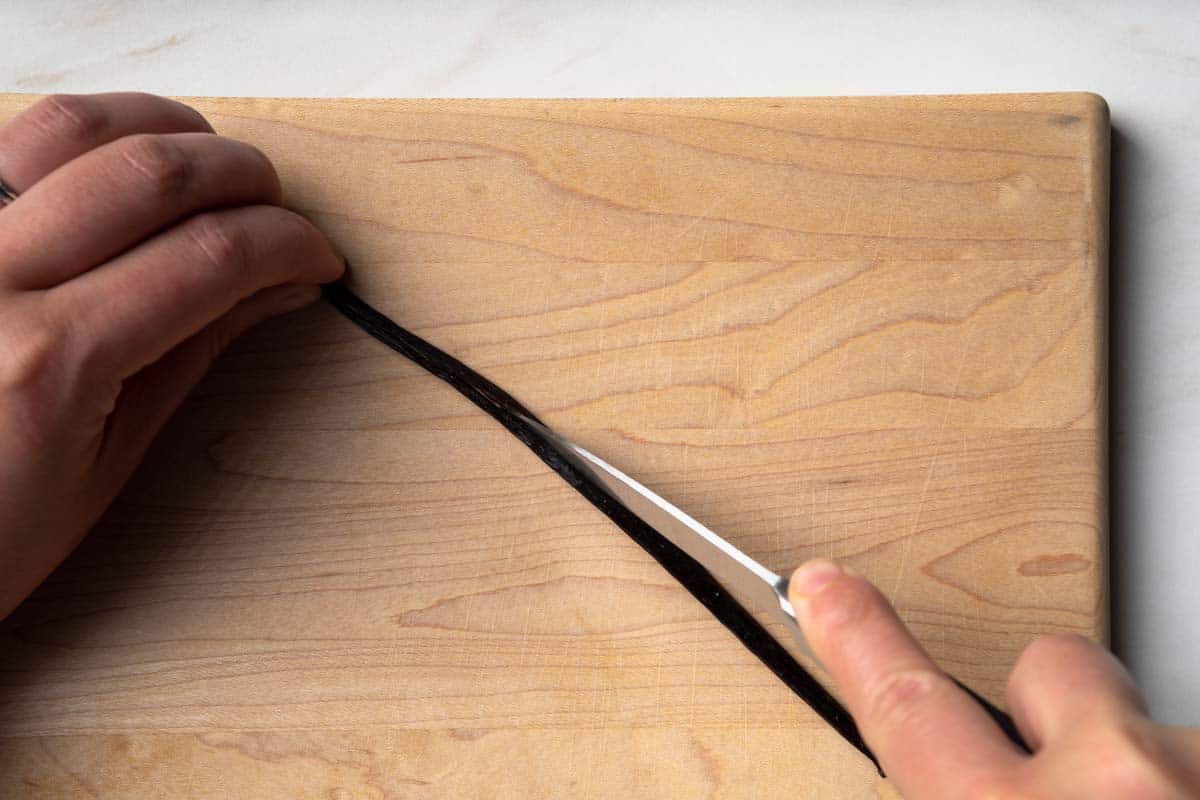
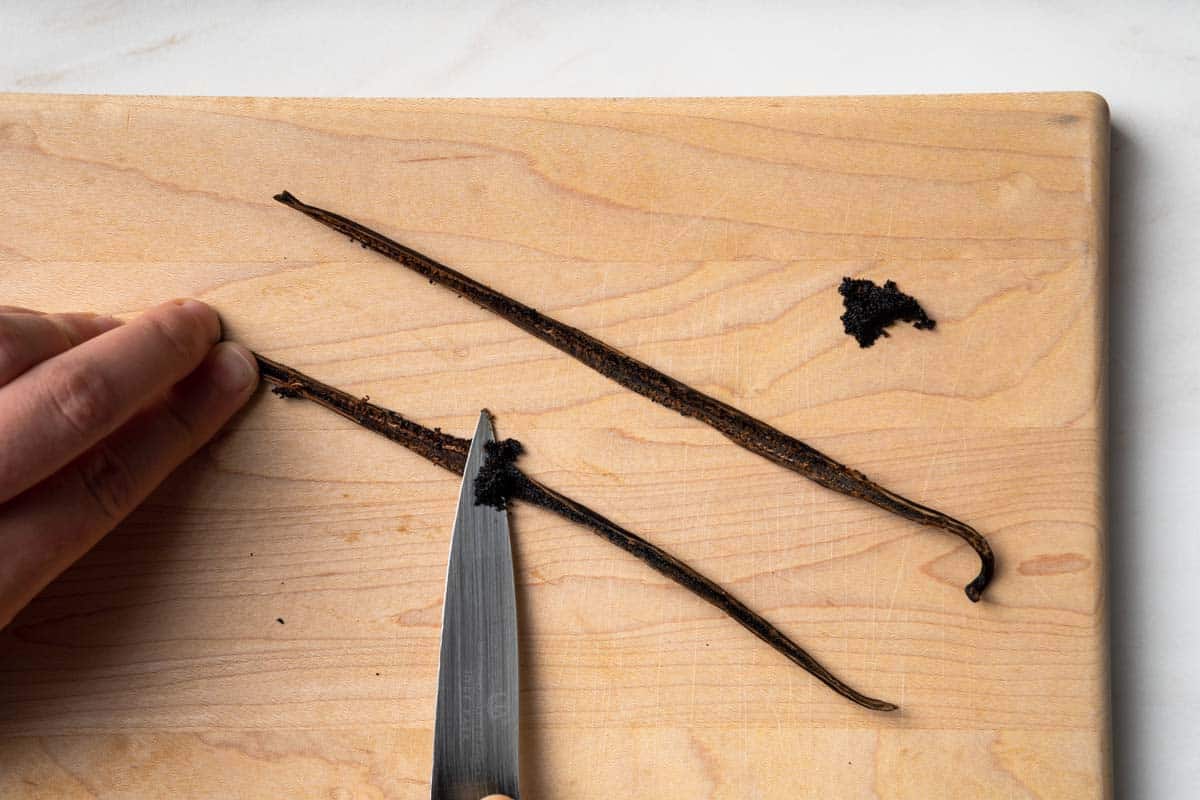
Even without the seeds, the remaining vanilla bean pod still has a ton of BIG vanilla flavor! For the maximum vanilla flavor, we recommend steeping the bean in with the vanilla custard ice cream base.
Tips & Tricks For Incredible Homemade Ice Cream
Making your own ice cream is easy! This simple vanilla custard base can be used for endless flavors of perfectly creamy ice cream. This recipe creates a rich, flavorful custard that is perfect for churning in your ice cream machine.
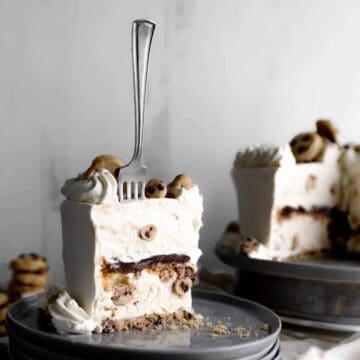
(Pssst...If you don't have an ice cream machine, that's okay! You can still make yummy homemade ice cream at home. Check out this awesome no-churn recipe for our Chocolate Chip Cookie Dough Ice Cream Cake, instead! Our no-churn recipe is made with heavy whipping cream, sweetened condensed milk and requires no special machinery!)
Ingredients & Mixing
- Ribbon Stage Sugar & Eggs - Achieving the ribbon stage is crucial for creamy, scoop-able ice cream!
Baker's Journal: The Ribbon Stage - The ribbon stage refers to a certain texture achieved when whipping egg(s) and sugar together. At this stage, the egg(s) and sugar will be very pale, aerated, and fall in thick ribbons from the whisk or paddle attachment. The air incorporated into the egg and sugar mixture helps to leaven the bread and create a tender, fluffy cake.
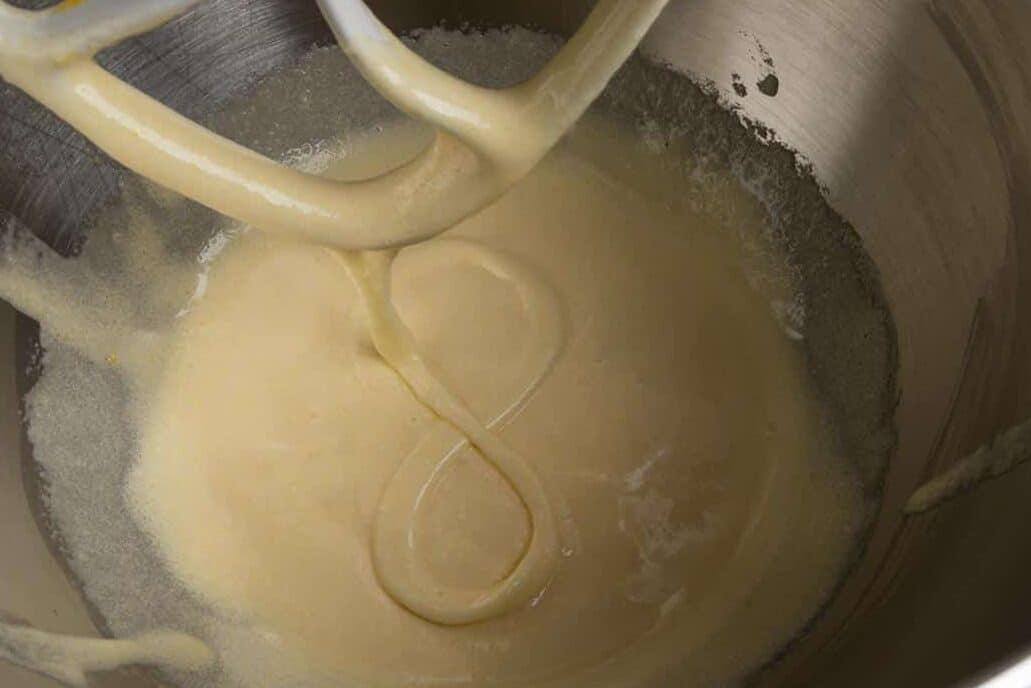
When done correctly, ribbons of batter will sit on the batter's surface for several seconds before blending in. Try drawing a figure 8 in the batter to test if your mixture has reached the ribbon stage.
- Use Full-Fat Dairy - For the richest, creamiest ice cream, we recommend using whole milk and heavy cream. Save the fat free milk and dairy substitutes for another day!
- Temper Your Eggs With Care! - Be careful to temper your hot cream mixture into your egg mixture SLOWLY and whisk constantly! Otherwise, you'll be making scrambled eggs!
- Keep All Ingredients COLD - Make sure the Vanilla Bean Ice Cream Base and Quick Cherry Compote are completely chilled before churning the Cherry Vanilla Ice Cream. We recommend chilling both components overnight for the best results. The colder your ingredients are the faster your ice cream will freeze and the smother and creamier your dessert will be!
Churning & Freezing
- Make Sure Your Freezer Bowl is FROZEN SOLID! - Kind of cold and sorta frozen just won't work for making ice cream! Make sure your ice cream maker's freezer bowl is frozen solid before making ice cream at home!
- Churn Ice Cream to Your Ice Cream Maker Manufacturer’s Instructions - In our Cuisinart machine, fresh-churned ice cream takes between 20 - 30 minutes.
- Wrap Your Freezer Bowl In a Plastic Bag - To prevent freezer burn and ice crystals from contaminating our home-churned ice cream, we like to keep our ice cream maker's freezer bowl wrapped in a recycled plastic bag in our freezer. This way, our bowl is free of any extra condensation that can create an icy or grainy texture in homemade ice cream.
- Freeze Your Ice Cream in a Shallow Container - Shallow containers help ice cream freeze faster! The faster your ice cream freezes, the smoother and creamier it will be. We like to freeze our ice cream in a tin or glass brownie pan in the back of our freezer for the quickest possible freezing. Put plastic wrap directly on the ice cream's surface to prevent ice crystals from forming.
More Summer Dessert Recipes
Take a look at these other Summertime favorites.
Recipe
Cherry Vanilla Ice Cream (Easy Ice Cream Maker Recipe)
ADJUST SERVINGS
Special Equipment
- Ice Cream Maker
- Fine mesh sieve
Ingredients
Cherry Vanilla Ice Cream
- 1 recipe Vanilla Bean Ice Cream Base chilled
- 1 recipe Quick Cherry Compote chilled
Vanilla Ice Cream Base
- 1 Cup granulated sugar divided in half (½ Cup/ 100 grams)
- 2 Cups whole milk
- 2 Cups heavy cream
- 1 teaspoon fine kosher salt*
- 1 vanilla bean split, seeds scraped
- 6 egg yolks
- 1 Tablespoon vanilla extract
- 1 Tablespoon bourbon optional
Quick Cherry Compote
- 2 Cups fresh cherries (or fresh-frozen) washed, pitted, and chopped
- 2 Tablespoons granulated sugar
- 1 teaspoon vanilla extract
- Pinch of fine kosher salt*
Instructions
Vanilla Bean Ice Cream Base
- Gather, measure and prepare the Vanilla Bean Ice Cream Base ingredients as listed. To view metric measurements, toggle the US Customary/Metric switch at the top of this recipe card.
- First, divide your sugar into two equal parts (½ Cup or 100 grams, each). Place half of your sugar in a medium mixing bowl and the other half of the sugar in a medium, heavy-bottomed pot.
- To the pot add heavy cream, whole milk, salt and a scraped vanilla bean with seeds. Begin to heat the mixture over medium heat, stirring occasionally, until the dairy begins to scald (or creates a thin film at the surface). Ideally, the sweetened cream mixture will be 180° Fahrenheit (82° celsius).
- Meanwhile, while your cream mixture is heating, add egg yolks to the sugar in the medium mixing bowl. Whisk mixture until the yolks and sugar are thick, palely colored and airated.
- Once the cream mixture has reached 180° Fahrenheit (82° celsius) it is time to temper the eggs. The goal is to heat your egg mixture slowly, to avoid scrambling. Add a small splash of the hot cream mixture into the egg yolk mixture and whisk immediately to combine. Then, slowly stream in about ⅓ of the hot cream mixture while whisking constantly.
- At this stage, your egg mixture should be thouroughly heated. Pour the heated egg mixture back into the pot's remaining cream mixture while whisking constantly. Return your custard base to the stovetop and set over medium heat. Heat the mixture back to 180°Fahrenheit (82° celsius) or until the custard base thickly coats the back of a spoon. Remove from heat.
- Stir in vanilla extract and bourbon, if using. Cover the mixture with plastic wrap directly on the custard's surface, to prevent a skin from forming. Chill the Vanilla Bean Ice Cream Base completely (at least 4 hours or, preferably, overnight) before straining or churning into Cherry Vanilla Ice Cream.
Quick Cherry Compote
- Gather, measure and prepare the Quick Cherry Compote ingredients as listed.
- In a small pot, combine the cherries, sugar, vanilla extract and salt. Set pot over medium heat and stir to combine.
- Cook cherry compote, stirring occasionally. The fresh cherry juices will bind with the sugar in the pot to create a syrup. cook mixture until syrup boils for about 2 minutes, or until thickened slightly. Remove from heat.
- Chill the Quick Cherry Compote completely (at least 4 hours or, preferably, overnight) before swirling into Cherry Vanilla Ice Cream.
Cherry Vanilla Ice Cream
- Gather, measure and prepare the Cherry Vanilla Ice Cream ingredients as listed.
- Strain the Vanilla Bean Ice Cream Base through a fine mesh strainer to remove the vanilla bean pod and any lumps. (Be sure to use a rubber spatula to scrape all of the settled vanilla bean seeds back into the mixture.)
- Pour the Vanilla Bean Ice Cream Base into your ice cream maker and churn to the manufacturer's instruction guidelines. Fresh-churned ice cream will be very soft. Pour the vanilla bean ice cream into a shallow chilling vessel, (A square tin or glass dish works well. We use an 8x8 Pyrex dish.)
- Spread the Quick Cherry Compote over the surface of the Vanilla Bean Ice Cream. Use a spoon to swirl the compote throughout the ice cream. Work quickly to prevent too much melting. Cover the Cherry Vanilla Ice Cream with plastic wrap and set to chill in the freezer for 4 hours or overnight.
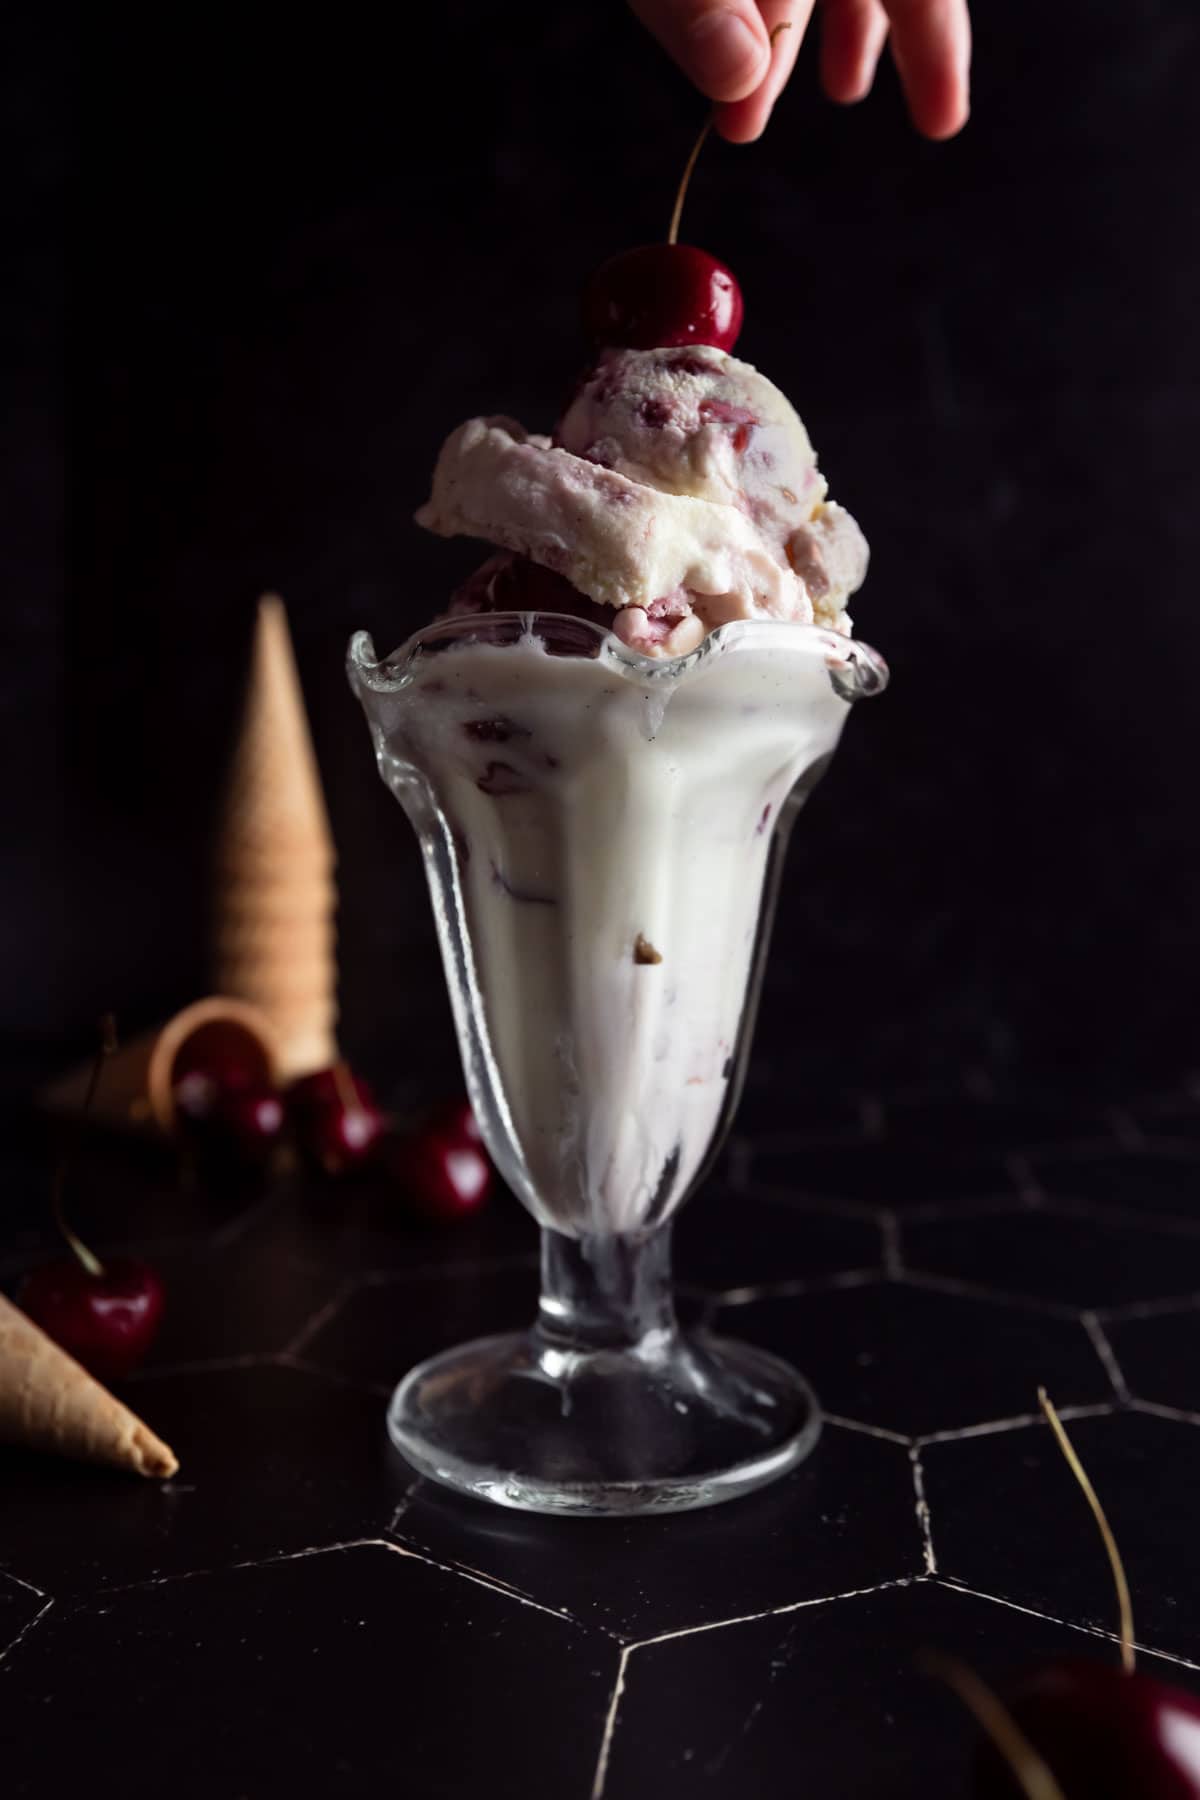
- Scoop and serve Cherry Vanilla Ice Cream with cones, chocolate sauce, whipped cream or straight from the container with a spoon! Enjoy!
Notes
* A Note About Salt
Unless otherwise noted, all recipes on The Sage Apron are developed using Diamond Crystal Kosher salt. It is a great all-purpose salt for cooking and baking. If using table salt, reduce quantities by about half.
















Comments
No Comments