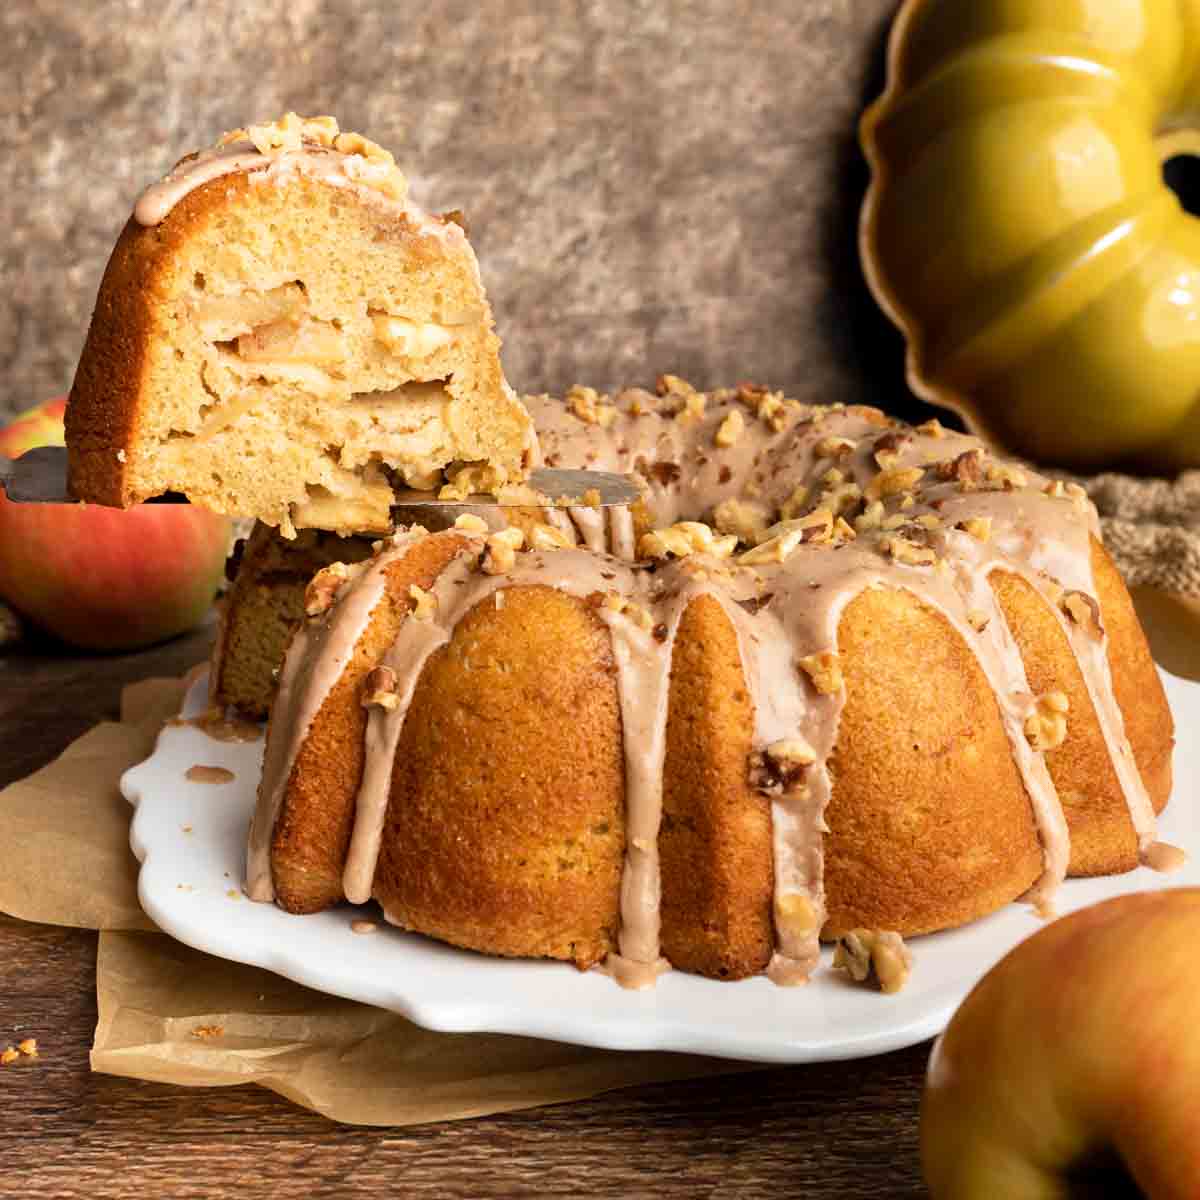
Jewish apple cake is a dairy-free bundt cake that is loaded with cinnamon sugar apples and cozy Fall flavors!
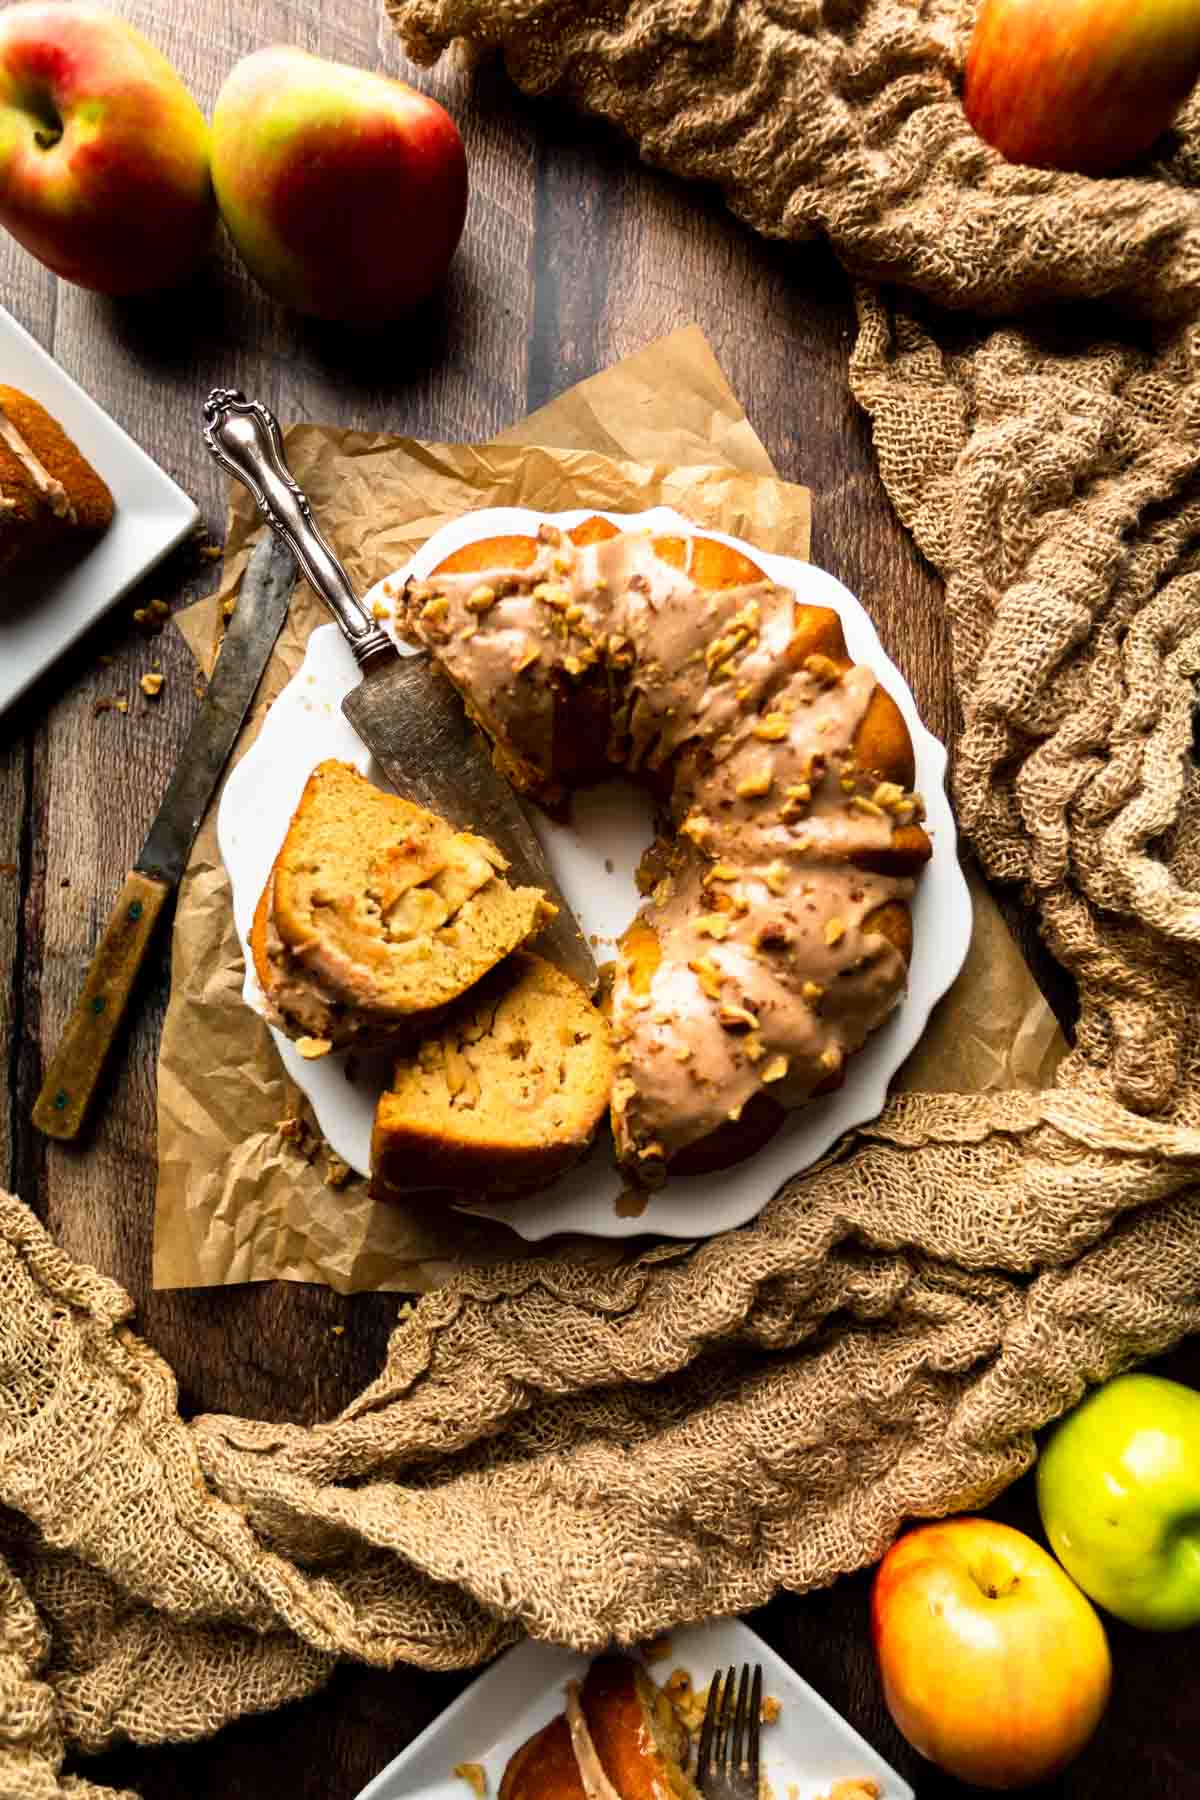
This easy Fall baking recipe is made without any butter or dairy products. It makes the perfect pareve dessert for Rosh Hashanah and anyone observing Jewish dietary laws.
Even for those (like myself) who do not observe Kashrut law, this is a delicious apple cake that celebrates the Autumn season year after year. It's the type of nostalgic recipe that will have the whole family making memories and lining up for a second slice!
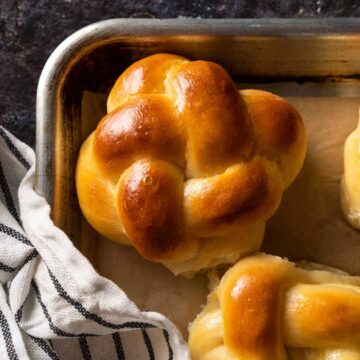
If you are interested in other holiday appropriate bakes, check out our Braided Challah Buns, too!
Ingredients
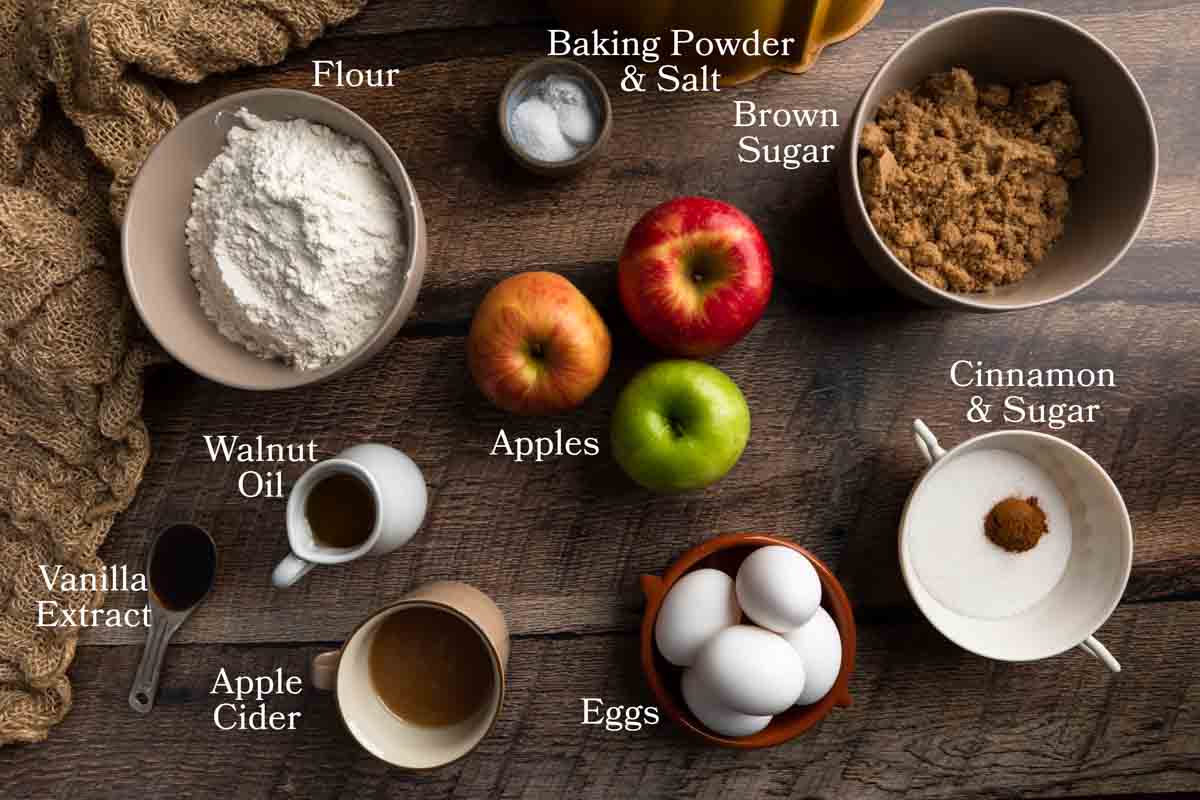
- Apple Cider - To give this cake a bursting with apple-y Fall flavor, I opted to develop this recipe using apple cider. You can use store-bought or use our Homemade Apple Cider recipe (it makes for the perfect pairing)! If you do not have access to apple cider, you can also make this recipe with orange juice. OJ is more traditional, and adds a nice citrusy flavoring.
- Walnut Oil - Since this cake recipe is made without butter, I wanted to use an oil that would impart rich flavor and pair nicely with the apples' natural sweetness. Roasted walnut oil adds the perfect body and subtle nutty flavor to the base of this cake. La Tourganelle makes a nice, not-too-expensive walnut oil that can be found alongside other specialty oils and vinegars in most grocery stores. If you do not have access to walnut oil, this recipe works great with vegetable oil, too.
- Apples - Of course, apples are the star of this bundt cake recipe! I recommend using a combination of tart and sweet baking apples. I like to use a combination of Granny Smith, Honey Crisp and Fuji or Gala apples.
How To Make This Recipe
This Jewish Apple Cake recipe comes together in just a few minutes. Start by making the brown sugar cake batter. It's easy to do in a stand mixer, with an electric hand mixer or completely by hand with a wooden spoon. Next, layer in the cinnamon sugar apples and bake!
Mixing the Cake Batter
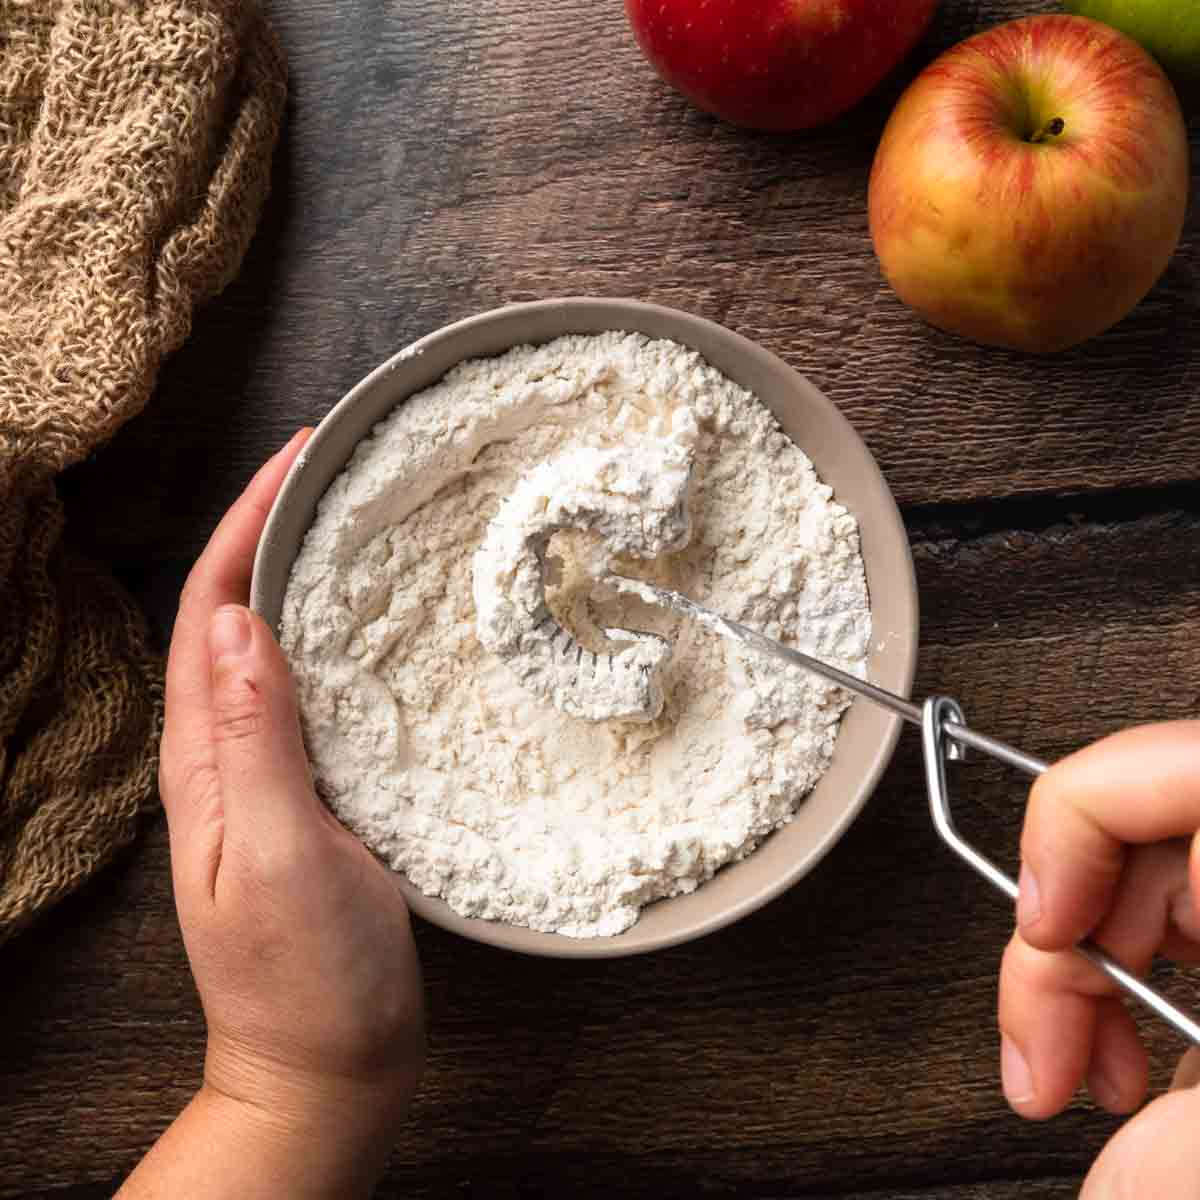
1. To make this batter start by whisking your dry ingredients (flour, baking powder and salt) together in a large bowl and set aside.
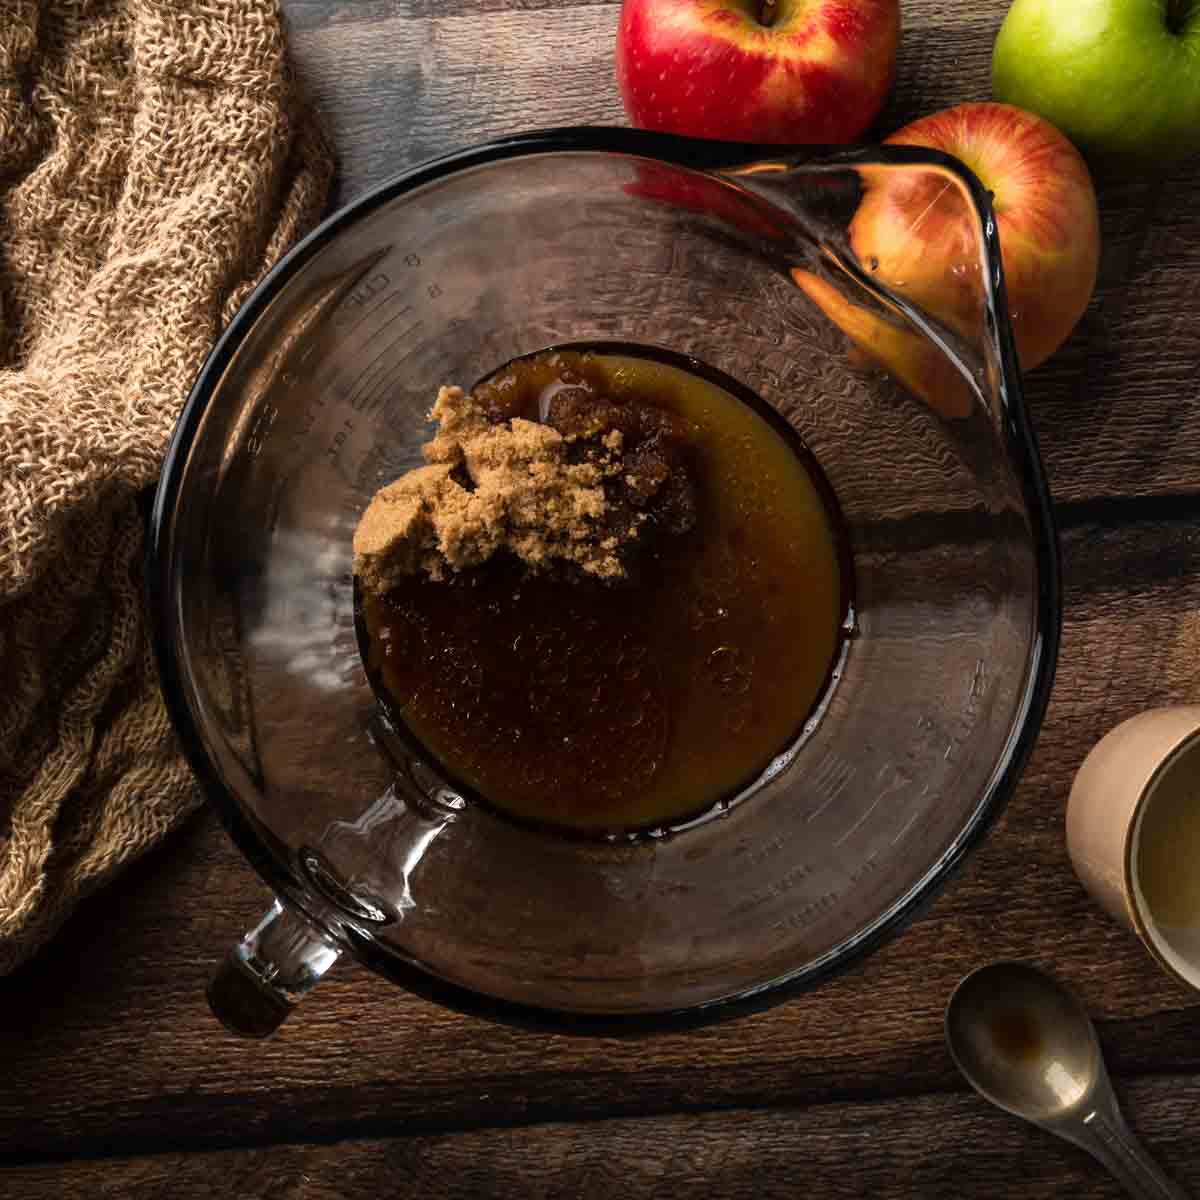
2. Next, in the bowl of your stand mixer or a large mixing bowl, combine the brown sugar with oil, apple cider (or orange juice) and vanilla extract. Add in the dry ingredients and mix until just combined.
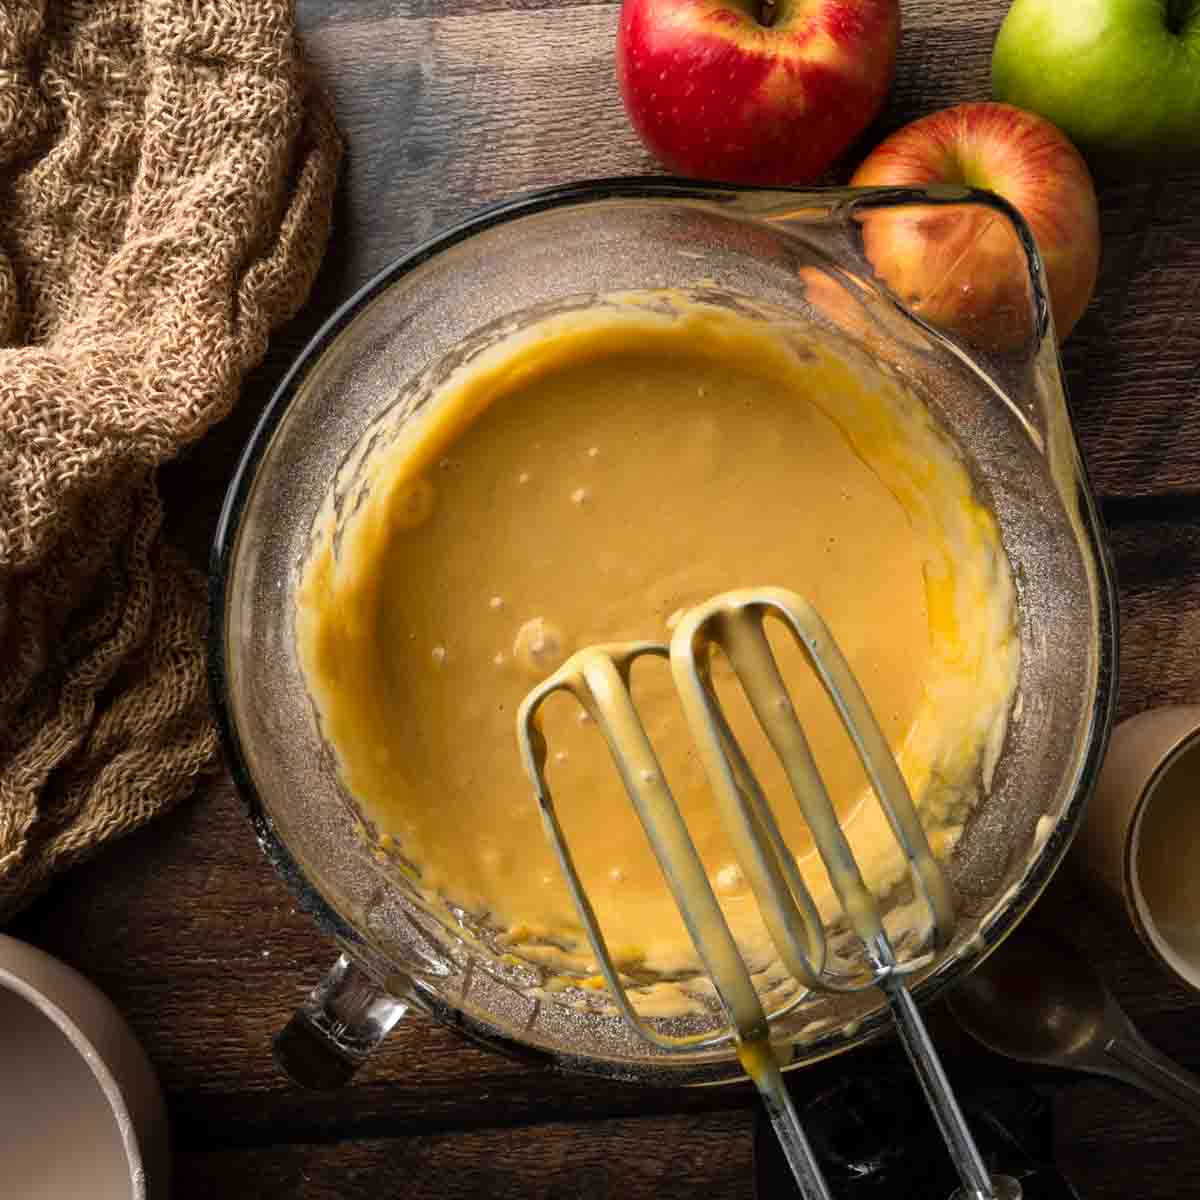
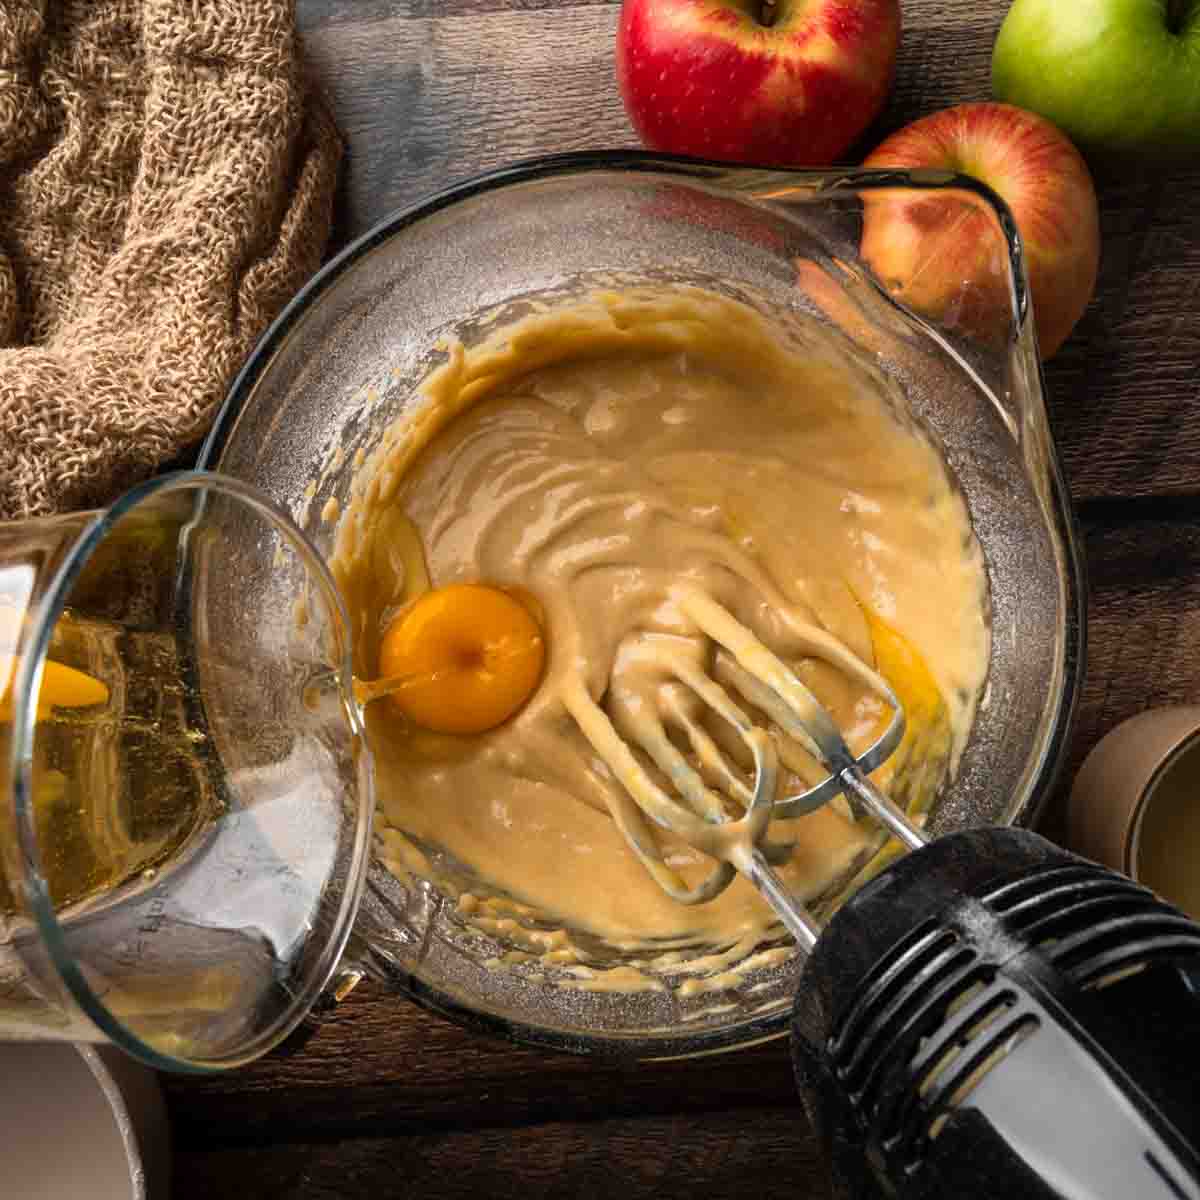
3. Finally, beat the eggs in, one at a time, until fully incorporated. You. may need to stop mixing and scrape the bowl once or twice. The batter will be thick. Do not over mix!
Apples & Oven
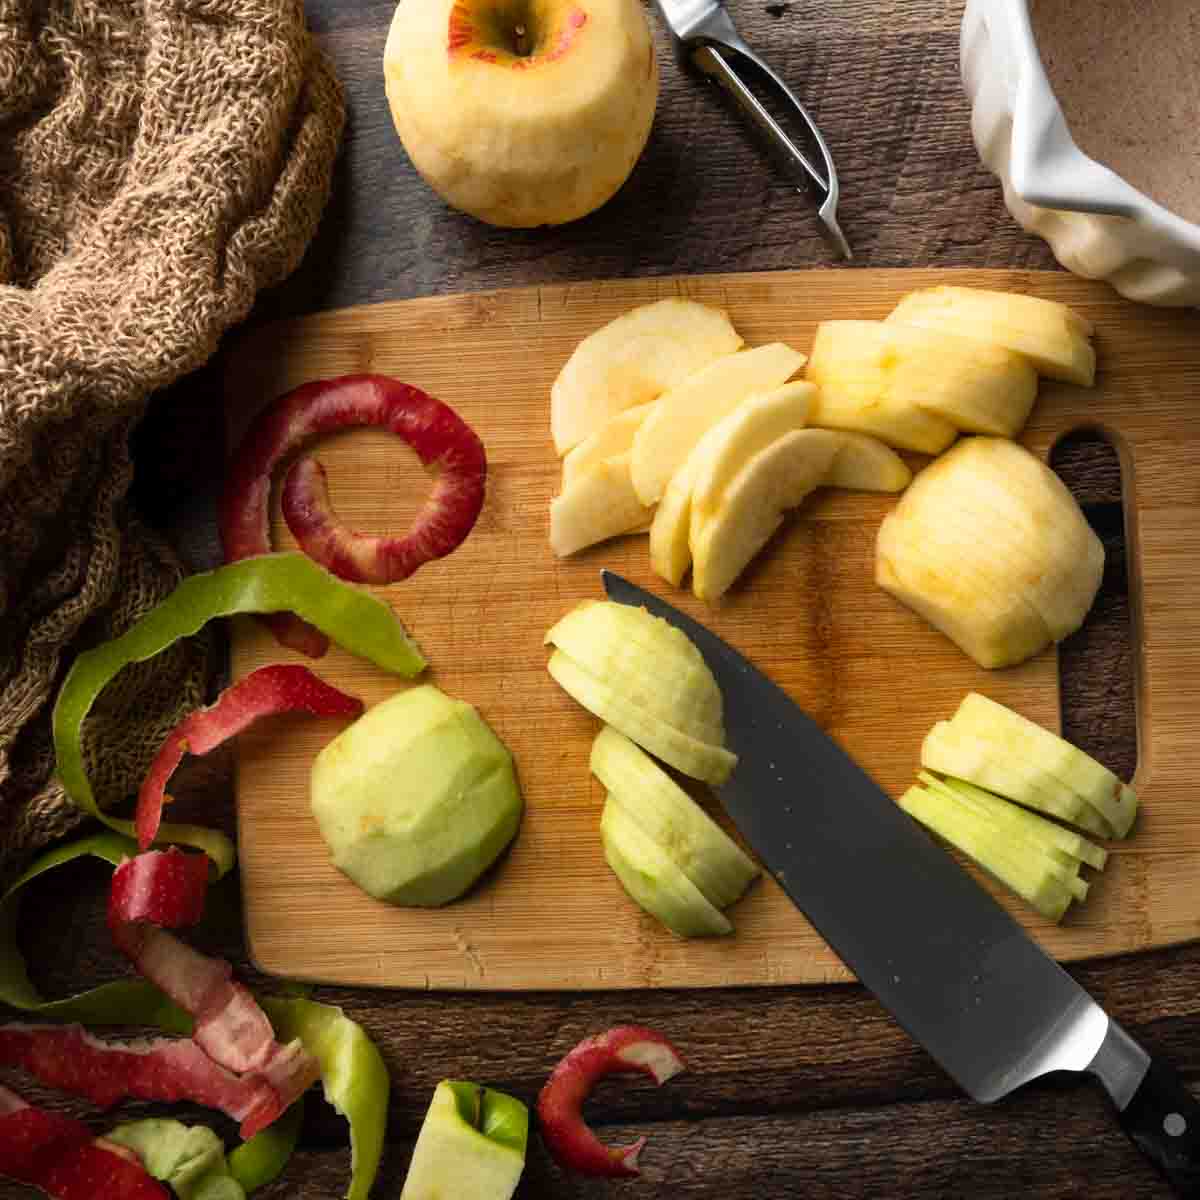
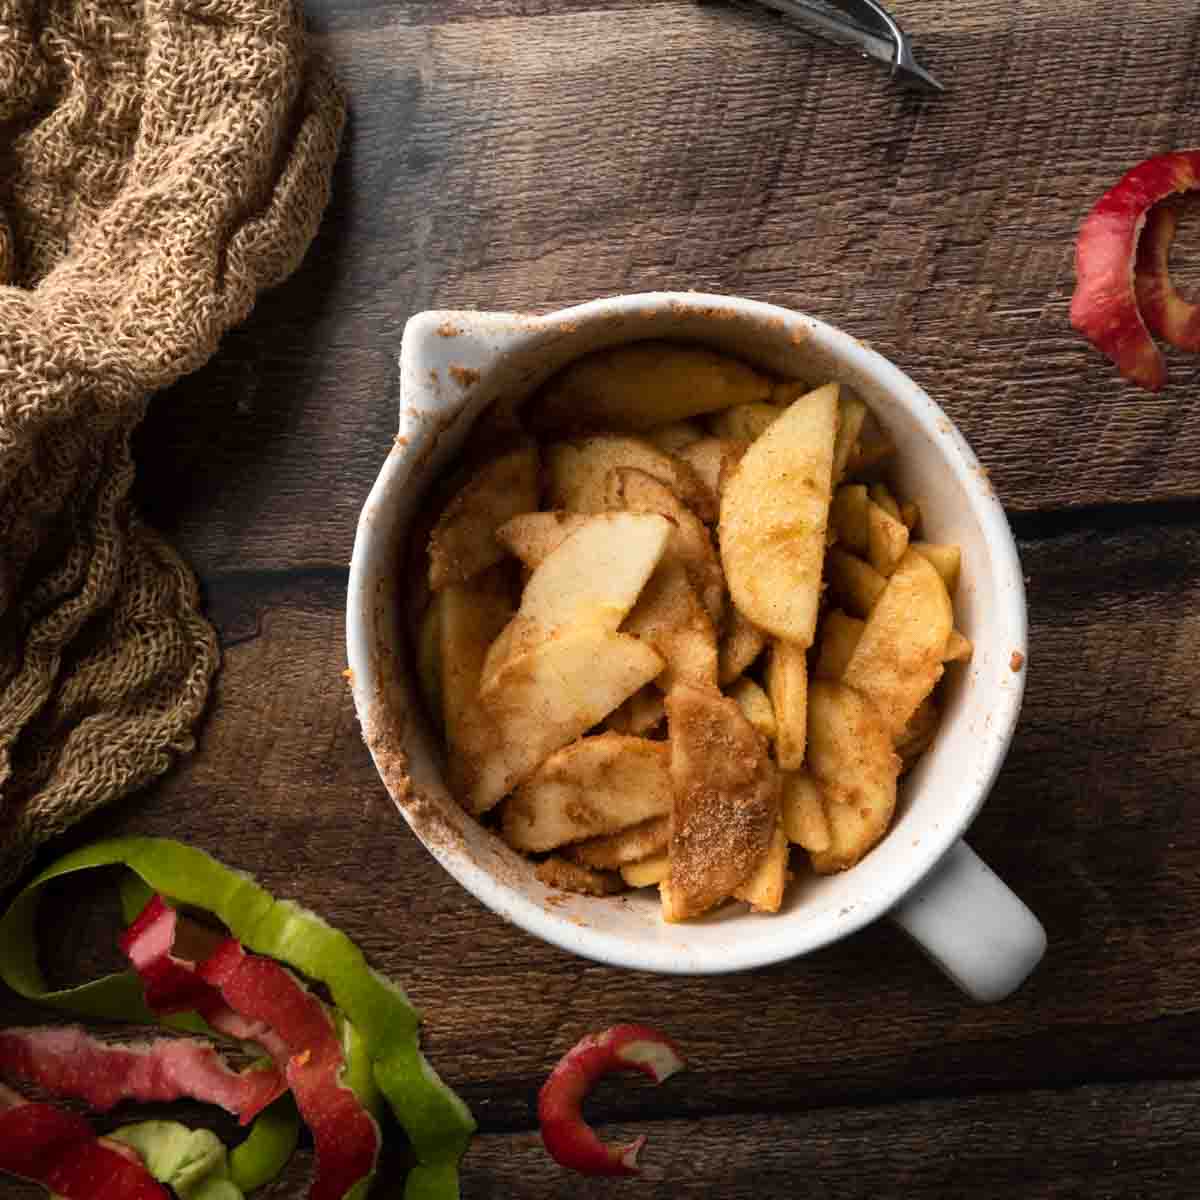
4. After mixing your batter, it is time to prepare your apples. I like to do this after making the batter, to help prevent oxidation. Peel and core the apples, then thinly slice them. Toss the apple slices in the cinnamon sugar mixture.
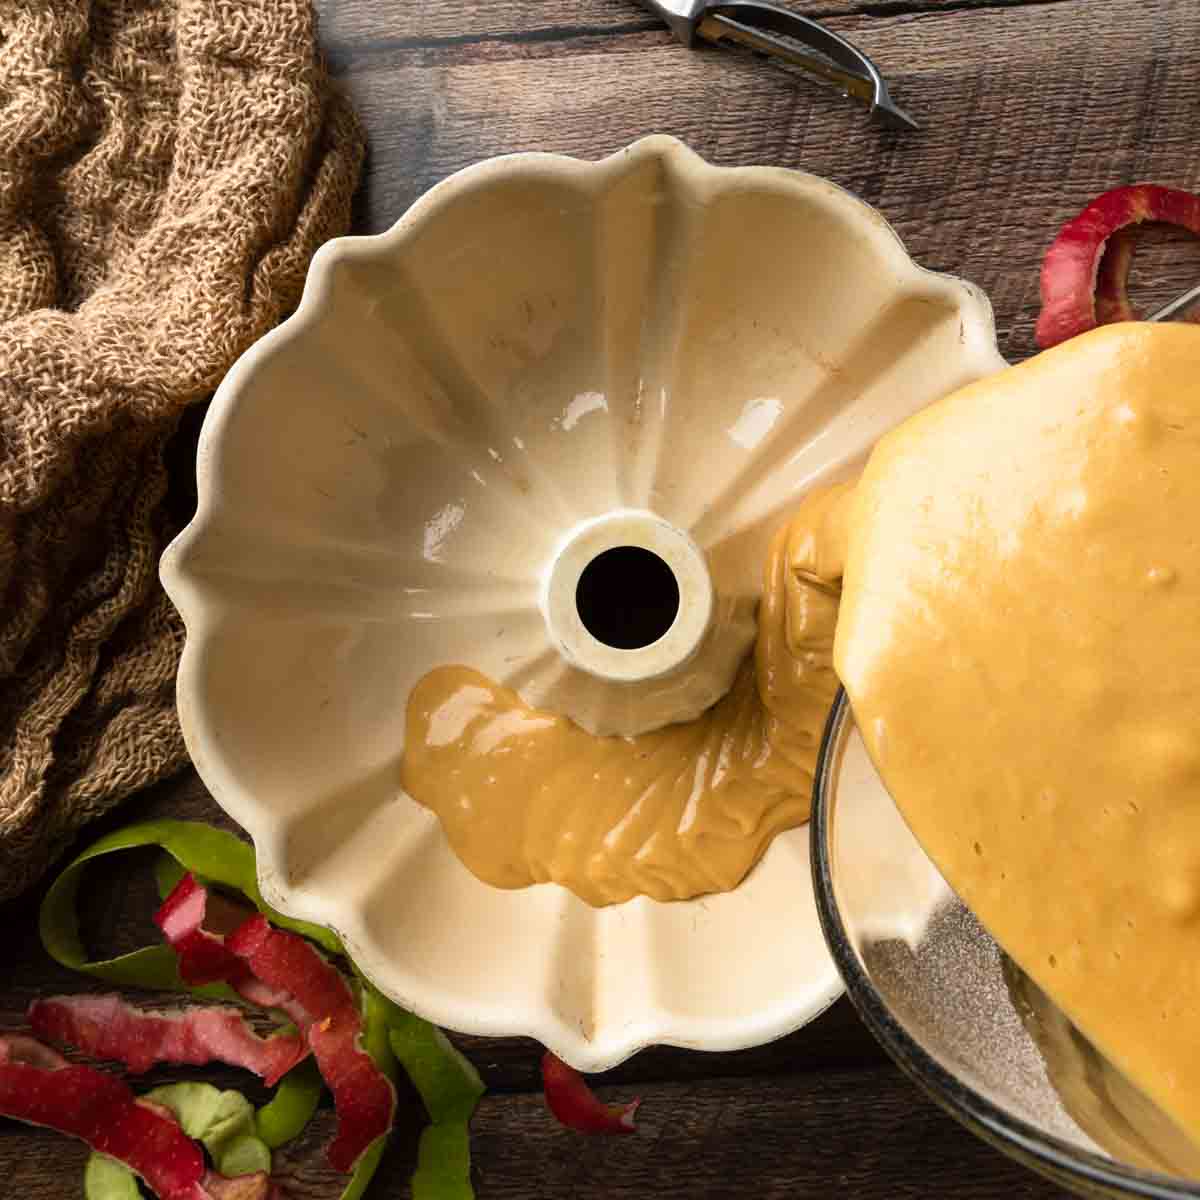
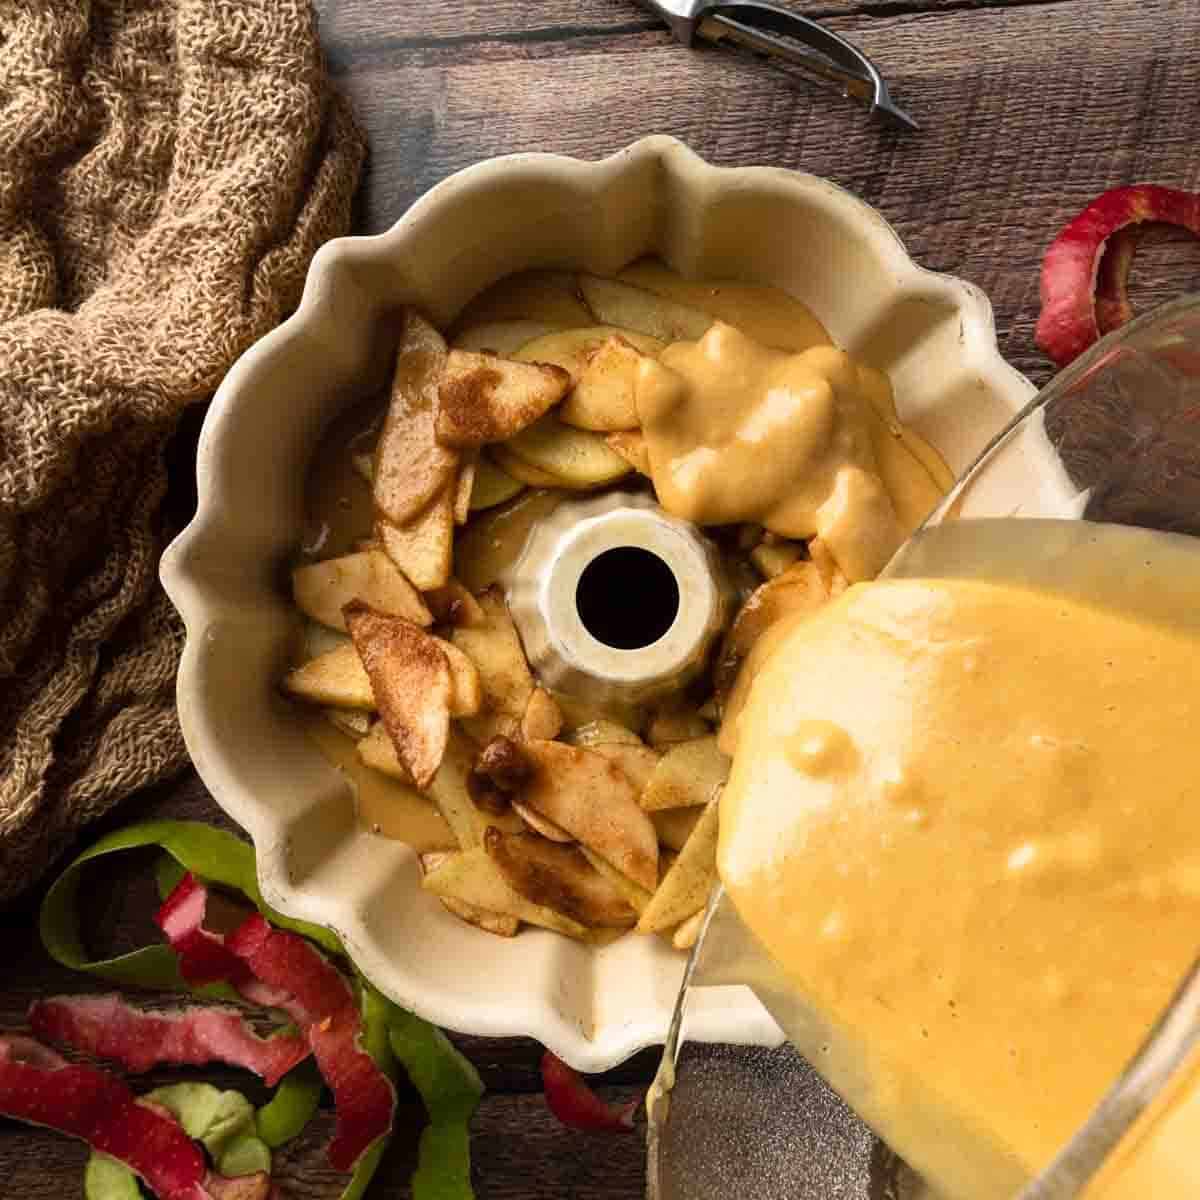
5. In a prepared bundt or tube pan, pour in half of the cake batter. Then layer the apple slices in the center. It may seem like a lot of apples, and it is! This is apple cake, after all! Pour the remaining batter over the apple layer. It is okay if the batter does not completely cover all of apples, it will bake up just fine.
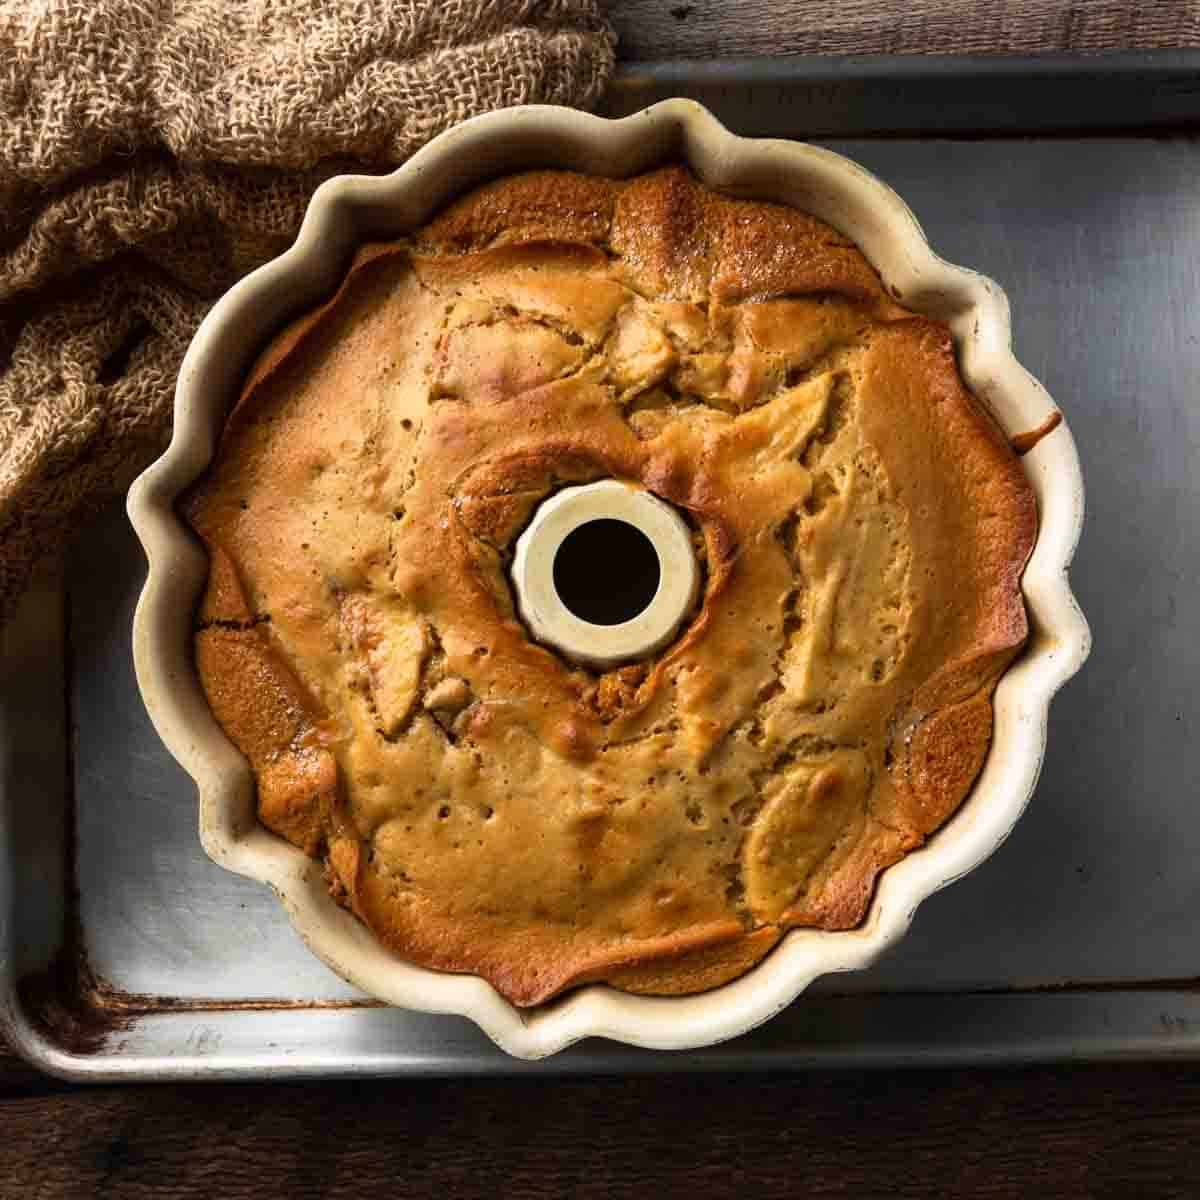
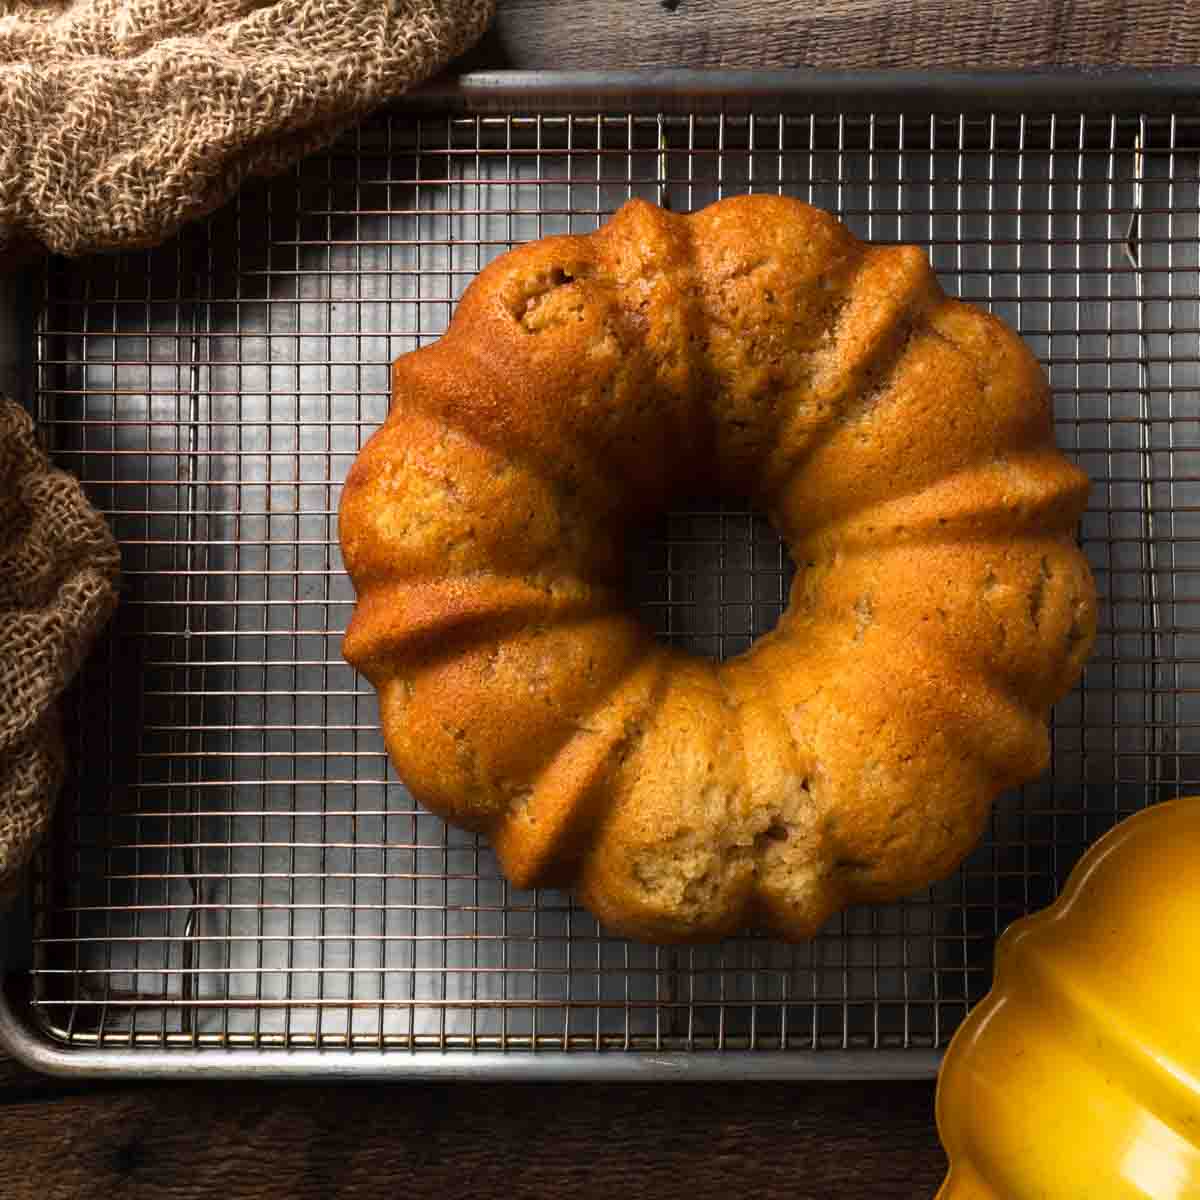
6. Bake the Jewish apple cake in a preheated oven for 45 - 50 minutes or until the cake is golden brown and springs back when gently poked. I like to bake bundt cakes on top of a baking sheet, for easy removal from the oven. After 5 - 10 minutes of cooling in the pan, gently flip the cake out of the bundt pan and onto a wire cooling rack. Allow the cake to cool completely before glazing, slicing and serving.
Cider Glaze (Optional... but, Come On!?)
After allowing the cake to cool completely, I like to finish it off with a sweet cider icing and a dusting of toasted walnuts. The toppings are completely optional and certainly not necessary or traditional - but it's so good and highly recommended! It only takes an extra couple of minutes and really makes this recipe extra special.
7. To make the glaze, combine the powdered sugar, apple cider and cinnamon in a small bowl. Whisk until lump free. I like this icing to be pretty thick, but you can adjust the consistency by adding more powdered sugar or additional cider.
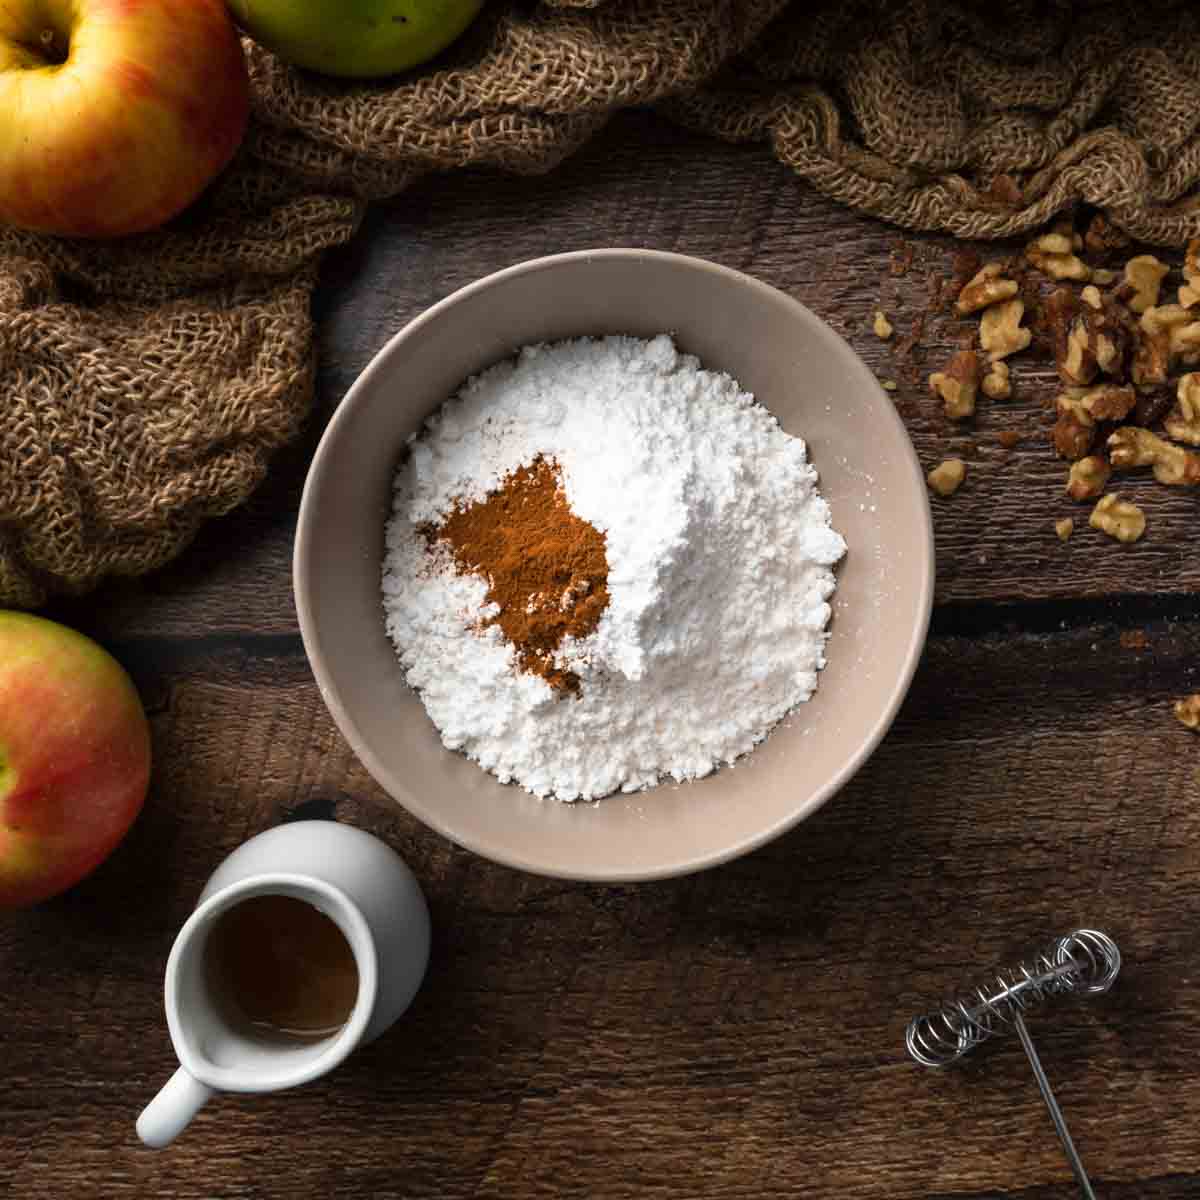
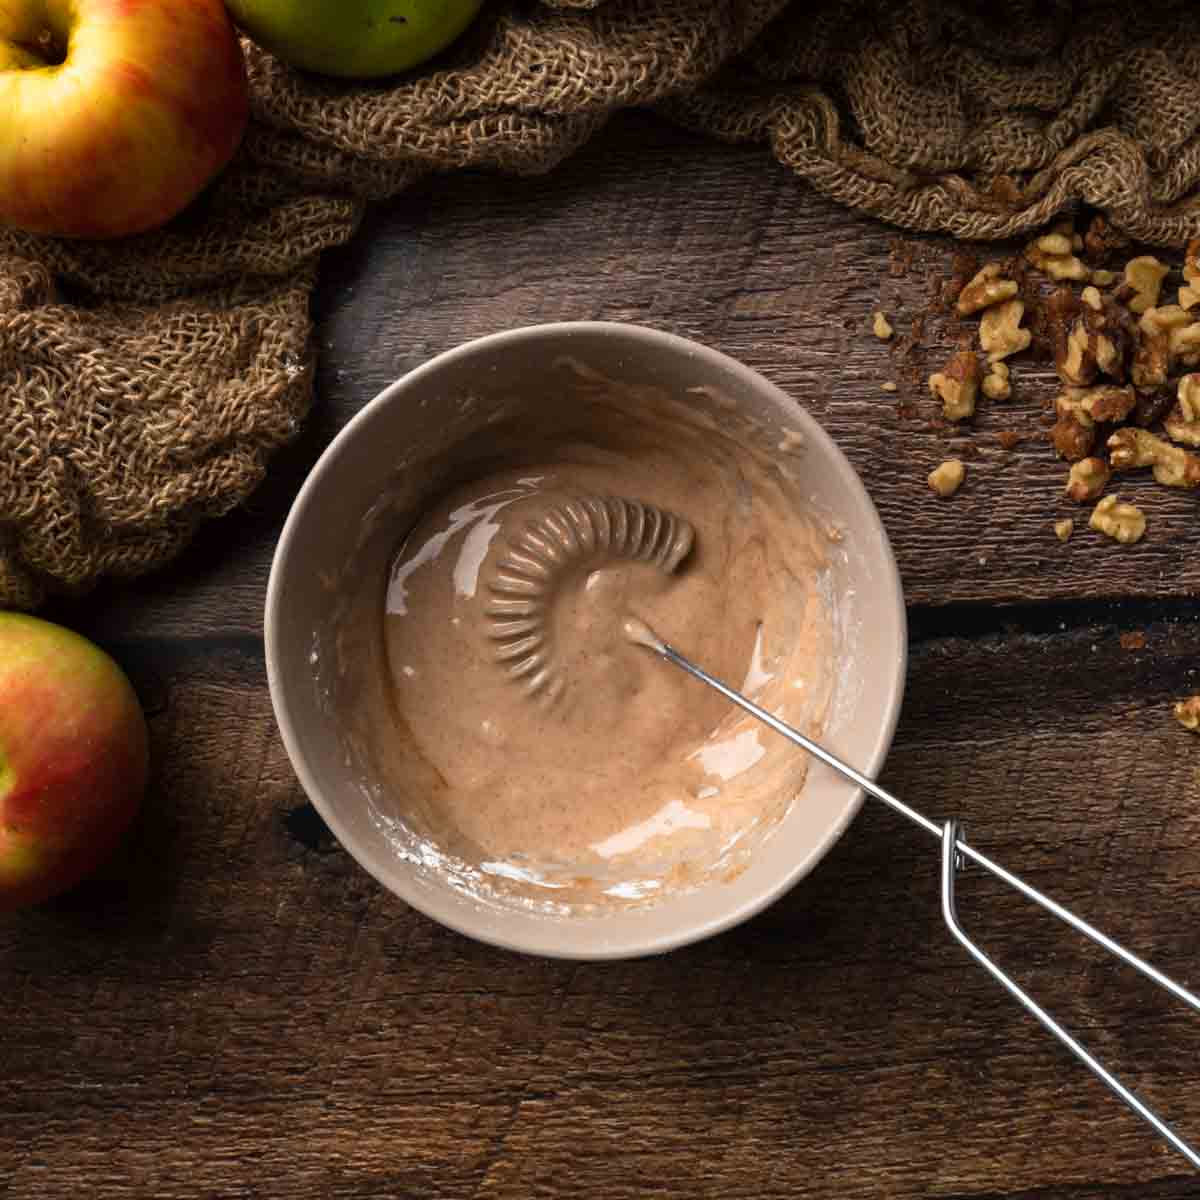
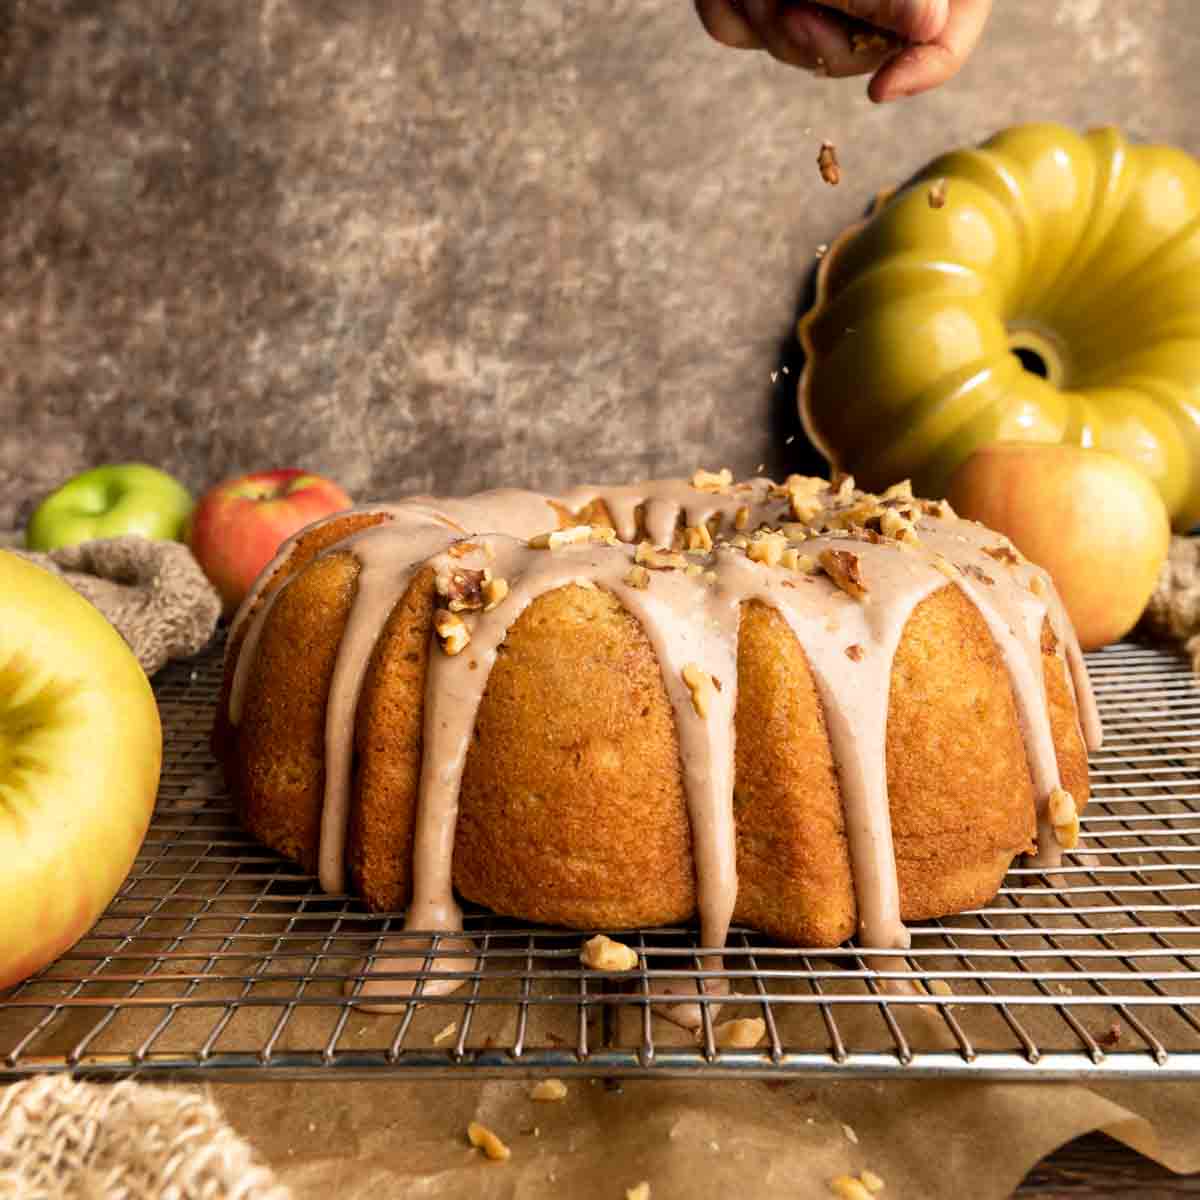
8. Place a plate or parchment paper beneath the cooling rack to catch any drippings from the glaze. Pour over the top of the cake, allowing it to drip down the sides. (If you catch the drippings on parchment paper, you can add them back to the top of the cake for a thicker layer!) Finish with a sprinkle of toasted, crushed walnuts, if using. Slice, serve and enjoy!
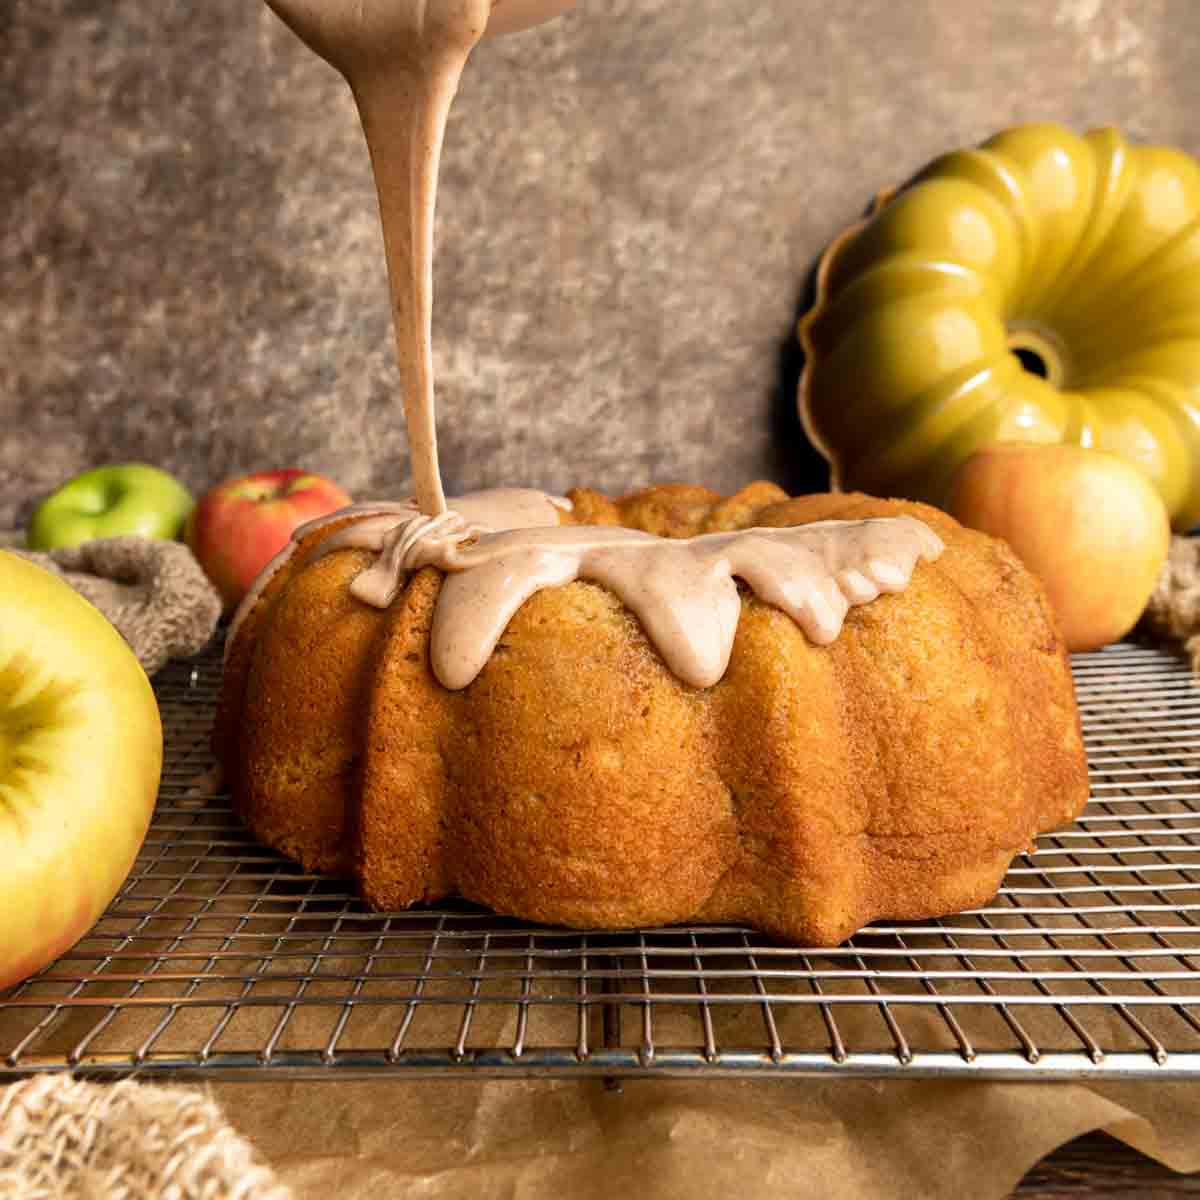
Baker's Journal: Glazing the Cake - The most important part of icing this apple cake is making sure the cake is COMPLETELY cooled. If the cake is even the slightest bit warm, the cider glaze will seep into the cake creating a sticky mess. Be patient, perfect glossy, crackly glaze is worth it! If you are really in a rush, you can pop the cake in the refrigerator to help speed up the cooling process.
Frequently Asked Questions
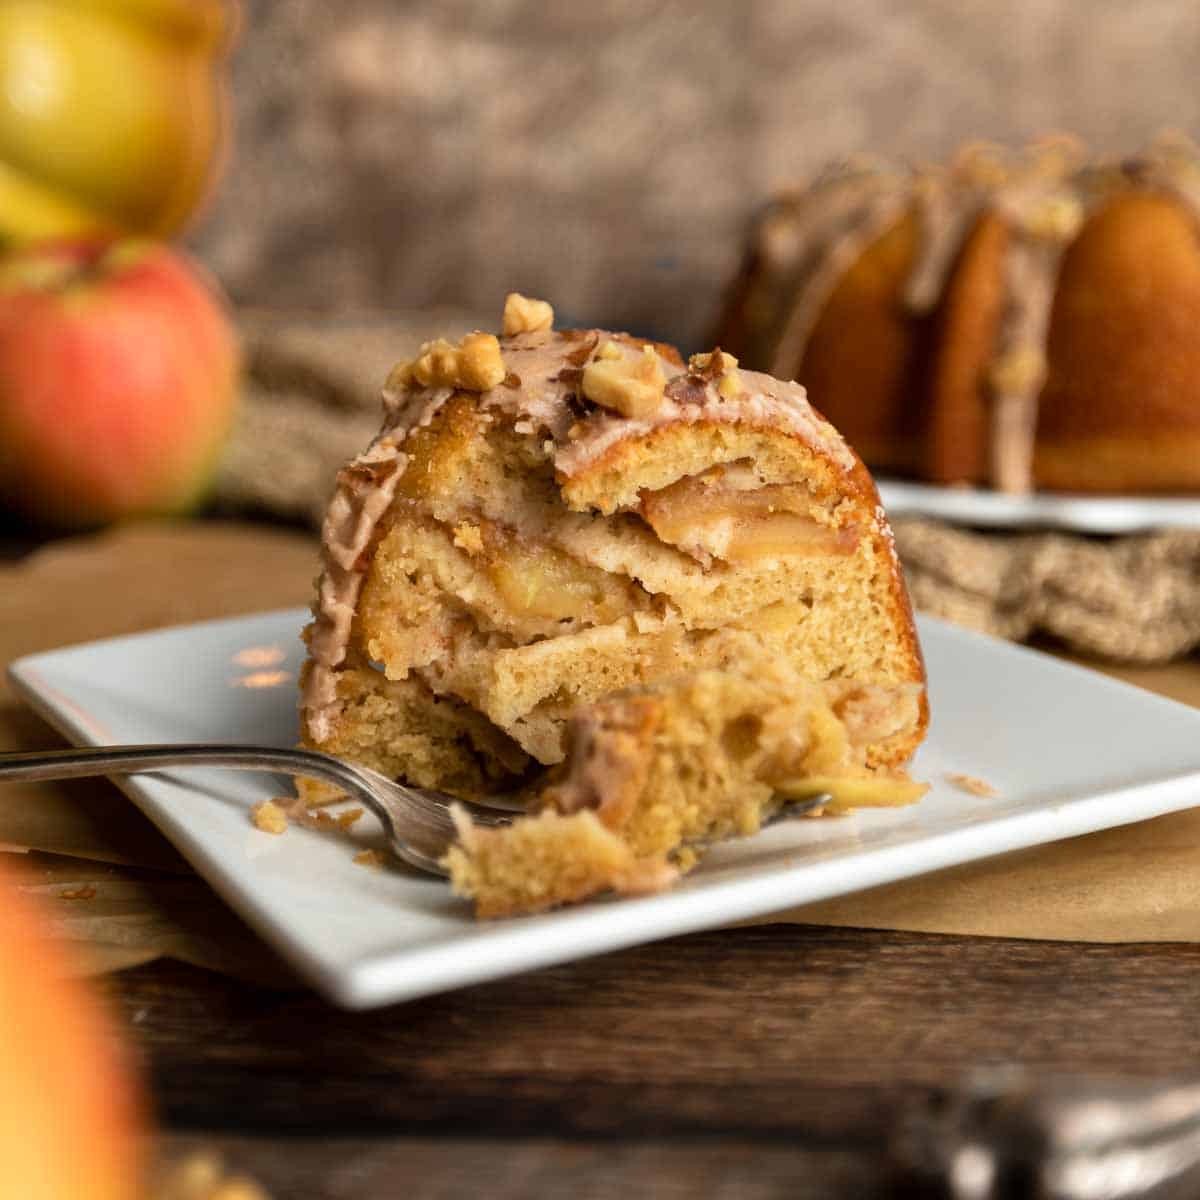
Jewish apple cake is a dense flour, egg and oil based cake that is studded with cinnamon sugar apples. Though this cake is thought to have originated in Poland, today it is most popular in Pennsylvania and surrounding American states.
Jewish apple cake is traditionally baked without any dairy components to oblige with dietary laws that restrict meat and dairy from being consumed during the same meal. This classic Jewish dessert is often served at Rosh Hashanah (Jewish New Year) celebrations.
According to Kashrut (Jewish Dietary Law), Kosher diners cannot consume milk/dairy products and meat products within 6 hours of each other. For this reason, many Jewish appetizers, side dishes and desserts are prepared dairy-free.
In addition to Jewish Apple Cake, there are many dishes traditionally found at a Rosh Hashanah celebration. Other traditional Jewish New Year foods include round loaves of challah (like our Braided Challah Buns recipe), fish, black eyed peas, carrots, dates, and pomegranates.
Yes! Traditional Jewish Apple Cake is completely nut-free and this recipe can be, too! Simply substitute a neutral oil (vegetable or mild olive oil) for walnut oil and omit the crunchy nut topping.
Absolutely! While Jewish apple cake it generally prepared in a tube pan or bundt pan, this recipe can also be divided between two standard loaf pans.
Saving & Storing This Recipe
Since this apple cake is oil-based, it will stay quite moist and flavorful for several days after baking. The cake can be stored in an air-tight container or underneath a big upside-down bowl on the countertop for 3 - 4 days.
Individual slices can be twice wrapped in plastic and frozen for 2 - 3 months. (The cake freezes and thaws best without the cider icing.)
How To Travel with Jewish Apple Cake
If your Rosh Hashanah dinners are anything like mine were, when I was growing up, there's a good chance you may need to travel quite a ways to enjoy this holiday with your family. Rest assured, Jewish apple cake can actually travel quite well!
To safely transport this dessert, I recommend baking and cooling the cake completely the day of (or the day before) serving. Once cooled, put the clean, dry bundt pan back over the cake and wrap the entire thing in plastic wrap. The pan will help with any bumps and bruises during the car ride.
Once you are at your destination, flip the cake out onto your serving platter. The cider icing can be prepared ahead of time and brought alongside in a zip-top bag. When ready to serve, simply cut the corner off of the bag, drizzle with cider glaze and top with a sprinkle of walnuts. Voila! The family will kvell - a practical, beautiful, scrumptious trifecta!
More Fall Baking Recipes
Nothing beats the crisp Autumn air and an oven full of deliciousness! Check out these other scratch baking recipes to bring you cozy comfort throughout the Fall season!
Recipe
Jewish Apple Cake with Cider Glaze
ADJUST SERVINGS
Special Equipment
- 1 Stand Mixer with the Paddle Attachment (Optional)
- 1 Bundt Pan (OR Tube Pan OR 2 Standard Loaf Pans)
Ingredients
Jewish Apple Cake
- 2 ½ Cups all-purpose flour
- 2 teaspoons baking powder
- 1 ½ teaspoons fine kosher salt*
- ½ Cup apple cider OR orange juice
- ½ Cup walnut oil OR vegetable oil OR fruity olive oil
- 1 Tablespoon vanilla extract
- 1 Cup light brown sugar
- 5 large eggs room-temperature
- 1 teaspoon ground cinnamon
- ½ Cup granulated sugar
- 3 medium apples peeled, small diced; We use a combination of Granny Smith, Honey Crisp and Gala or Fuji apples
Cider Glaze & Walnut Topping (Optional)
- 1 ½ Cups powdered sugar
- 3 Tablespoons apple cider OR water
- ½ teaspoon ground cinnamon
- ⅓ Cup walnuts chopped and toasted
Instructions
Jewish Apple Cake
- Gather, measure and prepare the Jewish Apple Cake ingredients as listed. Arrange a rack in the center third of the oven and preheat to 350° Fahrenheit (180° celsius). Meanwhile, prepare the bundt pan with nonstick cooking spray or a thin layer of shortening and flour.
- In a medium bowl, whisk together flour, baking powder and salt. Set aside.
- In the bowl of your stand mixer fitted with the paddle attachment or a large mixing bowl, combine the brown sugar, oil, apple cider (or orange juice) and vanilla extract. Mix until combined.
- Add flour mixture to the wet ingredients and mix on low speed until nearly combined. While mixing, add eggs, one at a time. Scrape the bowl with a rubber spatula, as necessary. Do not over mix. Set the batter aside while you prepare the apples.
- In a medium mixing bowl combine the granulated sugar and cinnamon. Peel, core and thinly slice the apples. Toss apples to coat completely in cinnamon sugar.
- Pour half of the cake batter in the prepared bundt or tube pan. Layer the apples around the center of the pan. Top with remaining cake batter. Bake the cake for 45 - 50 minutes or until golden brown. The fully baked cake should gently spring back when lightly poked in the center.
- Remove the cake from the oven and allow to cool in the pan for 5 - 10 minutes. Then, carefully invert the cake onto a wire cooling rack. Remove the pan and allow to cool completely.
Cider Glaze & Walnut Topping (Optional)
- To make the cider glaze, combine powdered sugar, cinnamon and apple cider in a small mixing bowl. Whisk until lump free.
- Place a sheet pan or parchment paper beneath the cake on the cooling rack. Pour the icing over the completely cooled cake and top with chopped walnuts. Allow the icing to set for a few minutes before slicing and serving. Enjoy!
* A Note About Salt
Unless otherwise noted, all recipes on The Sage Apron are developed using Diamond Crystal Kosher salt. It is a great all-purpose salt for cooking and baking. If using table salt, reduce quantities by about half.






Comments
No Comments